
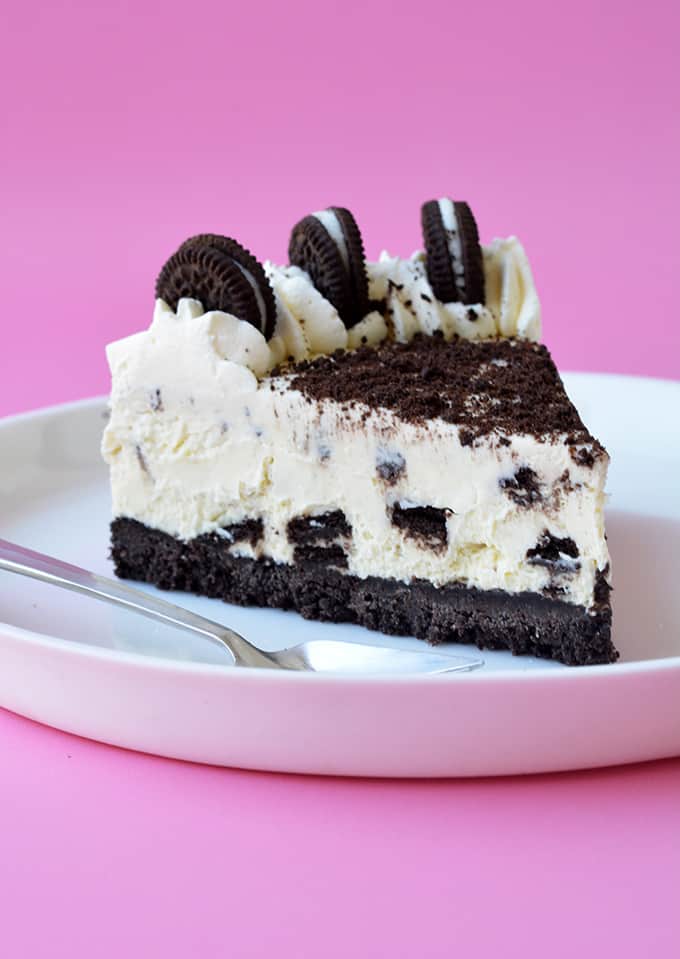
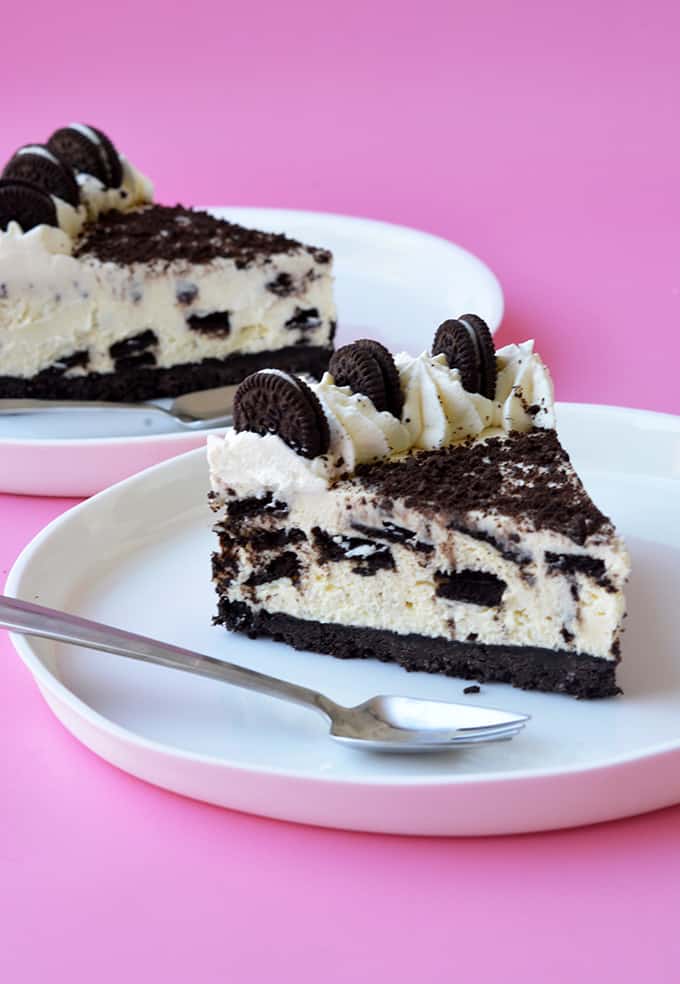
This No Bake Oreo Cheesecake is the ultimate cookies and cream dessert. With a crunchy Oreo crust and a creamy cheesecake filling, it’s so easy to make! You don’t even need to turn the oven on.
Hello Oreos 💜
Today we’re talking cheesecake. And Oreos. This gorgeous No Bake Oreo Cheesecake is literally filled to the brim with Oreo cookies.
It’s creamy, crunchy and oh-so-easy to make.
There’s no denying that I have a serious obsession with Oreos and Oreo desserts. Are you the same way?
I don’t know when it started but I do know that Oreos are my kryptonite. And this cheesecake 👇🏻 is NOT helping things.
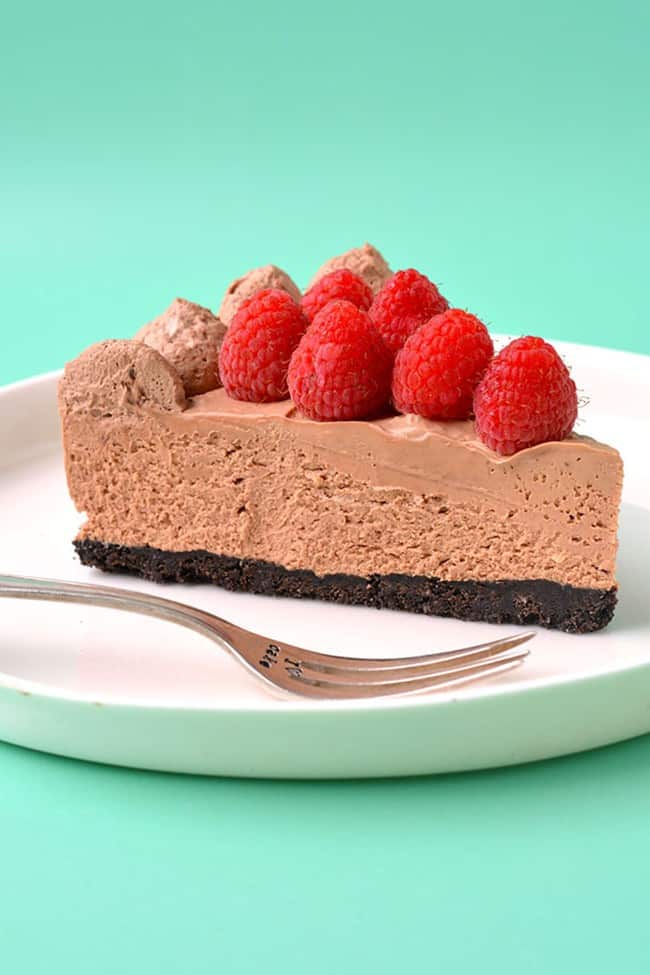
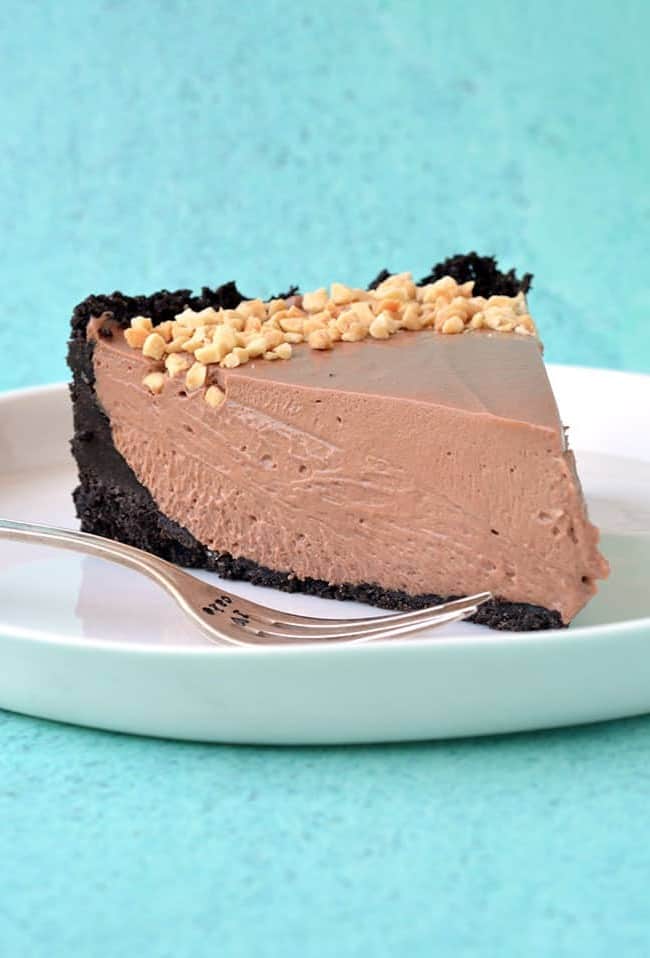
It was only a couple of weeks ago that I shared my famous Chocolate Oreo Ice Cream Pie with you.
And now we’ve take all the goodness of Oreos and transformed them into a cheesecake. And you are going to flip when you find out just how easy this cheesecake is to make.

First things first, there’s NO gelatine. No siree.
I don’t like to use gelatine in my no bake cheesecakes because it alters the taste, makes an easy recipe somewhat complicated AND is simply not necessary.
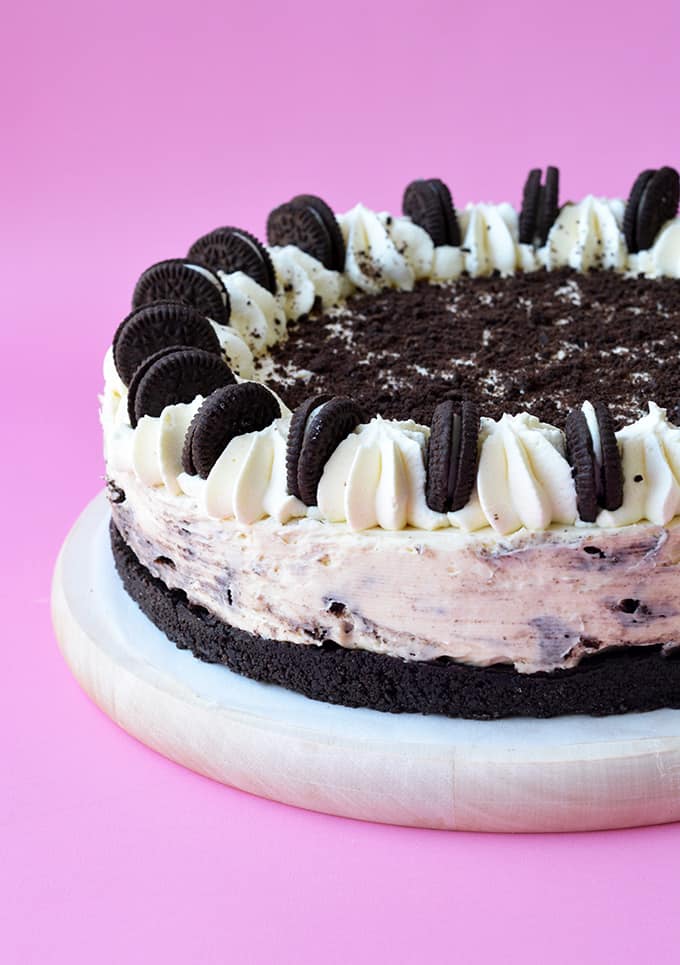
I mean look, this cheesecake totally hold it’s shape, does it not?

save this recipe
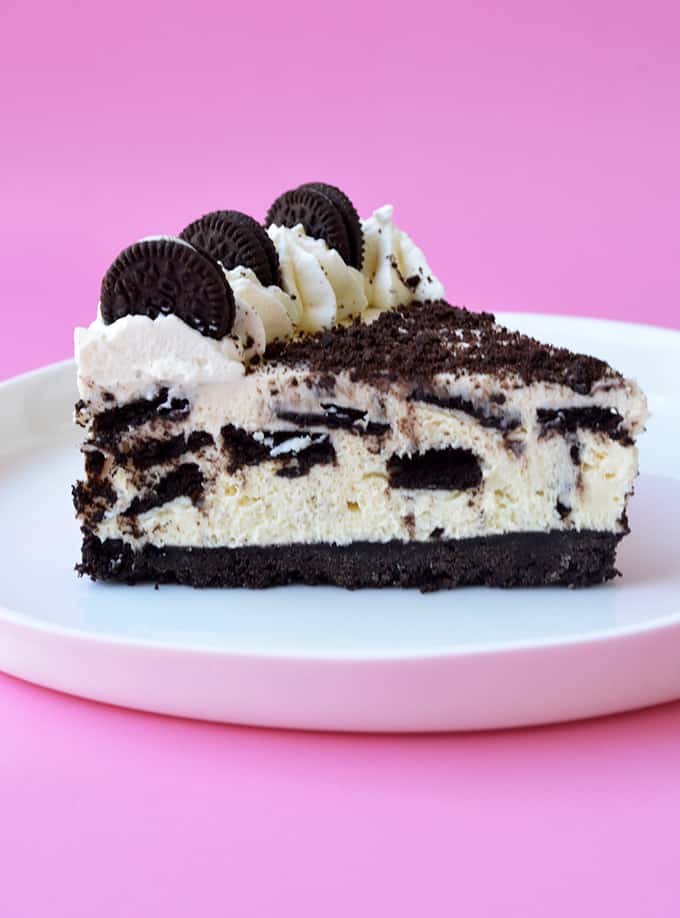
So let’s talk flavour. This cheesecake is literally bursting with all things cookies and cream.
It starts with a buttery Oreo cookie crust, made with whole Oreos. Next, is a finger-lickin’ cheesecake filling made with cream cheese, thickened cream and a touch of sour cream (ALL the creams). And a boatload of chopped Oreos.
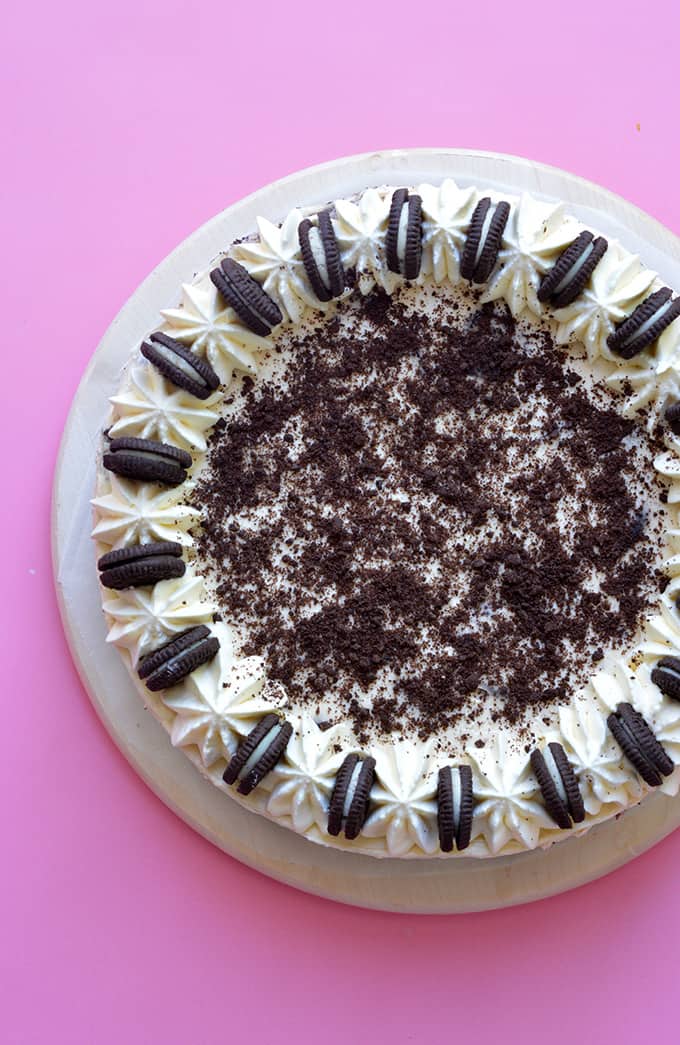
The final touch? Swirls of whipped cream, mini Oreo cookies and plenty of Oreo crumbs.
Tips for making the perfect no bake cheesecake
- Always use a springform tin so you can easily remove your cheesecake. Simply run a butter knife around the edge and then gently remove the cake rim when you’re ready to serve.
- Make sure your cream cheese is at room temperature so you can beat it well and get rid of any lumps.
- Don’t use a cream cheese substitute or low fat version, go full fat cream cheese and full fat sour cream for maximum flavour.
- Beat your cheesecake mixture well so the mixture becomes thick and your cream is whipped.
- Let your cheesecake set in the fridge for at least 6 hours, or overnight. This recipe doesn’t have any gelatine but if you beat the mixture well, the whipped cream will easily allow the cheesecake to hold it’s shape.
Did you make this recipe? Don’t forget to rate the recipe and leave a comment below. Hungry for more? Join me on Instagram, Facebook, Pinterest and Twitter for more amazing recipe ideas.

Let’s Bake
No Bake Oreo Cheesecake
An easy No Bake Oreo Cheesecake with an Oreo crust.
Ingredients
Cookie crust
- 250 grams (approximately 25 cookies) Oreo cookies
- 75 grams (1/3 cup) butter
Cheesecake filling
- 500 grams (2 and 1/2 cups) full fat cream cheese, room temperature
- 65 grams (1/3 cup) caster sugar or granulated sugar
- 1 teaspoon vanilla extract
- 240 ml (1 cup) thickened or heavy cream*
- 60 ml (1/4 cup) full fat sour cream
- 150 grams (approximately 15 cookies) Oreo cookies, chopped
Topping
- 240 ml (1 cup) whipped cream, to decorate
- Mini Oreo cookies, to decorate
- Oreo cookies, crushed, to decorate
Instructions
- Lightly grease an 8-inch springform baking pan with butter and line the bottom with baking or parchment paper.
- Add Oreo cookies (cream and all) to a food processor and blend until they resemble fine crumbs. Melt butter in the microwave and then pour over crushed Oreos and whiz again until the mixture resembles wet sand.
- Pour Oreo mixture into prepared tin and press down gently using the back of a spoon to form an even layer. Pop in fridge.
- Add cream cheese, sugar and vanilla to a large mixing bowl and beat with an electric mixture until smooth and creamy. Add cream and beat for a few minutes or until mixture becomes thick and holds its shape. Add sour cream and mix until smooth.
- Gently fold through chopped Oreos. Pour cheesecake mixture on top of the Oreo cookie crust, smooth the top and refrigerate for at least 6 hours or overnight.
- Add whipped cream to a piping bag fitted with a large star tip and pipe swirls of cream along the edges. Decorate with mini Oreo cookies and crushed Oreo cookie crumbs.
Notes
*Cream: You must use a high-fat cream that is suitable for whipping. Here in Australia, it’s called thickened cream. It is usually at least 35% fat and will say on the product that it is suitable for whipping. Do not use light, pouring or cooking cream or your cheesecake won’t set.
Nutrition Information
Serving Size: 1 slice Calories: 392 Sugar: 16.3 g Sodium: 228.8 mg Fat: 32.1 g Carbohydrates: 22.9 g Protein: 4.4 g Cholesterol: 84.6 mg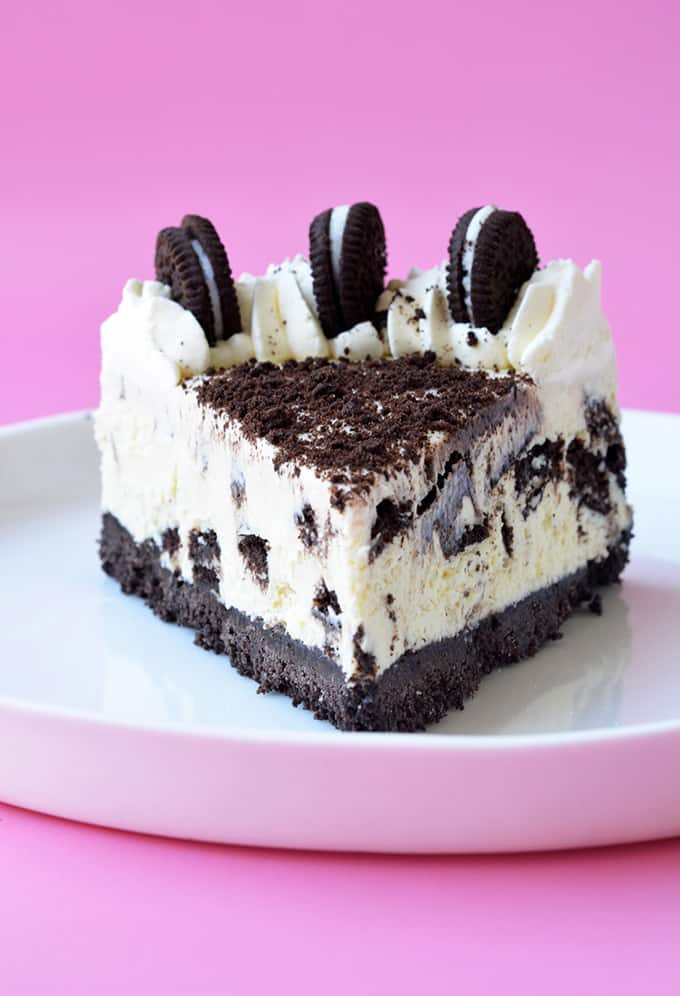
Kim says
Can I blend the Oreo crust with a smoothie blender? Also, do you have other substitutions to make it lower in calories?
Jessica Holmes says
Hi Kim, yes that should work. Just try not to over-blitz the cookies or they won’t form a nice crust. I’m sorry but I haven’t tried making a low calorie version.
Guna Suntheri says
Wow looks like so tasty and delicious. Yummy. 😋😋😋
Jessica Holmes says
Hope you enjoy it!
Lauren says
Hi, I’d like to make this but add some honeycomb flavoured cordial, should I add anything extra to compensate for the extra liquid of the cordial? Thanks!
Jessica Holmes says
Hi Lauren, I don’t recommend adding a liquid like cordial. Maybe crushed or chopped chocolate honeycomb pieces would be better?
Bella says
This is absolutely amazing I made this put it in the fridge overnight came back tried it and let me tell you the Oreo at the bottom was nice and moist like you’ve just dipped them in milk just make this 😂
Jessica Holmes says
I love this Bella! So pleased you enjoyed it!
Ron Arona says
does have to sit for 6 hours
Jessica Holmes says
Hi Ron, I recommend letting it chill for at least 6 hours. If you need to speed up the process, you could consider using the freezer instead!
Anita Dhungana says
Do we decorate with mini Oreos,crust and cream after we take the cake out of the refrigerator
Jessica Holmes says
Absolutely!
Joanna says
If I don’t have six hours to refrigerate, can I put it in the freezer for a portion of the time to speed it up?
Jessica Holmes says
Absolutely!
Nola says
What a great recipe, so easy to make and tastes amazing. Made this for a work luncheon and it went down a treat, everyone loved it. Followed the recipe and method as described, put it in the fridge overnight, set perfectly.
Definitely a keeper, thank you very much for sharing it. I look forward to playing with the ingredients and making various flavours from the Oreo range 😊
Jessica Holmes says
That is so wonderful to hear Nola! Thank you so much for your kind feedback.
Gail says
Sooo easy to make – I made exactly to the recipe and method stated and it held it’s shape beautifully. The whole family loved it and the grandkids were surprised that I actually made it. I will definitely be making it again (and again) and may try with different flavoured oreos. Thank you very much for this recipe 👍
Jessica Holmes says
How wonderful to hear Gail! Thank you for your kind feedback. I love the idea of trying this one with different Oreos too – yum!
Adam says
Just made and tasted the recipe and it turned out fantastic! Mine came out on the slightly wetter side as I used light thickened cream – I think full fat is a must – or will whip the cream separately next as mentioned by others! Overall 10/10 will be making again and trying other flavours even!
Jessica Holmes says
Awesome to hear Adam! And yes, full fat is the way to go here!
Paola p says
This turned out fantastic. I used peanut butter Oreos and the taste was delicious. I did however mix the heavy cream separately and then added it to the bowl with the rest of the mixture. Since the Oreos filled with peanut butter are pretty sweet I cut back on the sugar and put less Oreos in the mixture. Will definitely make it again. Thanks
Jessica Holmes says
That sounds amazing Paola! Love the idea of a peanut butter version.
Rhiannon says
Hi I’m wanting to know how long it can stay in the fridge before use aft making
Jessica Holmes says
Hi Rhiannon, this cheesecake will keep well for 3-4 days. I would add the whipped cream on top when you are ready to serve.
Tegan says
Loved this recipe, have made a few times and have used the same principles to make variations of my own. I love that it has no gelatine in it.
So glad I found this recipe and even better it was from an Aussie!
Jessica Holmes says
That’s wonderful to hear Tegan! It’s so nice not to have to faff around with gelatine isn’t it.
Sharon says
Can you store in the freezer?
Jessica Holmes says
Yes! It’s even nice super cold from the freezer!
Madeline Price says
I AM OBSESSED WITH THIS, I’ve literally just made my third one tonight because everyone loves it so much, it is so easy to do but looks and taste fantastic, the first one I made didn’t hold its shape to well and was very sloppy but after reading some other reviews and replies I whipped the cream well prior to adding it in with the cream cheese ect and it held its shape much better!! Thanks for sharing this recipe you’ve made me look like a master chef to my family and friends haha
Jessica Holmes says
I’m so glad to hear that Madeline! Thank you for your lovely feedback – I really appreciate it!
hamish oudney says
I must be the outlier. I made the cheesecake by following the instructions to a ‘T’.
It remained quite liquid after allowing it to rest in the fridge for over 6 hours.
I’m sure the mistake must be mine but I don’t know what I did wrong. I had to keep the sides of the tin in place and scoop the contents out with a serving spoon.
Jessica Holmes says
Hi Hamish, I’m so sorry to hear that! What type of cream did you use? Was it thickened cream? You need a high fat cream that is designed for whipping for this one to set.
Hamish says
Lol, yep thickened cream straight from Woolworths. I’ll put it down to the fact that I’m a clumsy male!!
Jessica Holmes says
Ok well at least we know it’s not the cream then! It might have come down to the mixing and just not mixing it enough for the cream to be whipped. If you are hoping to try again, I would consider whipping the cream separately and then folding it in. That way you can be sure it is properly whipped and stable first. If you do try it again, let me know how it goes!