
Learn how to make buttery Buttermilk Scones from scratch. This easy recipe will help you master homemade scones that rise up tall and have a soft, fluffy interior and a crisp crust.

Tender homemade scones made with buttermilk and love ❤️ These tall, fluffy scones have a crispy exterior and a soft, buttery middle. They’re the perfect carrier for jam and cream.
You only need a handful of pantry staples to make a batch of these scones, but you’ll be rewarded with a beautiful tea-time treat. These classic English-style scones are what my childhood was made of.
And while Buttermilk Scones are simple in nature, it’s all about the method. If you’ve ever tried and failed at scones in the past, read on for ALL my tips and tricks for perfect scones EVERY TIME.
Why you will love this recipe
- Tall bakery-style scones: Say goodbye to flat or dense scones, these are big, tall, bakery-style scones. Expect a soft, fluffy interior that’s light and buttery.
- No special ingredients: You don’t need any speciality or hard-to-find ingredients to make a batch of these scones.
- No special equipment: You don’t need a food processor or an electric mixer for this recipe.
- Freeze well: Enjoy these scones fresh out of the oven and then freeze any leftovers. Simply defrost and warm again to enjoy the magic of a homemade scone!
I have never had much success with scones, but this was a great recipe, and the hints made all the difference. My go to scone recipe from now on!
– Bernie

Recipe testing
Confession: Scones used to be my baking shame. Yes I was a professional food blogger who could make Chocolate Chip Cookies and Brownies with my eyes closed – but a nice homemade scone? Nope, not me!
My scones were always dry, flat and dense as a rock. I shelved my hidden shame and avoided scones for years – until now. I finally decided I needed to conquer my fears and learn how to make good scones from scratch.
So I spent the last three weeks making scones over and over – honestly I think I’m part scone now. But I’ve finally come up with my perfect Scone Recipe.
This one is simple as it is tasty. It will create a lovely high top scone (which was important to me) that has a soft, flakey centre.

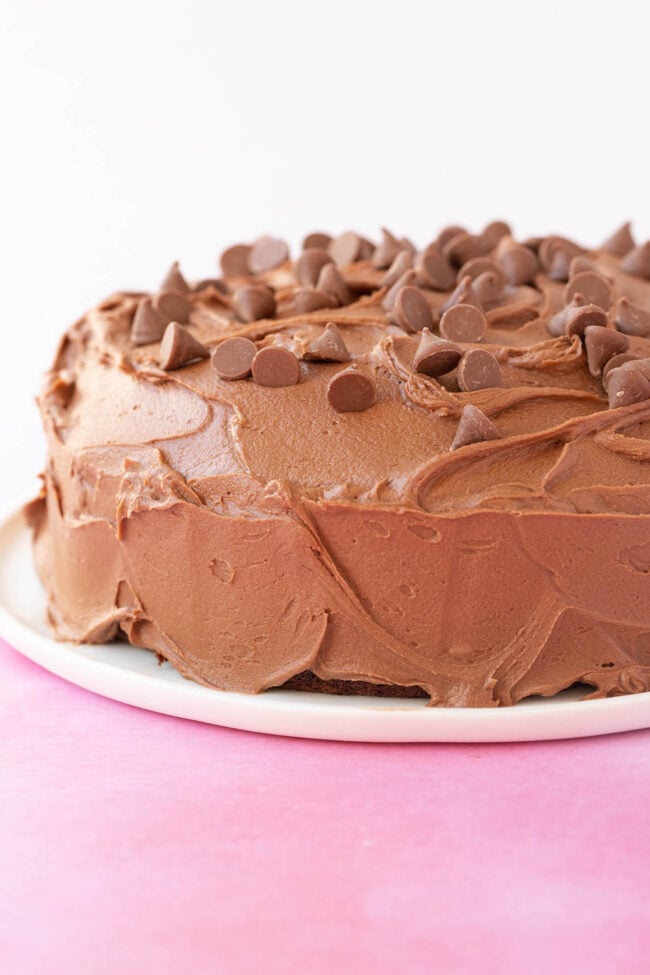
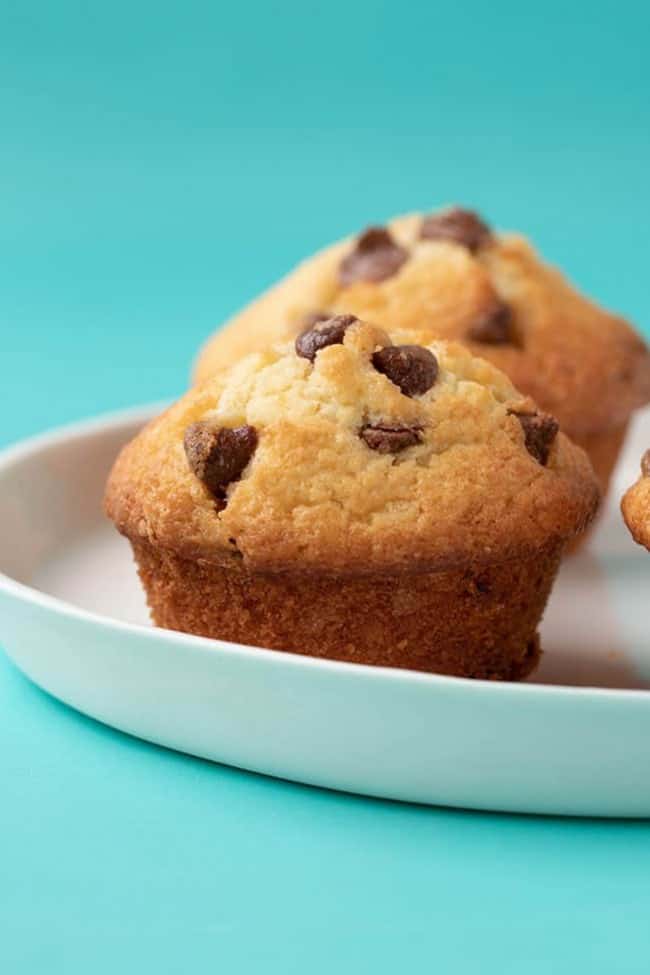
While I know there are different recipes using lemonade, heavy cream or the like, I was seeking a more traditional approach. I wanted a classic Buttermilk Scone recipe. I love using buttermilk in my recipes like my Chocolate Buttermilk Cake and my Double Chocolate Muffins.
During my first few experiments, I focussed on my technique. I tried not to over-work the dough just like when you make pie crust, or roll it too flat so I could get those high-top scones I’d always dreamt of. After a few tries, I was happy with the rise, I found the inside of the scones were a little tight.
I really wanted a fluffy, soft scone inside, so I altered the ingredients slightly. More butter, more buttermilk and less flour gave me the tender texture I craved.

Of course, I couldn’t stop there. I continued to test baking times, rest times and even milk wash versus egg wash until I was 100% happy that this Buttermilk Scone recipe is just right.
I made many mistakes along the way which means I’m happy to pass on everything I’ve learnt. My hope is that you (like me) will be able to say farewell to dense, flat rocks and hello to beautiful, bakery-style homemade scones.
I’ve since used this technique to make savoury Cheese Scones, which are a fan-favourite too!
Ingredients

Scones are one of the few baked goods that really do only require basic ingredients. Here are all the ingredients you’ll need to make my easy Buttermilk Scone recipe, including any substitutions you can make.
- Plain flour: I have tested this recipe using plain flour or all purpose flour. It works really well in providing a stable, tall but also soft scone.
- Caster sugar: This recipe has a small amount of sugar in it which is necessary to create a sweet scone dough. I recommend using caster sugar or granulated sugar.
- Baking powder: Baking powder is what helps to create a beautiful risen scone. You need 4 teaspoons in this recipe. Be sure to check that your baking powder is fresh and has not expired. Don’t use baking soda in this recipe.
- Butter: I use unsalted butter and add salt to the dry ingredients. If you only have salted butter on hand, omit the salt included in the recipe. It’s also important to use cold butter. More on that below!
- Buttermilk: I tested this recipe multiple times including use regular milk instead of buttermilk. The scones still work! But there’s no denying that buttermilk ensures they rise even more and have a tender texture that lasts longer. However, if you don’t have access to buttermilk, you can definitely use regular whole or full fat milk.
- Egg: You need one egg in the scone dough. You can use another egg for the egg wash on top or simply use leftover buttermilk.
See recipe card below for a full list of ingredients and measurements.
How to make Buttermilk Scones
Here’s an overview of how to make my basic Buttermilk Scones recipe at home. The key to a fluffy homemade scone is all in the method, so let’s break it down step-by-step.

save this recipe
Step 1: In a large mixing bowl, add flour, baking powder, sugar and salt. Give it a mix.
Step 2: Add cubed, cold butter to the dry ingredients.

Step 3: Use your fingers or a pastry cutter to flatten the cubes of butter into the flour mixture until you have coarse crumbs – and no large pieces left.
Step 4: In a medium bowl, add the buttermilk and egg. Whisk with a fork to combine and break up the egg yolk.

Step 5: Add buttermilk mixture to dry ingredients and gently stir with a fork until shaggy.
Step 6: Turn mixture out onto bench. Use your hands to bring it together into a round disc. Gently divide into four.

Step 7: Stack quarters of scone dough on top of each other. Then use the palm of your hand to gently press the dough until it is 3 cm / 1 inch thick.
Step 8: Use a round 6 cm / 2.5 inch cookie cutter to cut out 8-9 scones. Don’t twist the cutter. Place scones on prepared baking tray.

Step 9: Chill scones in the fridge for 30 minutes. Then brush top of scones with beaten egg or leftover buttermilk.
Step 10: Bake scones for 15 minutes or until golden brown. Leave to cool completely.
Serving suggestions
These Buttermilk Scones can be served for morning or afternoon tea as a sweet treat. Consider them the perfect accompaniment alongside a cup of coffee or tea. The are designed to be sliced or pulled apart horizontally.
They can be accompanied with strawberry or raspberry jam or fruit preserves, and whipped cream, dollop cream or clotted cream.
You can also serve them simply with butter and/or fresh fruit or berries. My favourite way to serve flaky scones is simply warm from the oven slathered with butter.

Jess’s recipe tips
If I could stand in your kitchen with you, these are the little pieces of advice I would give you along the way. These are the things I have learnt through trial and error – that most recipes don’t seem to specify – that can make a big difference to the end result.
- Use chilled butter: When you mix the butter into the flour – even if you use a pastry cutter, it will get warm. The warmer the butter, the more likely it is to leach out of your scones when it hits the hot oven. Chop your butter into cubes and then pop it back in the fridge until you are ready to add it into your dry ingredients. Some recipes specify grated butter but I prefer larger chunks to ensure flakier scones.
- Work quickly: Pressing your butter into your flour shouldn’t be a long process. You can use a pastry cutter or your fingertips to flatten out those pieces of butter until you have only small pieces. But don’t dilly-dally, work quickly like you would when making pie dough.
- Use a fork: When you add your buttermilk mixture, use a fork to stir together your dry and wet ingredients. Don’t be tempted to mix it until smooth like you would a cake or cookies. Simply mix with a fork until you have a shaggy mix with lots of flour pockets.
- Don’t knead, just push: Scone dough doesn’t need to be kneaded. All you want to do it push it or press it together to form a disc. You can work it a little so it’s combined, but it should look a little like a shaggy mess.
- Cut and stack: To ensure plenty of flakey, buttery layers, cut your dough into four. I like to use a bench scraper for this. Then stack your layers on top of each other.
- Forget the rolling pin: Instead of using a rolling pin, I prefer to use the palm of my hand to simply flatten out the dough. A rolling pin can flatten the dough too much and then you won’t get those big, tall scones we all want. You can also be tempted to over-work the dough by rolling back and forth. Simply press the dough out to be at least 3cm or 1 inch thick using the palm of your hand.
- Don’t twist your cutter: Press your round cookie cutter down in one swift movement and gently press the scone dough to remove it. Don’t be tempted to twist the cutter which can seal off the edges and prevent the dough from rising.
- Chill the dough: Even if you follow all my suggestions, you butter will still be warm at this point. This is why it’s so important to rest your dough. I tested different chill times, but found around 20-30 minutes was enough.
- Bake at a high temperature: When I first made scones, I cooked them at a regular cake temperature out of habit. They were dry and tough as old boots! Scones need to be baked at a high temperature. It’s what ensures they quickly rise, getting that crispy, crunchy exterior and remain soft and fluffy inside.

Troubleshooting scones
After making 10 batches of scones these last two weeks, I’ve come across some of the most comment problems. Here are the top five ways where scones can go wrong and how to fix them:
Too much flour is likely the cause – be sure to measure your flour using a baking scale for accuracy. Over-working the dough will also result in tough or dry scones. Also, be careful not to over-bake them!
Double check your baking powder hasn’t expired or be sure to use a new box just to be sure. Don’t use a rolling pin to flatten your scone dough, just the palm of your hand – and don’t roll them out thinner than 3cm or 1 inch to get a nice tall scone.
Be sure to use chilled butter and try not to overwork the dough. The more the dough is handled, the warmer your butter. You might also want to try flattening the butter pieces so there are no longer big lumps. Also, consider lengthening the chill time if you are having this issue.
More classic bakes
Did you make this recipe? Don’t forget to rate the recipe and leave a comment below. Hungry for more? Join me on Instagram, YouTube, Facebook, Pinterest and TikTok for more amazing recipe ideas.

Let’s Bake
Buttermilk Scone Recipe
Perfect Buttermilk Scones made from scratch.
Ingredients
- 480 grams (3 and 1/3 cups + 1 tablespoon) plain flour or all purpose flour
- 20 grams (4 level teaspoons) baking powder
- 80 grams (1/3 cup + 1 tablespoon) caster sugar or granulated sugar
- 1/2 teaspoon salt
- 130 grams (1/2 cup + 1 tablespoon) unsalted butter, cubed and chilled
- 1 large egg, cold
- 300 ml (1 and 1/4 cup) full fat buttermilk, cold
- 1 large egg, beaten, for egg wash OR use a few tablespoons of leftover buttermilk
Instructions
- Line a large baking tray with baking or parchment paper. In a large mixing bowl, add flour, baking powder, sugar and salt. Give it a quick mix.
- Add cold butter. Use your fingers or a pastry cutter to squish the butter into the flour mixture. Try to flatten the cubes of butter using your fingertips. Work quickly until you have coarse crumbs and there are no more large lumps of butter.
- In a separate bowl, add egg and buttermilk. Whisk with a fork for 20 seconds or so until combined.
- Add buttermilk mixture to dry ingredients and gently stir with a fork until shaggy. Turn mixture out onto bench. Use your hands to bring it together into a round disc. Gently divide into four.
- Stack quarters of scone dough on top of each other. Then use the palm of your hand to gently press dough down to at least 3 cm / 1 inch thick.
- Use a round 6 cm / 2.5 inch cookie cutter to cut out 8-9 scones. Don’t twist cutter. You can press leftover scone dough together once and cut out an extra scone or two.
- Place scones on prepared baking tray, ensuring they’re not touching. Chill scones in the fridge for at least 30 minutes.
- Preheat oven to 220 C (430 F) standard / 200 C (390 F) fan-forced.
- Brush top of scones with beaten egg or leftover buttermilk.
- Bake scones for 15-16 minutes or until golden brown. Leave to cool completely.
Notes
Plain flour: I highly recommend measuring your flour using a baking scale. It is easy to over-measure your flour when using cups. Too much flour will result in dry, tough scones.
Buttermilk: Buttermilk enhances the rise of the scones and contributes to their tender texture. However, if you don’t have access to buttermilk, use regular whole or full fat milk.
Storage: Scones are best served on the day they are made. Once cooled, you can wrap leftovers in plastic wrap and store in an airtight container in the freezer. Simply defrost or warm in the microwave to enjoy again.
Make-ahead: You can make the scone dough ahead of time and keep it in the fridge for up to 24 hours.
Jess’s recipe tips: Please read my recipe tips above before starting your scones.
Nutrition Information
Serving Size: 1 scone Calories: 366 Sugar: 10.7 g Sodium: 180 mg Fat: 14.1 g Carbohydrates: 52.4 g Protein: 7.6 g Cholesterol: 60.7 mg
Our favourite
Brownies


Hi, I’m Jess, the creator of Sweetest Menu and the author of Something Sweet. A self-taught baker and published recipe writer who can’t stop making easy and delicious baking recipes.


Eva says
Awsomeee
Paula says
Jessica, can you add fruit to these scones?
Jessica Holmes says
Yes absolutely Paula! I find 100 grams (2/3 cup) sultanas is the perfect amount!
Lallie says
Wow I Jyst got lucky coming across your amazing delicious scones n so many other absolutely Yummycilious recipes n tips
Jessica Holmes says
I hope you get to try them!
Carol says
Hi Jessica, I made these for Mother’s day and they were delicious but I did run into a few problems. My scone dough was super sticky and I had a hard time taking them out of the cutter (Next time I’ll make sure I flour the cutter). And it did collapse in the oven. Any ideas what I did wrong?
This didn’t effect the taste of the scones because they did come out very fluffy. I like the addition of sugar to the dough but I think next time I’ll reduce it down to 1/2 or 2/3 as we usually serve it with cream and jam.
Jessica Holmes says
Hi Carol, so pleased they were fluffy for you! The dough should definitely be on the drier side. If you see my video, it should be quite shaggy and only just come together. If your dough was sticky, try adding less buttermilk next time. Maybe start with 240 ml and then add a tablespoon more at a time as needed? Let me know how you go!
Olivia Ostrin says
I made 2 batches of these for Mother’s Day. I followed the excellent directions and they were simply delicious!! My kids and grandkids said that they are definitely a make again recipe! By the way, I am originally from South Africa so I have made scones dozens of times!!
Jessica Holmes says
How wonderful to hear Olivia! I’m so pleased your kids and grandkids loved them too. Sounds like you nailed the recipe!