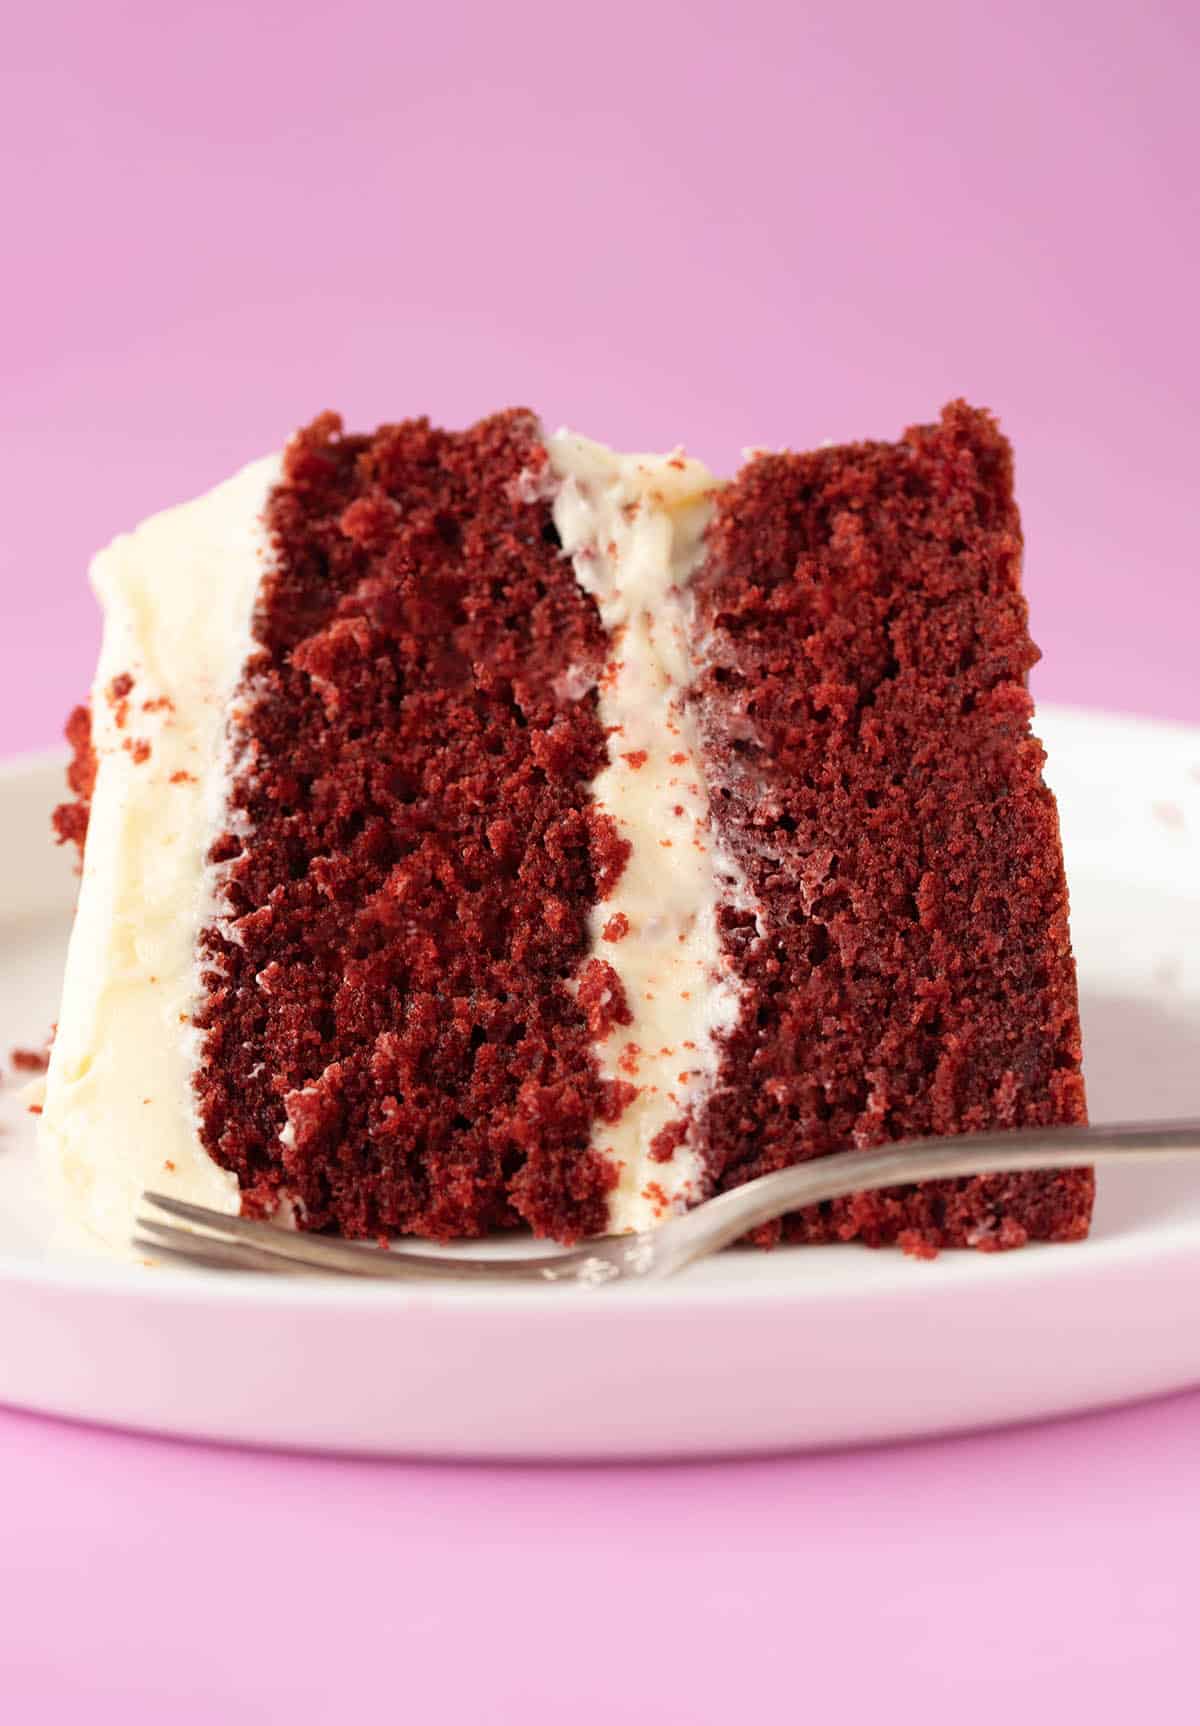
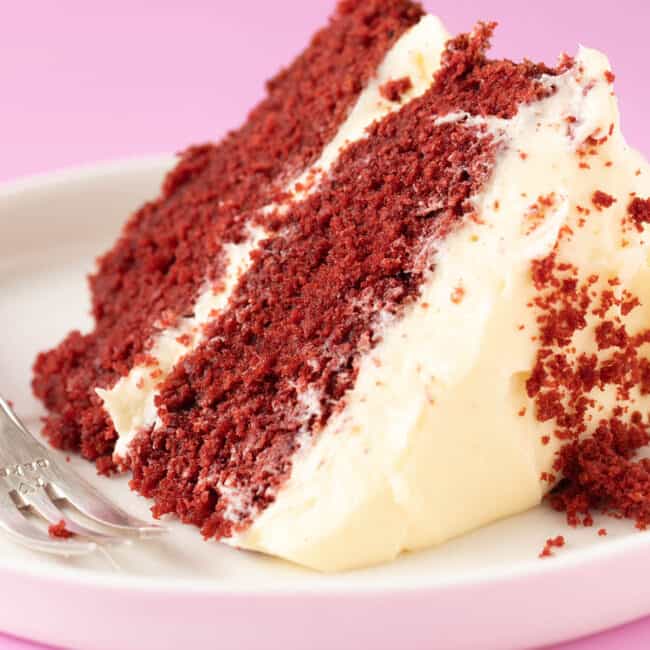
Deliciously soft Red Velvet Cake covered in classic cream cheese frosting. This buttery cake is light and tender with a seriously velvety texture. It’s so much easier to make than you’d think. And it’s a stunning cake for special occasions.
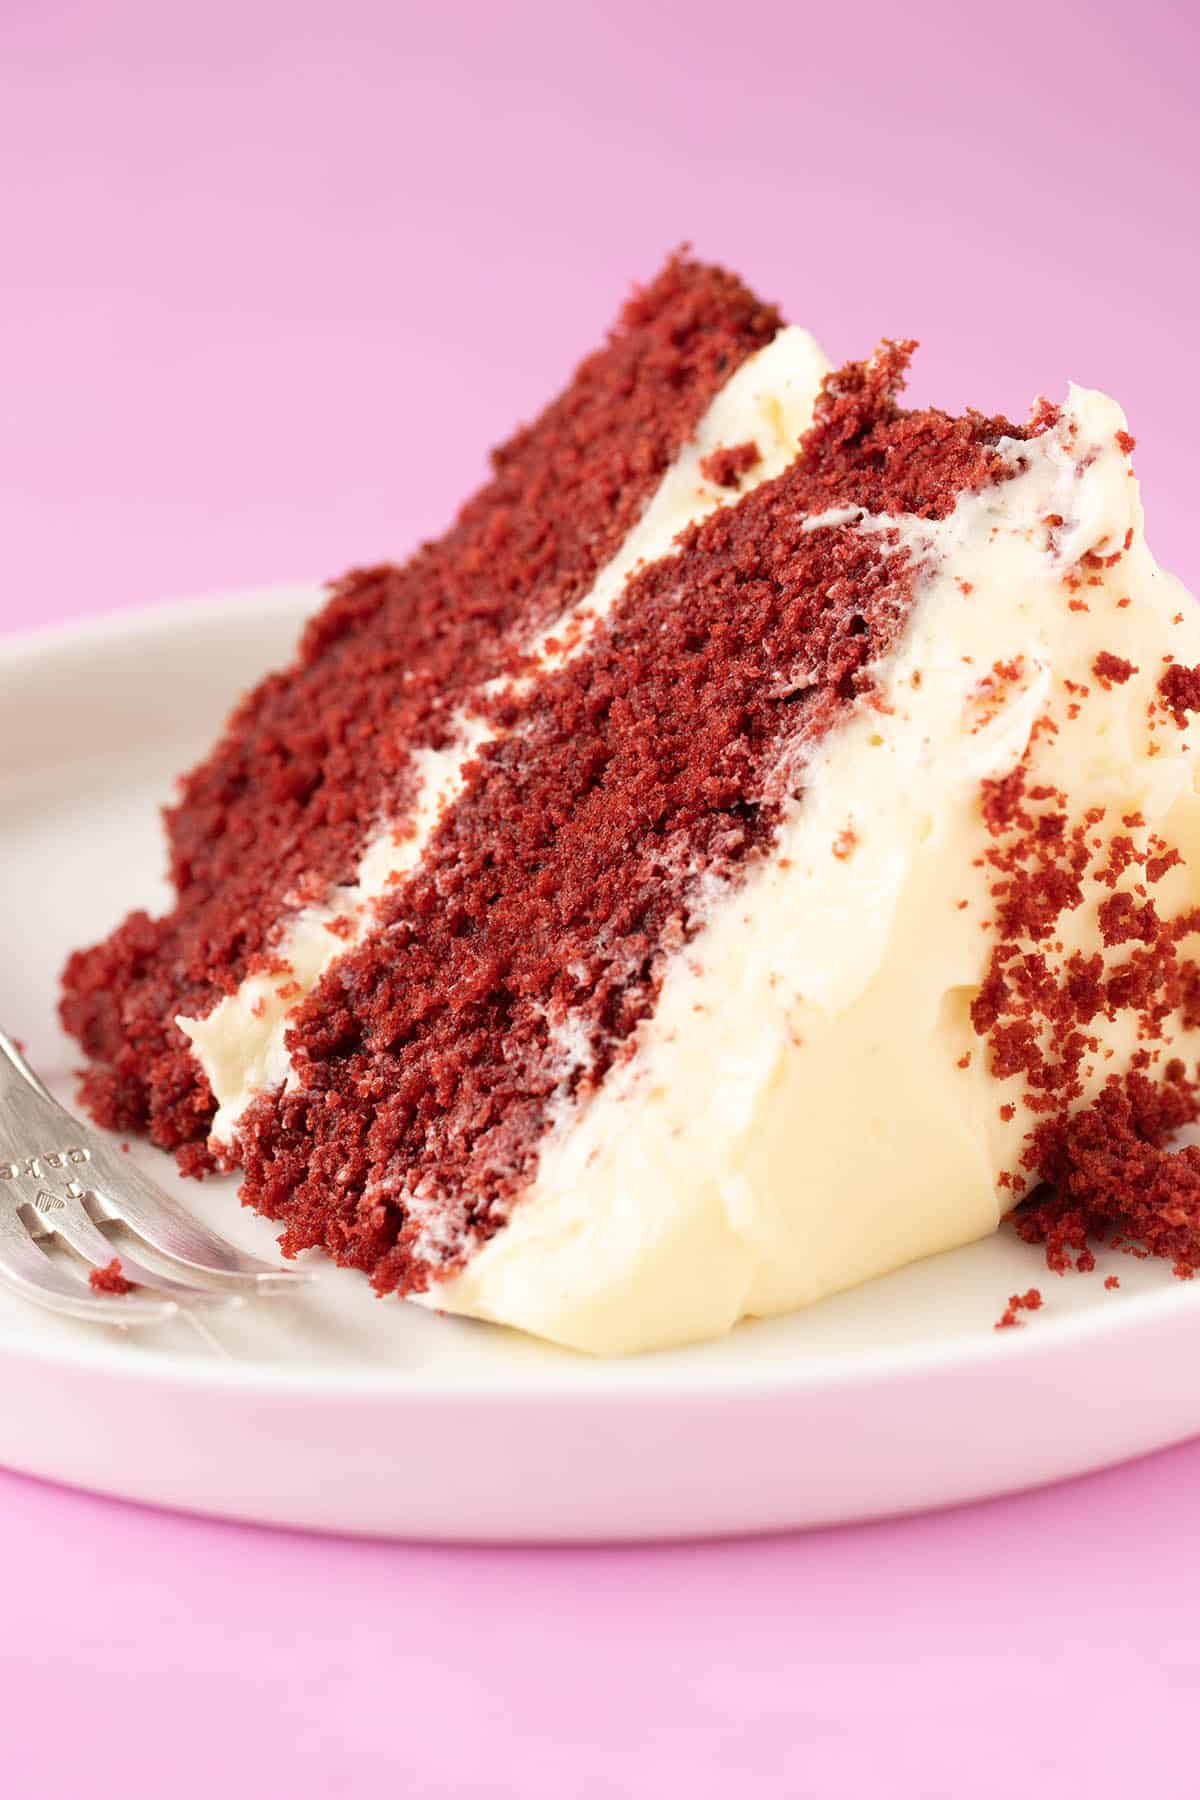
She’s here, she’s here! ❤️ My beautiful Red Velvet Cake featuring a soft, buttery crumb and a slathering of rich cream cheese frosting.
This easy cake not only looks stunning with its stark red interior, but it tastes amazing too. Expect a stick-to-your-fork crumb and a tangy frosting that’ll make you weak at the knees.
She’s a classic for a reason! And she’s now one of my firm favourites. We love this cake for birthdays, anniversaries or special occasions.
Why you will love this cake
- Easy: My Red Velvet Cake is easy to make and tastes amazing.
- Tender crumb: It has a deliciously soft and tender crumb.
- Smooth frosting: Expect a luscious cream cheese frosting.
- Celebration cake: It’s a beautiful layer cake, perfect for special occasions.
The cake was a big hit and stayed moist and fresh the whole time even after cutting it and storing in the fridge. The sponge never never got dry.
– Connie
What is Red Velvet Cake?
I first tried Red Velvet Cake from Sprinkles Bakery in Los Angeles. One bite and I was smitten! This unusual cake is recognisable by its striking red colour, achieved by food colouring. But what does it taste like? I describe the flavour of this cake as part vanilla, part chocolate, and using my recipe, super buttery too.
It has a little cocoa powder and plenty of vanilla extract, but perhaps it’s most famous feature is it soft, velvety crumb – thanks to vinegar and buttermilk. Paired with a thick and creamy cream cheese frosting, it really is a beautiful cake.
Recipe testing
What I wanted: A buttery layer cake with a soft and tender crumb. I wanted a true Red Velvet Cake that has a hint of cocoa and velvety texture, all paired with tangy cream cheese frosting.
I’ve been baking cake after cake for the past two weeks, and I’ve finally found THE one. One that has a lovely moist crumb and is bursting with flavour – and has just the right amount of chocolate and vanilla.
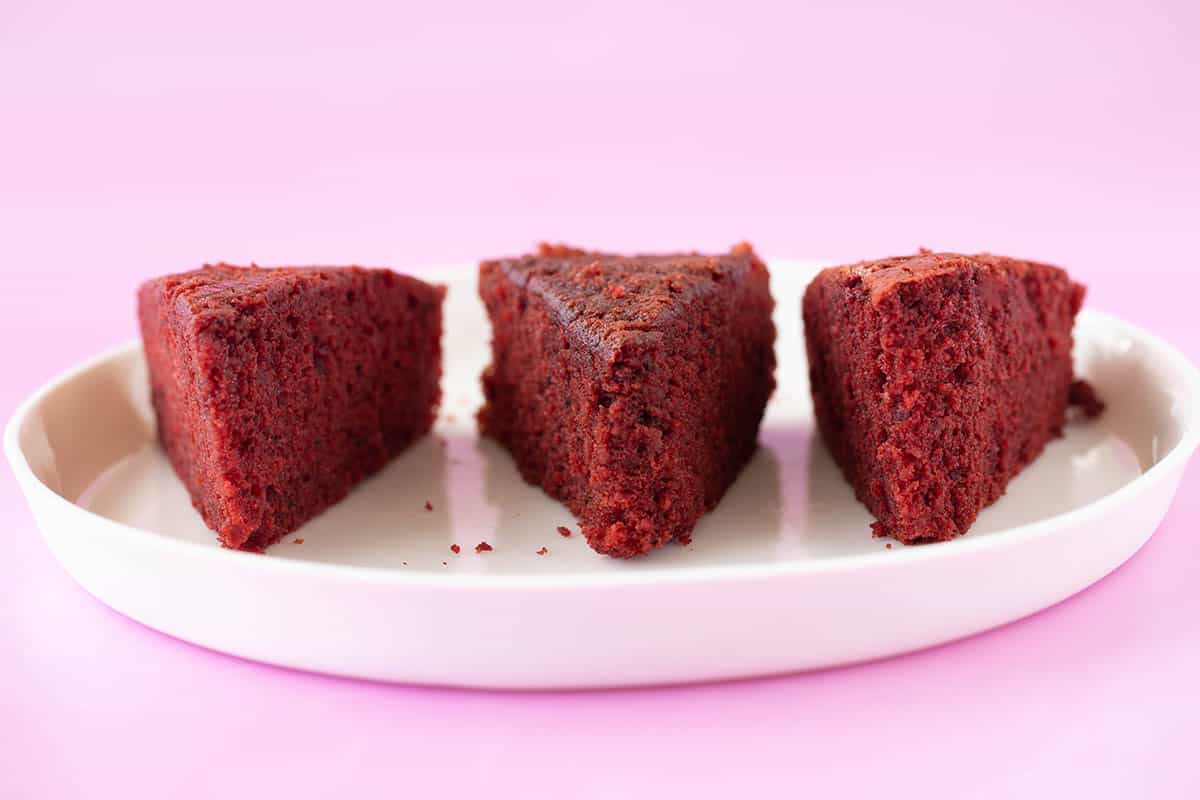
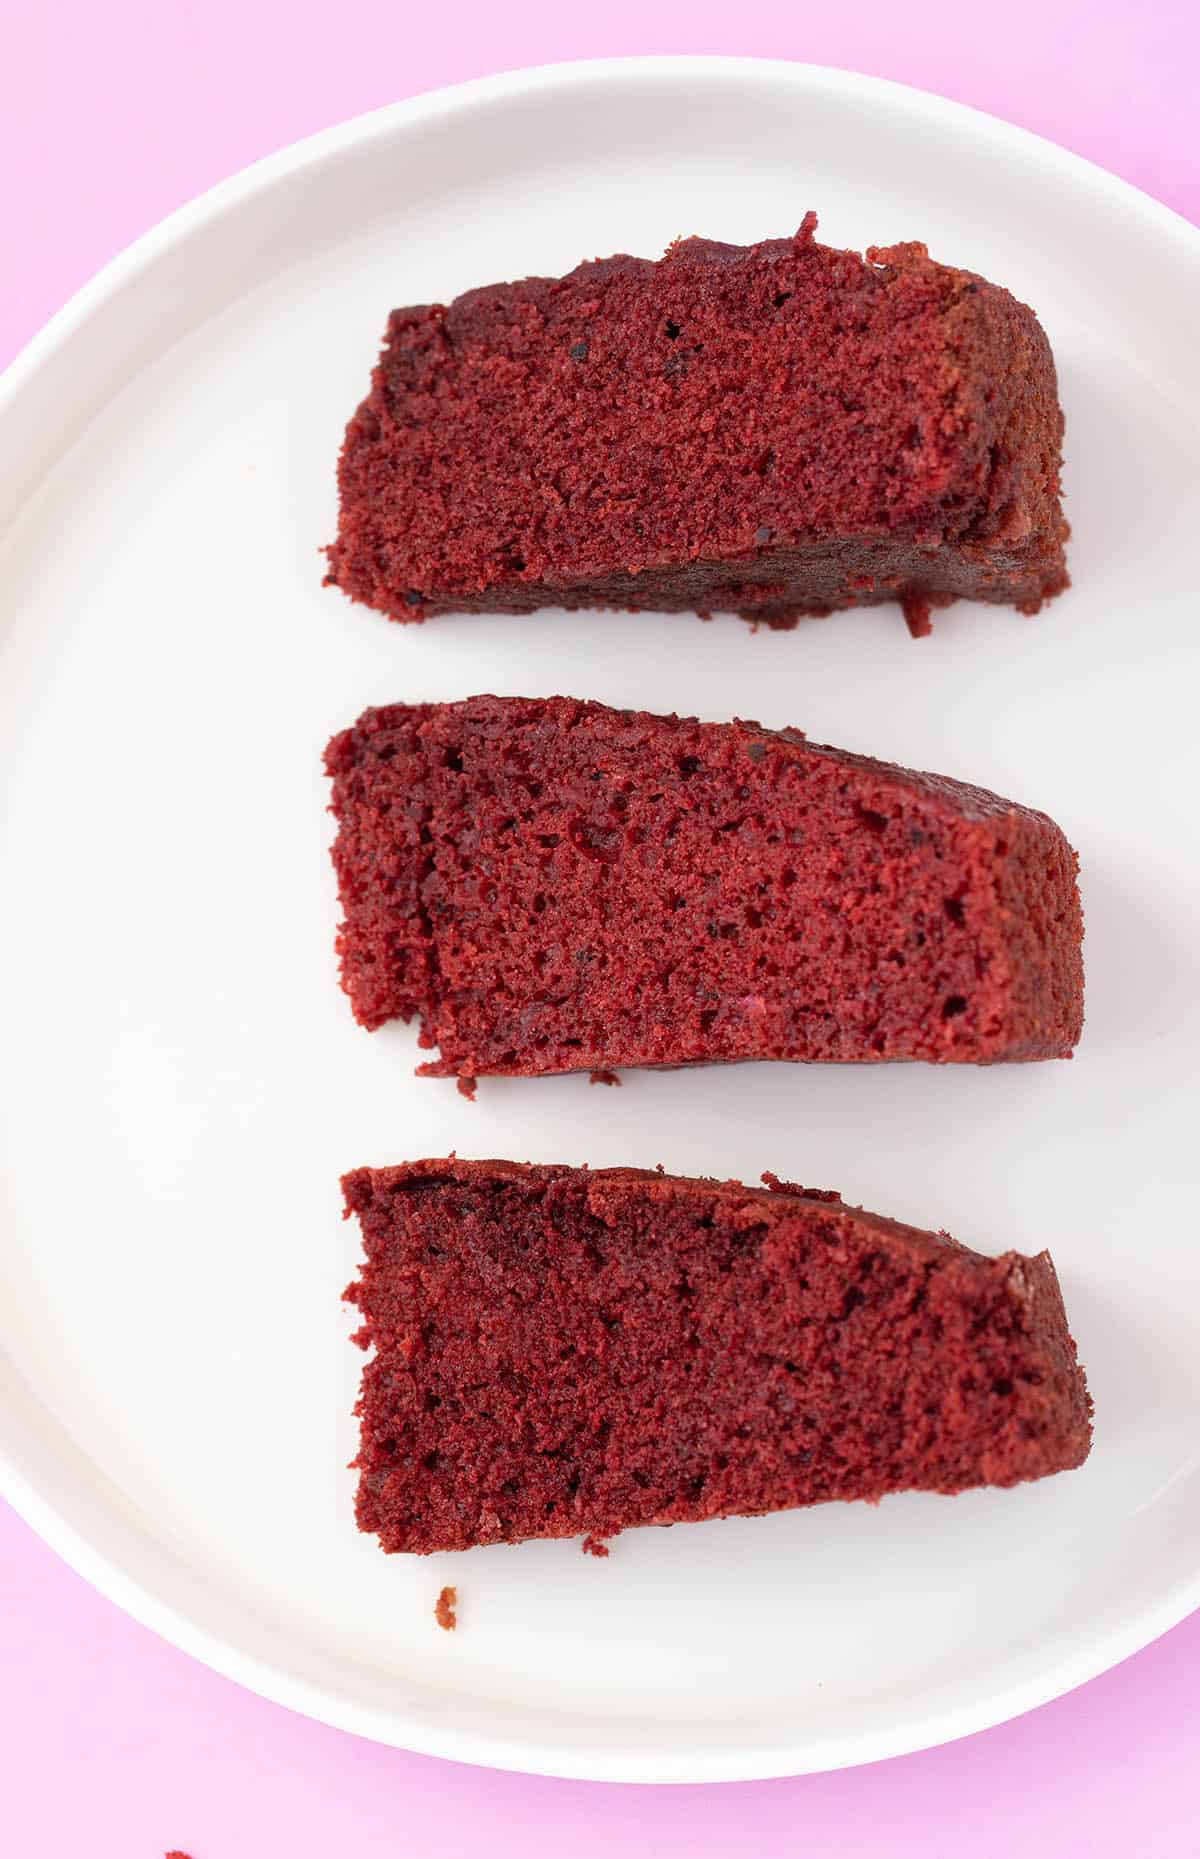
I tried making this cake using butter and oil, then just oil, and just butter. While oil is known for making a lovely moist cake (like my favourite Apple Cake), sometimes nothing can beat the flavour that butter brings to cake batter.
And in this cake, butter helps makes the perfect Red Velvet Cake. I attempted making this cake with melted butter (like I do in my fave Red Velvet Cupcake recipe) and also creaming the butter.
And just like I discovered when testing my Pound Cake recipe, I found creaming the butter and sugar properly helped create a truly soft and tender cake. Using real buttermilk (not a substitute) was also a gamechanger.
Food colouring
Just like my favourite Red Velvet Cookies and Red Velvet Crinkles, it’s the vibrant colour that makes this cake a showstopper. Over the years, I’ve found that using an oil based food colouring or a gel based food colouring is what will give you the best results.
Regular food colouring that you buy from the supermarket is generally very watery. You will need to use multiple tablespoons of it to get the same result that only 1 teaspoon of an oil based food gel will provide. And I find it’s never as vibrant. So forget faffing about with watery food colouring and buy a good quality food gel in red. You’ll use it.
I tested this recipe using Colour Mill food colouring.
How to make Red Velvet Cake
- We begin by creaming the butter and sugar together. This is perhaps the most important step, so take your time and do it right. Make sure your butter is softened (very soft) and then take the time to beat it with an electric mixer, along with your sugar, until it’s pale, creamy and a little fluffy.
- Next, add room temperature eggs, one at a time. Continue to mix on low speed just to combine. Sometimes the mixture can look a little curdled here – that’s ok! Take a second to scrape down the sides of the bowl.
- In a separate mixing bowl, add flour, cocoa powder, baking soda and salt. And in another bowl, add buttermilk, vinegar, vanilla and food colouring. Give it a stir until it’s a vibrant red.
- Add half of the flour mixture and all the buttermilk mixture to your butter and start to beat on a low speed. Add the remaining flour mix and beat just until you have a lovely thick, creamy and red cake batter.
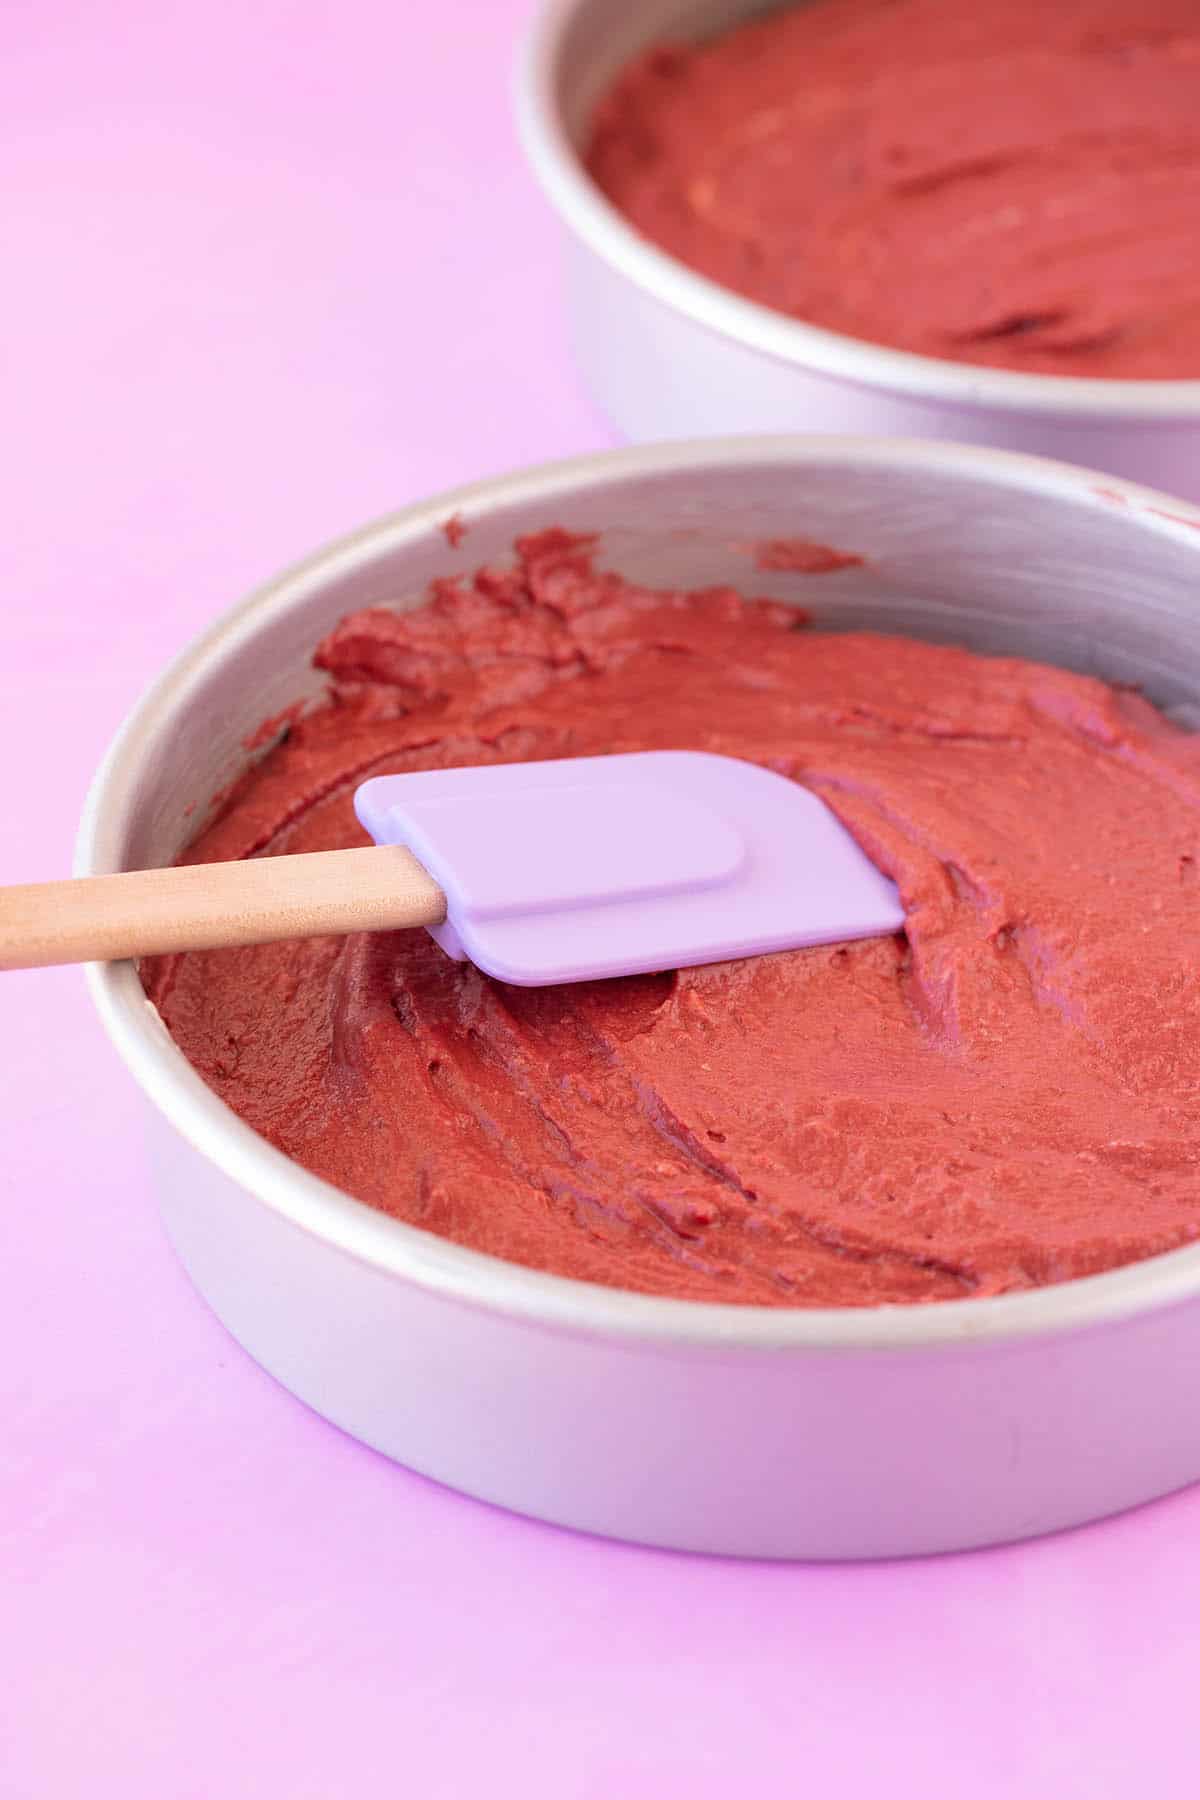
- Divide the cake batter between two cake pans and then bake until a skewer comes out clean. Leave to cool completely before frosting.
Turn that cake upside down
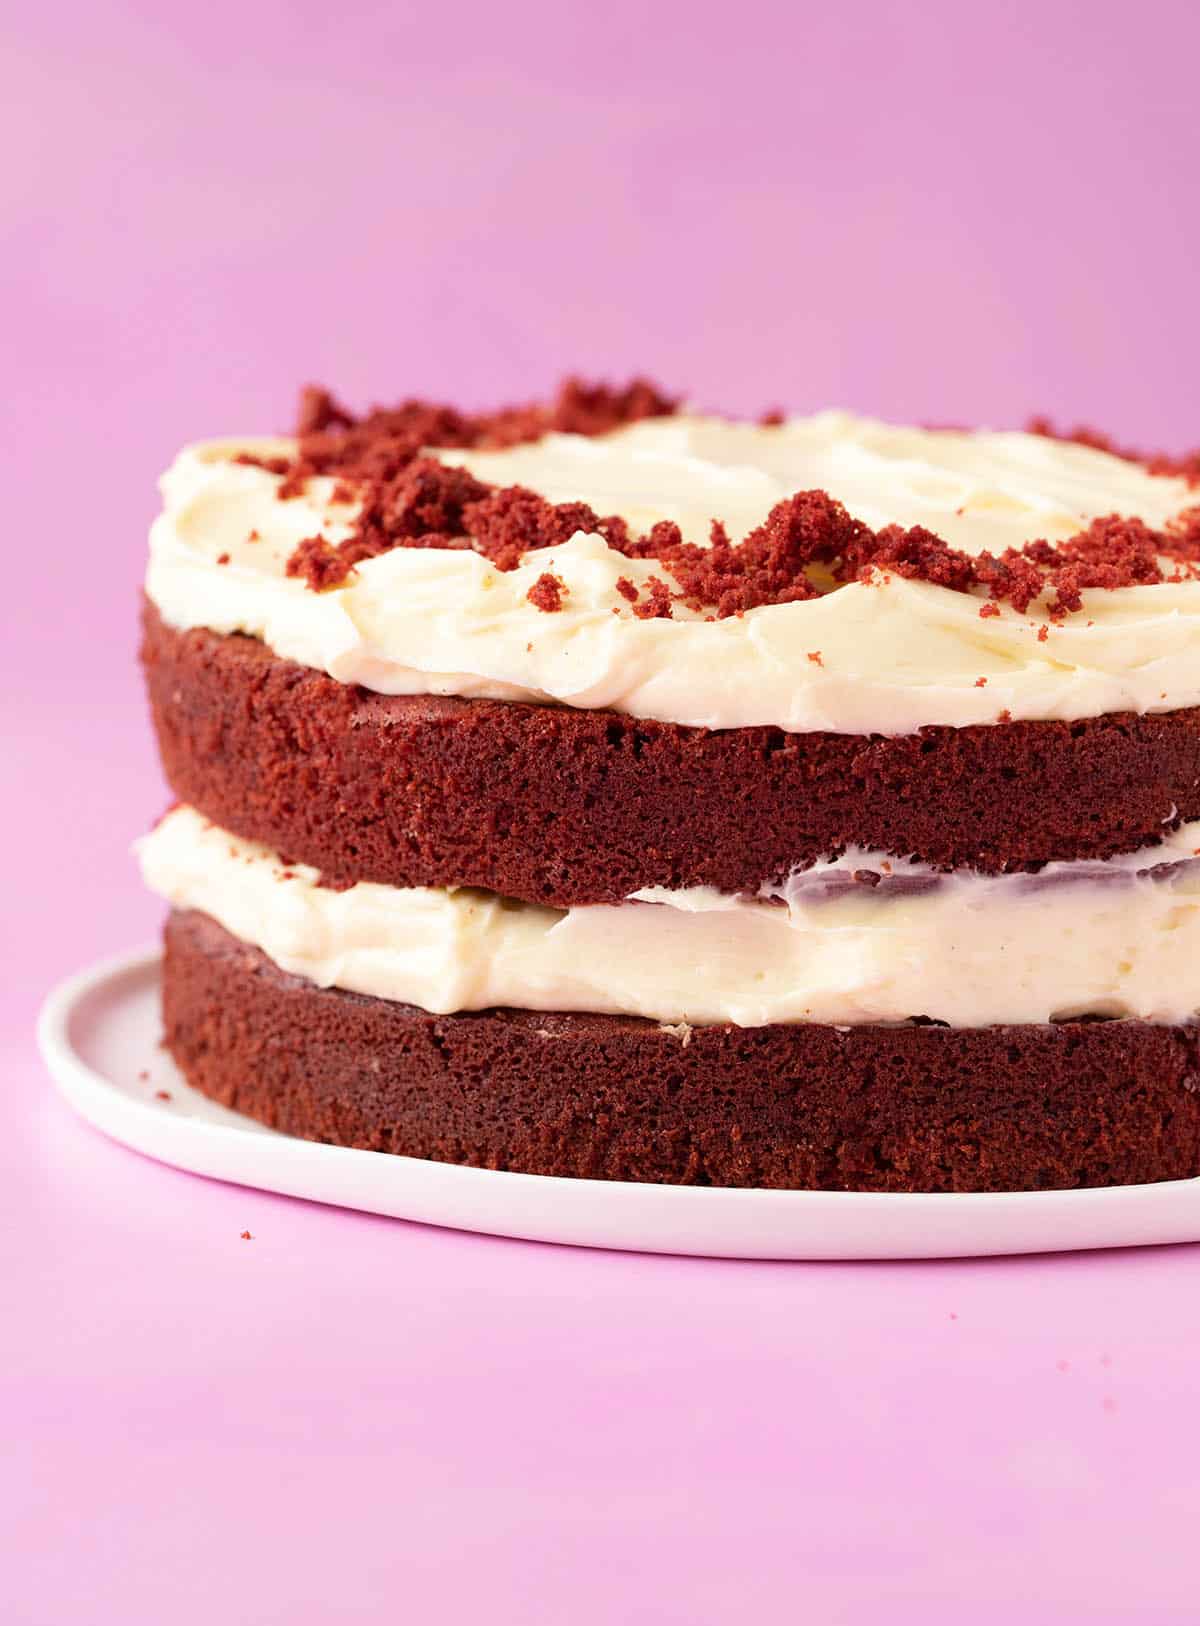
For the perfect flat top cake, turn the top layer of cake upside down. It makes it easier to frost and decorate.
save this recipe
Lets talk cream cheese frosting
The perfect cream cheese frosting is tangy but sweet, thick but spreadable. It pairs beautifully with Banana Cake, Carrot Cake and, of course, Red Velvet Cake. Here are my three tips for perfect cream cheese frosting.
- Make sure you buy the right cream cheese
The best cream cheese for frostings is a block of full fat cream cheese (I usually use Philadelphia brand). Don’t use light or spreadable cream cheese if you can or your frosting may not have that thick, full-bodied texture we know and love. I know this cream cheese is hard (or impossible) to find in the UK so use what you think is next best. If your frosting seems runny, try refrigerating the frosting for 30 minutes before using. - Make sure your butter AND cream cheese are at room temperature
This will ensure your frosting is lovely and smooth without little lumps of cream cheese. - Sift your icing or powdered sugar
Don’t skip this step. It makes ALL the difference. It will help you achieve a truly smooth frosting.
Frequently asked questions
See above for notes on food colouring. I recommend using an oil based food gel rather than food colouring. It’s much more concentrated and will help you achieve the vibrancy.
For best results, I recommend using store bought buttermilk. While homemade buttermilk will work ok, the full bodied, full fat version works best for creating the lovely, light, tender crumb in this cake.
Red Velvet Cake pairs beautifully with chocolate buttercream. Try my Chocolate Frosting recipe.
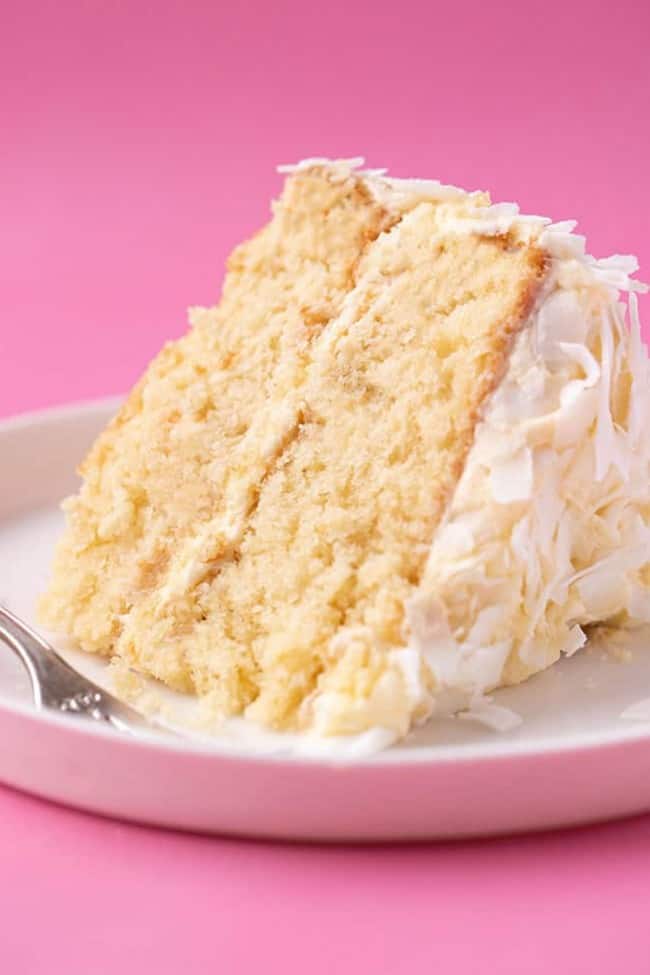
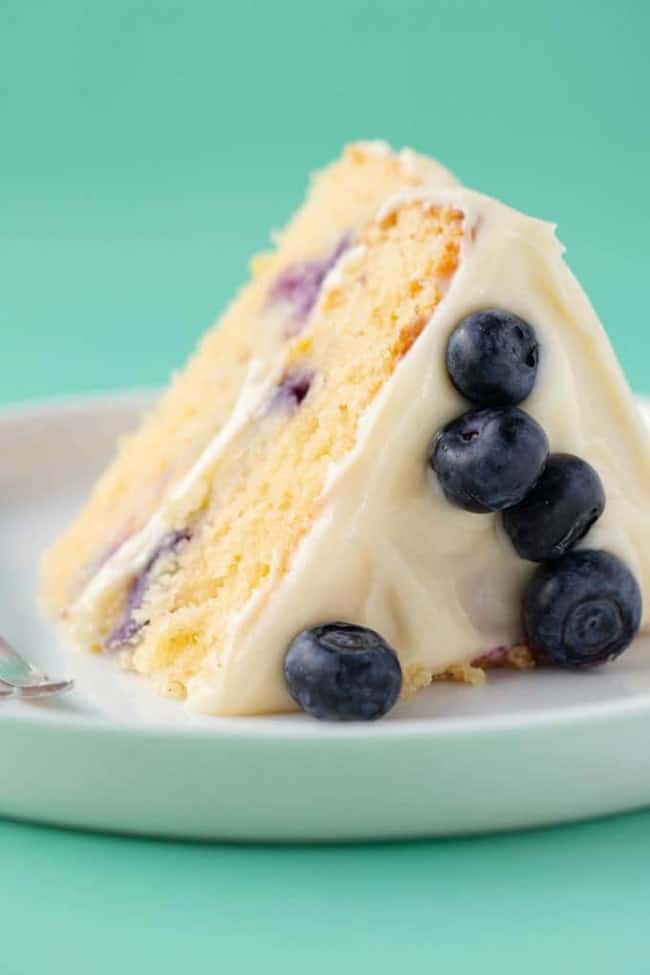
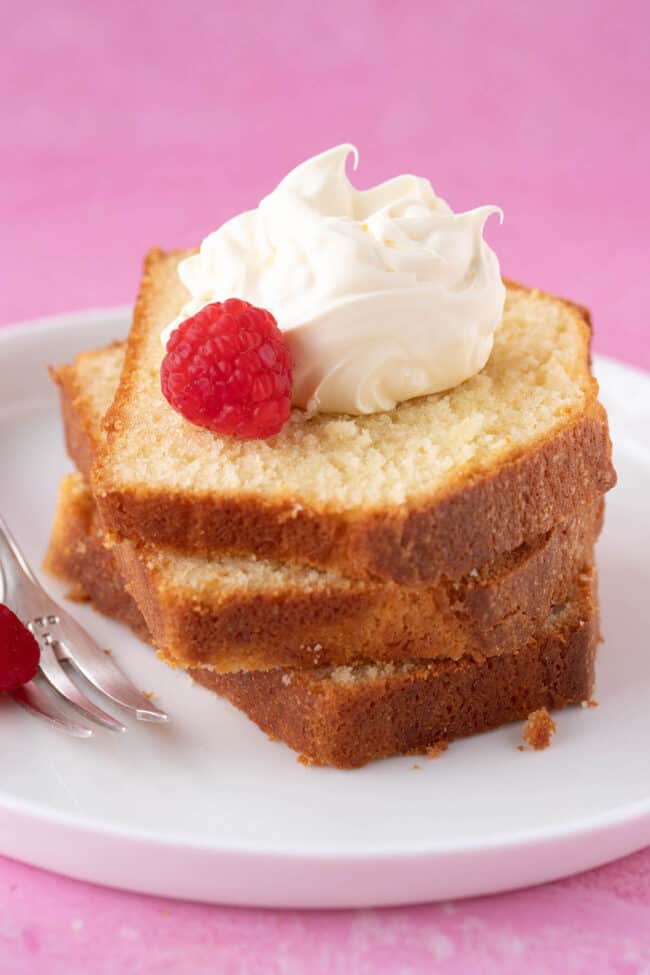
More cake recipes to love
Did you make this recipe? Don’t forget to rate the recipe and leave a comment below. Hungry for more? Join me on Instagram, YouTube, Facebook, Pinterest and TikTok for more amazing recipe ideas.
Let’s Bake
Red Velvet Cake
Deliciously soft and tender Red Velvet Cake covered in cream cheese frosting.
Ingredients
Red velvet cake
- 230 grams (1 cup or 2 sticks) unsalted butter, softened
- 300 grams (1 and 1/2 cups) caster sugar or granulated sugar
- 3 large eggs, room temperature
- 350 grams (2 and 1/2 cups) plain flour or all purpose flour
- 20 grams (3 level tablespoons) natural cocoa powder, sifted
- 1 teaspoon baking soda
- 1/4 teaspoon salt
- 300 ml (1 and 1/4 cup) full fat buttermilk*, room temperature
- 1 tablespoon white vinegar
- 1 tablespoon vanilla extract
- 1 teaspoon red oil-based food gel*
Cream cheese frosting
- 500 grams (approximately 2 and 1/2 cups) full fat block cream cheese*, room temperature
- 60 grams (1/4 cup) butter, room temperature
- 310 grams (2 and 1/2 cups) icing sugar or powdered sugar, sifted
- 2 teaspoons vanilla extract or vanilla bean paste
Instructions
- Red velvet cake
Preheat oven to 180 C (350 F) standard / 160C (320 F) fan-forced. Grease and line two 8-inch round cake pans with baking or parchment paper. - In a large mixing bowl, add butter and sugar. Beat with an electric mixer on low speed until combined and then turn speed up to medium and beat until the butter turns pale, creamy and almost fluffy. Don’t rush this step!
- Add eggs, one at a time, and beat briefly to combine – don’t worry if the mixture goes a little bit lumpy at this stage – then scrape down the sides of the bowl.
- In a large mixing bowl, whisk together flour, cocoa, baking soda and salt. Then, in a separate bowl, add buttermilk, vinegar, vanilla and food gel. Give it a good stir.
- To the creamed butter, add half the flour mixture and all of the buttermilk mixture. Start to mix on low speed. Add remaining flour mixture and beat briefly until a smooth and creamy cake batter forms (but try not to over mix).
- Divide cake batter between two pans and smooth the top. Bake for approximately 30-35 minutes or until a skewer inserted into the middle of the cake comes out clean. Gently remove cakes from cake pans and leave on a wire rack to cool completely.
- Cream cheese frosting
To make the frosting, add the cream cheese and butter to a large mixing bowl and beat with an electric mixer on medium speed until combined and smooth. - Add icing sugar and vanilla and beat again on low speed until combined. Then turn the mixer up to medium speed until frosting is smooth and creamy.
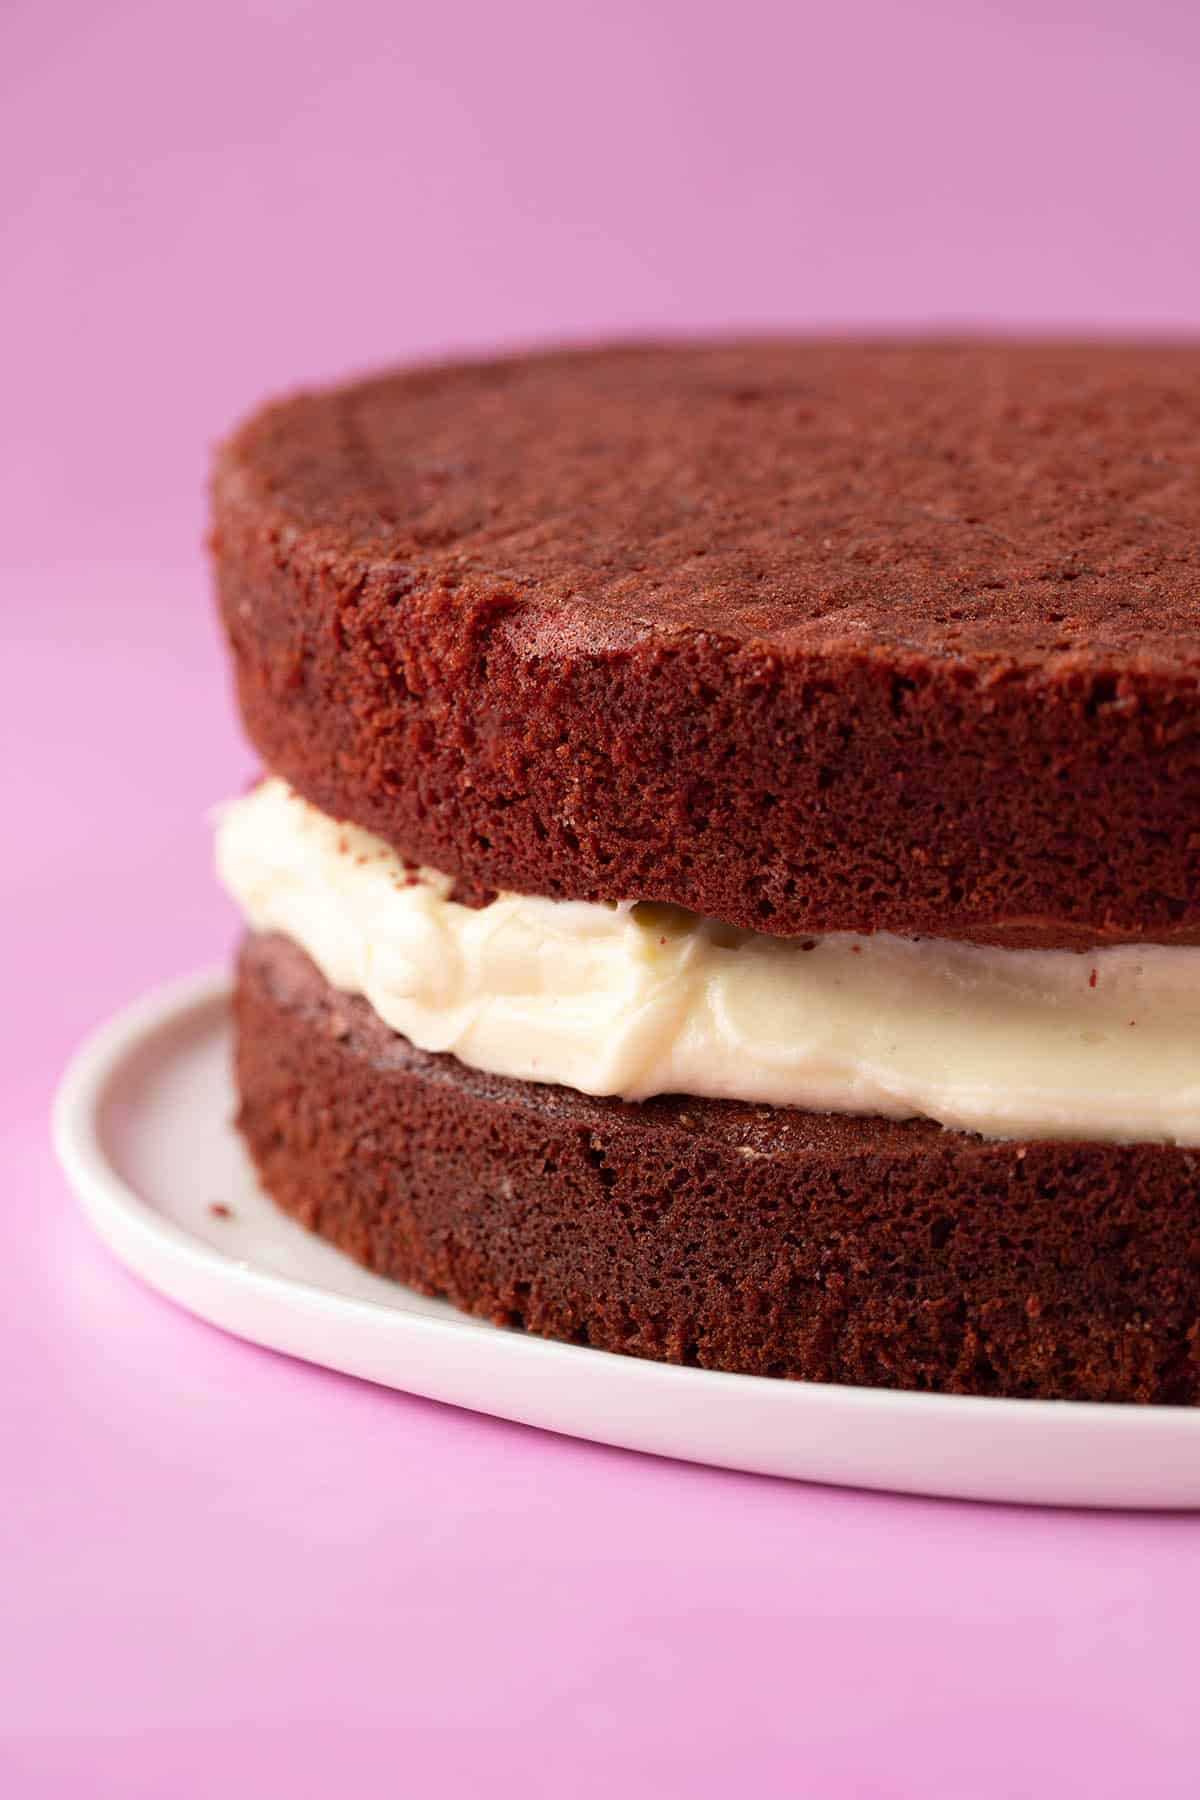
- Use a serrated knife to trim the tops of the two cakes. Set the excess cake aside to crumble and use for decorating.
- Spread one third of the frosting onto one of the cake layers. Add the other cake on top. Spread remaining frosting on top. Sprinkle over cake crumbs.
Notes
*Buttermilk: While I often use a buttermilk substitute in some recipes, I recommend using real buttermilk for best results. It aids in producing a very tender crumb. If you absolutely cannot get buttermilk where you live, a good substitute would be half milk and half full fat Greek yogurt or sour cream.
*Food colouring: Make sure you use an oil or gel based food colouring for best results. I tested this recipe using Colour Mill gel.
*Cream cheese: The best cream cheese to use is a block of full fat cream cheese. Don’t use light or spreadable cream cheese. UK readers: If you don’t have blocks of cream cheese available to you, use the next best thing. If you find your frosting is runny, refrigerate it for 30 minutes before using.
Nutrition Information
Serving Size: 1 slice Calories: 794 Sugar: 64.8 g Sodium: 427.4 mg Fat: 43 g Carbohydrates: 94.3 g Protein: 10.2 g Cholesterol: 169.9 mg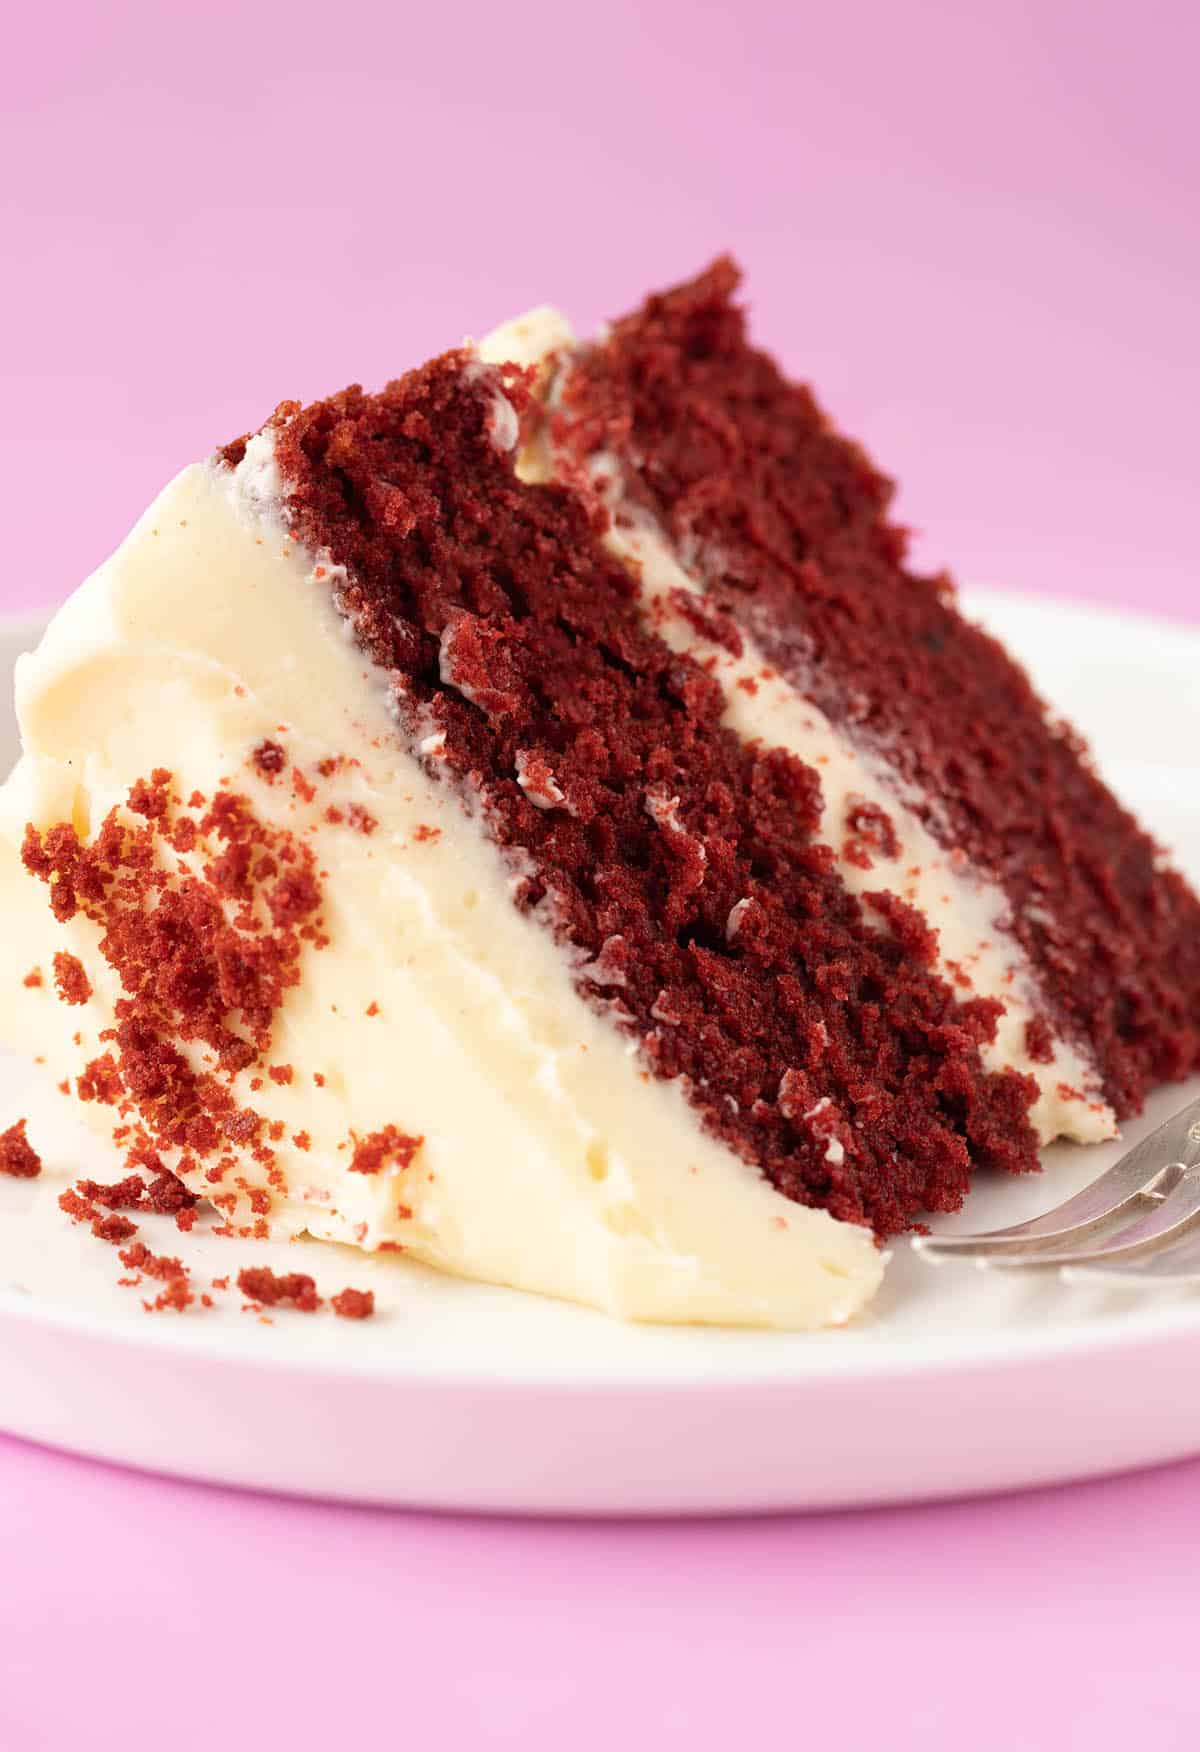
Hi, I’m Jess, the creator of Sweetest Menu and the author of Something Sweet. A self-taught baker and published recipe writer who can’t stop making easy and delicious baking recipes.

Lynne says
Hi Jessica, this is a great recipe. Everyone loved the moist texture of this cake and because it was made with butter it was very tasty and not oily
Jessica Holmes says
I’m so glad you love it Lynne! Thank you for your lovely feedback.
Lynne says
Looks great, very happy with the results of this red velvet cake.I didn’t use all the frosting as I don’t like it too sweet
Jessica Holmes says
So love hearing that!
Connie says
Hello ! Thank your for this recipe it is the best recipe for red velvet that I’ve tried so far. I’ve attempted to make Red Velvet cake two times before, with two different recipes and they both were oil based cakes. Since they were oil based i figured they would turn out moist, but they never did. They would dry out pretty fast and what captivated my attention right away to this recipe was all the testing using first oil and butter ! I used your recommendation for the buttermilk substitute (milk + greek yogurt) and used a normal coloring for the batter because i can’t easily get a gel based food coloring and it turned out amazing. The cake was a big hit and stayed moist and fresh the whole time even after cutting it and storing in the fridge. The sponge never never got dry. Excited to try more of your amazing recipes, and again thank you for sharing all your knowledge 🙂
Jessica Holmes says
This is wonderful to hear Connie! Thank you so much for your lovely feedback. A moist Red Velvet Cake really is the best isn’t it!