
Golden Brown Butter Chocolate Chip Cookies. Made with browned butter, these soft and chewy cookies have a deep caramel-like flavour and are filled with chocolate chips. They do need to chill for 24 hours but the results are worth it. I promise!
Brown butter magic ❤️
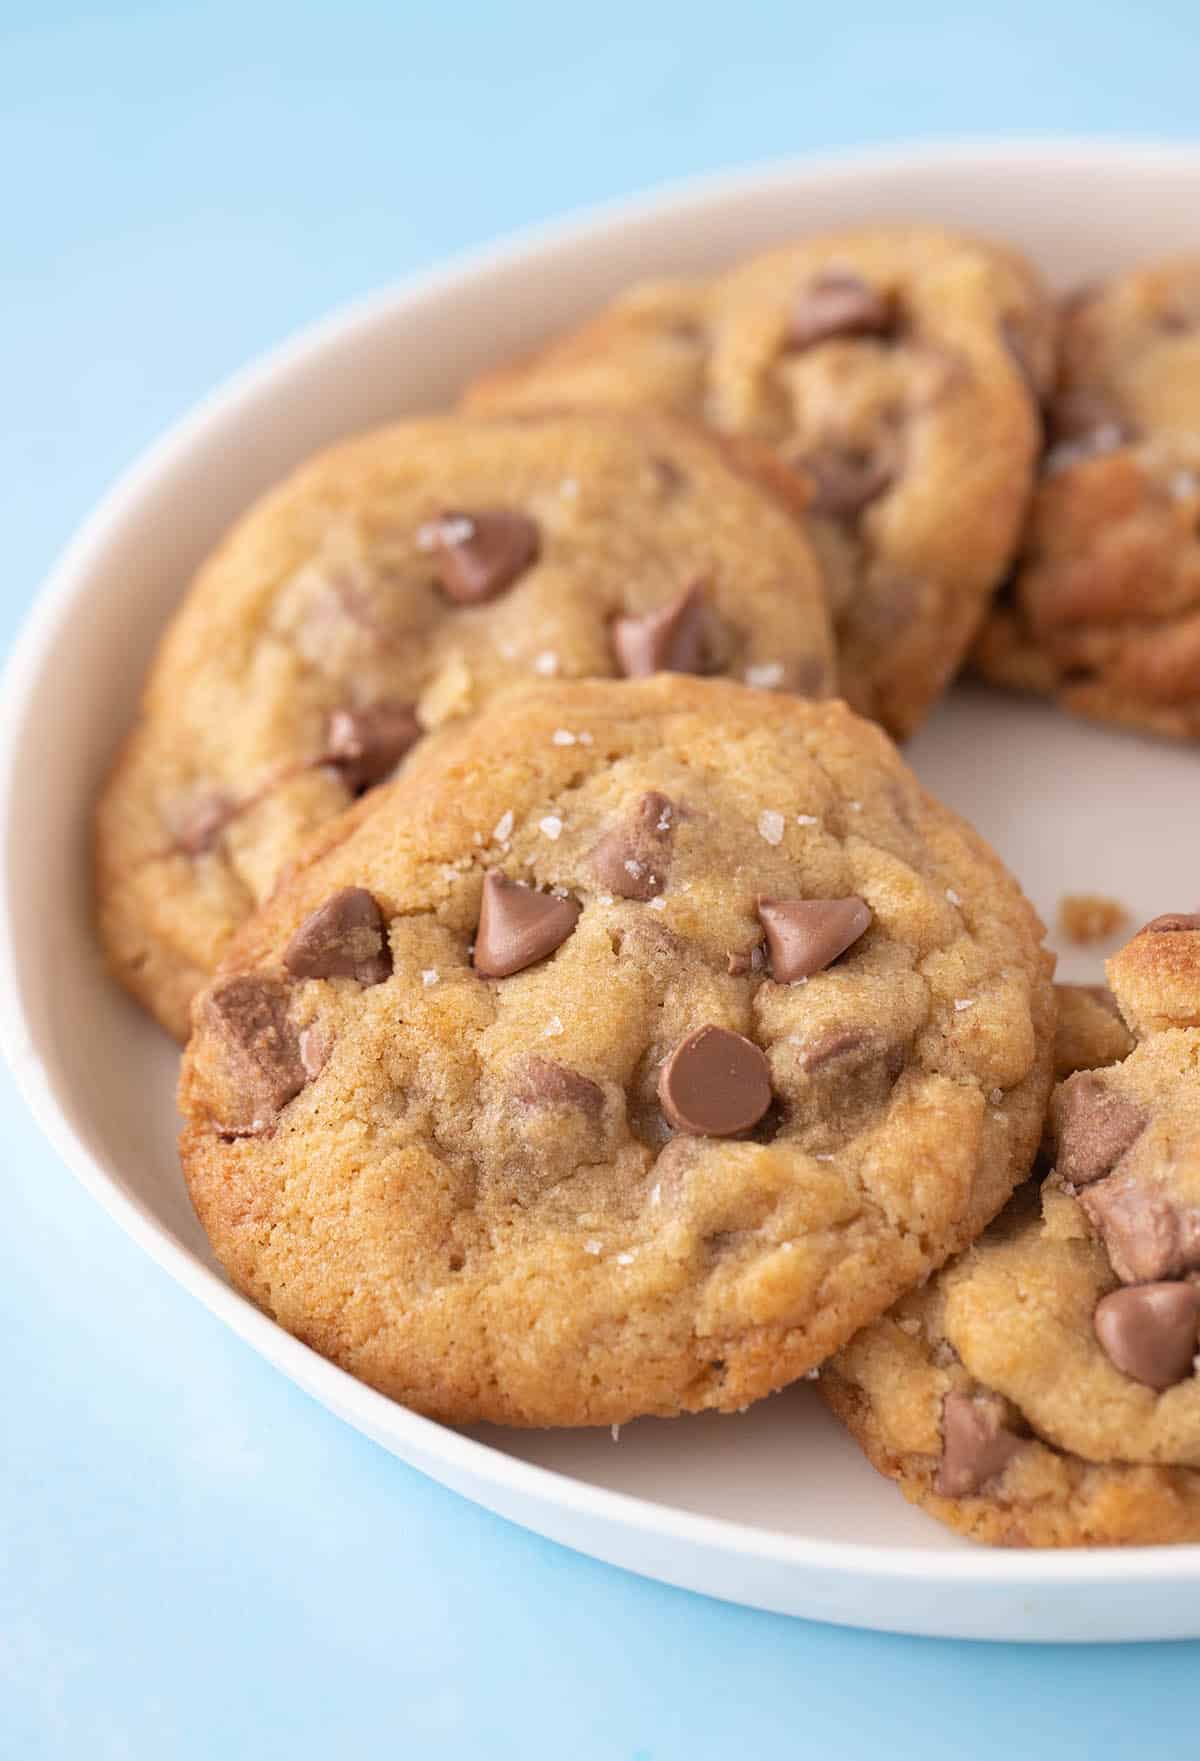
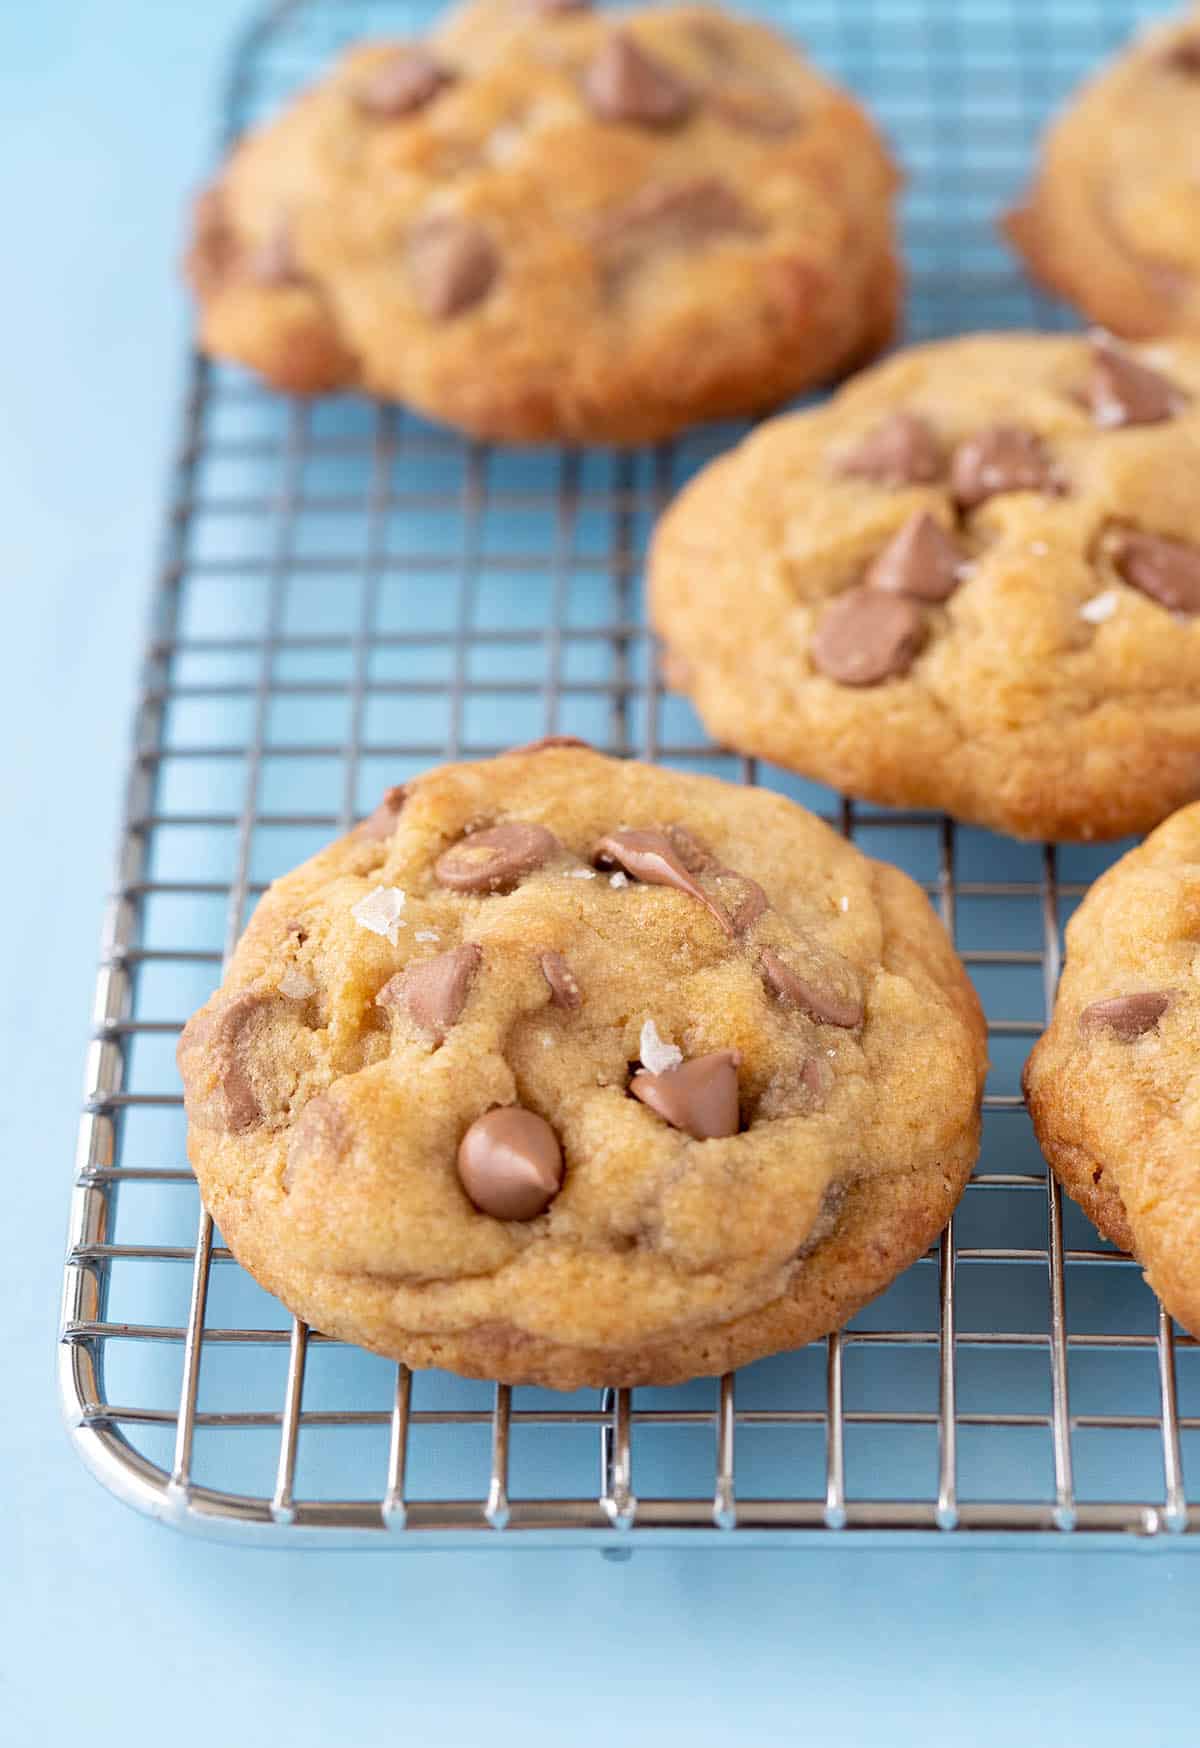
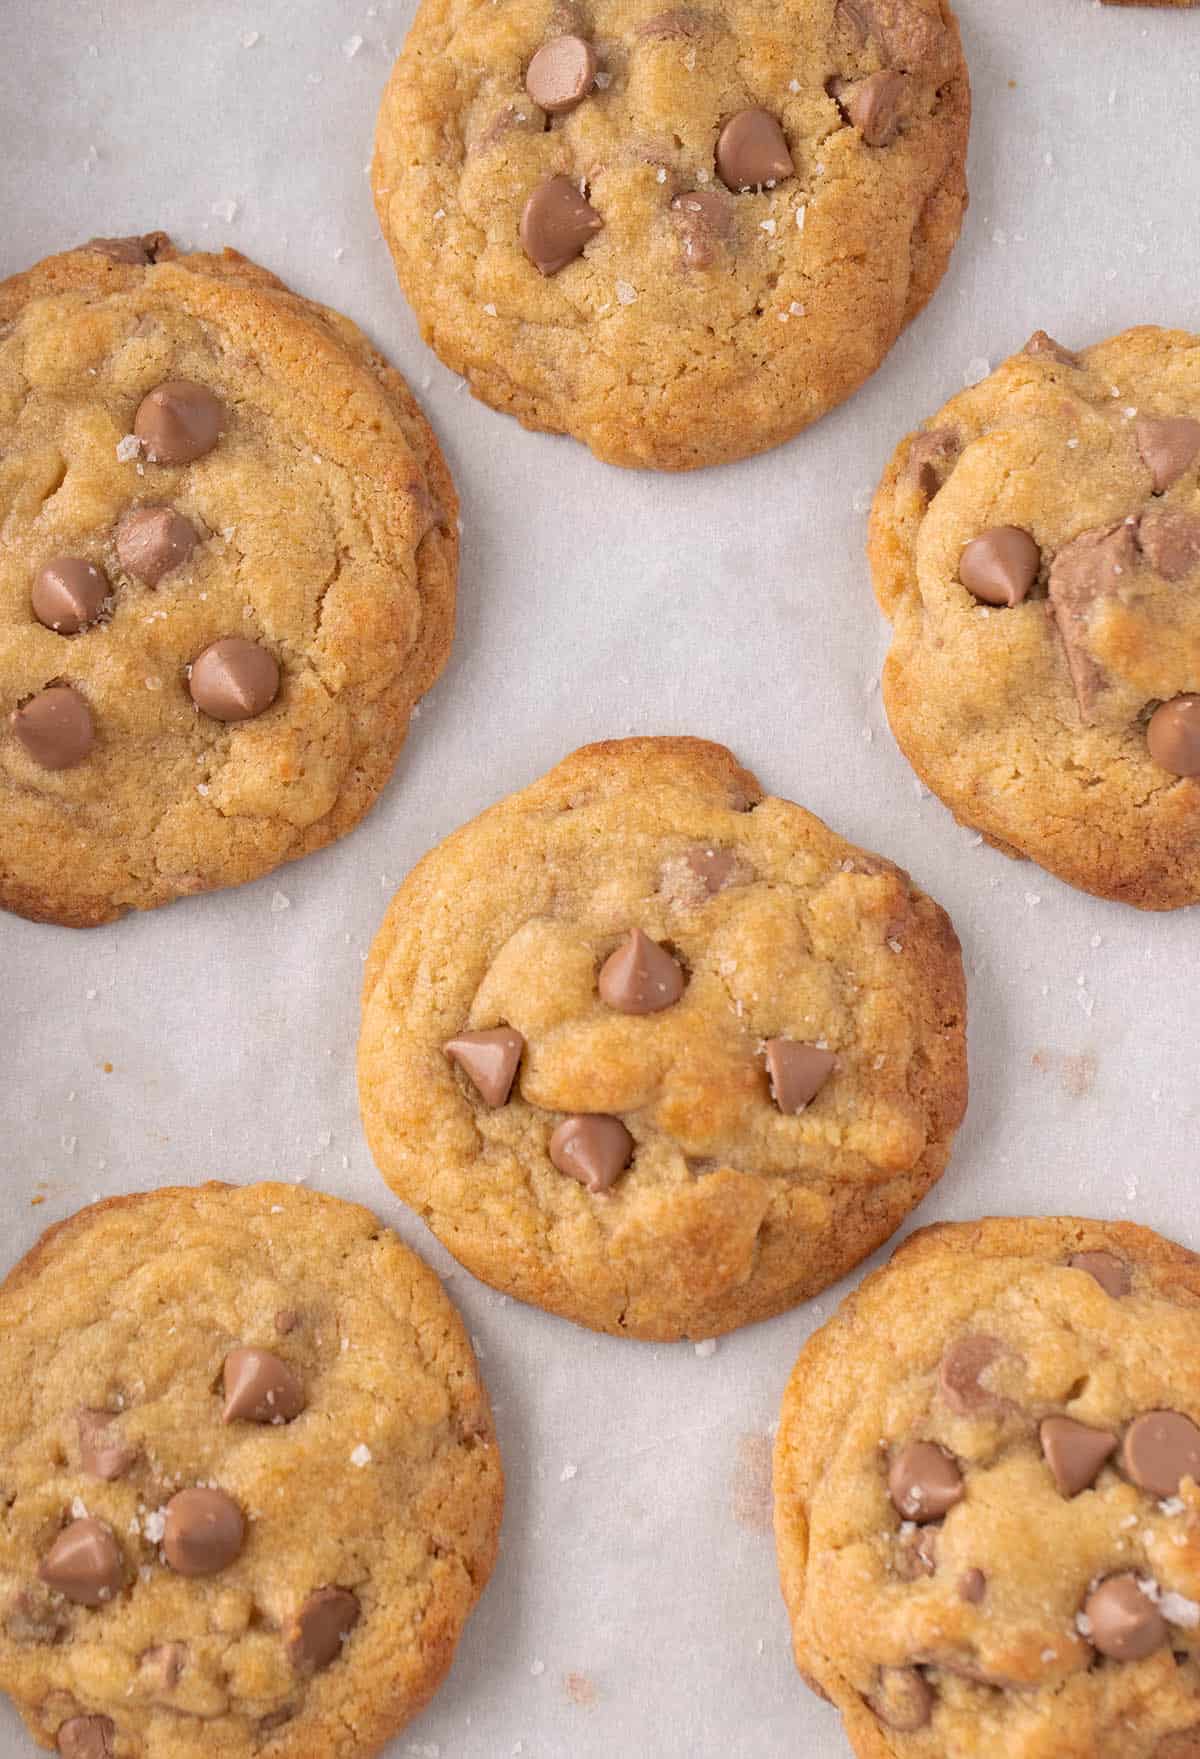
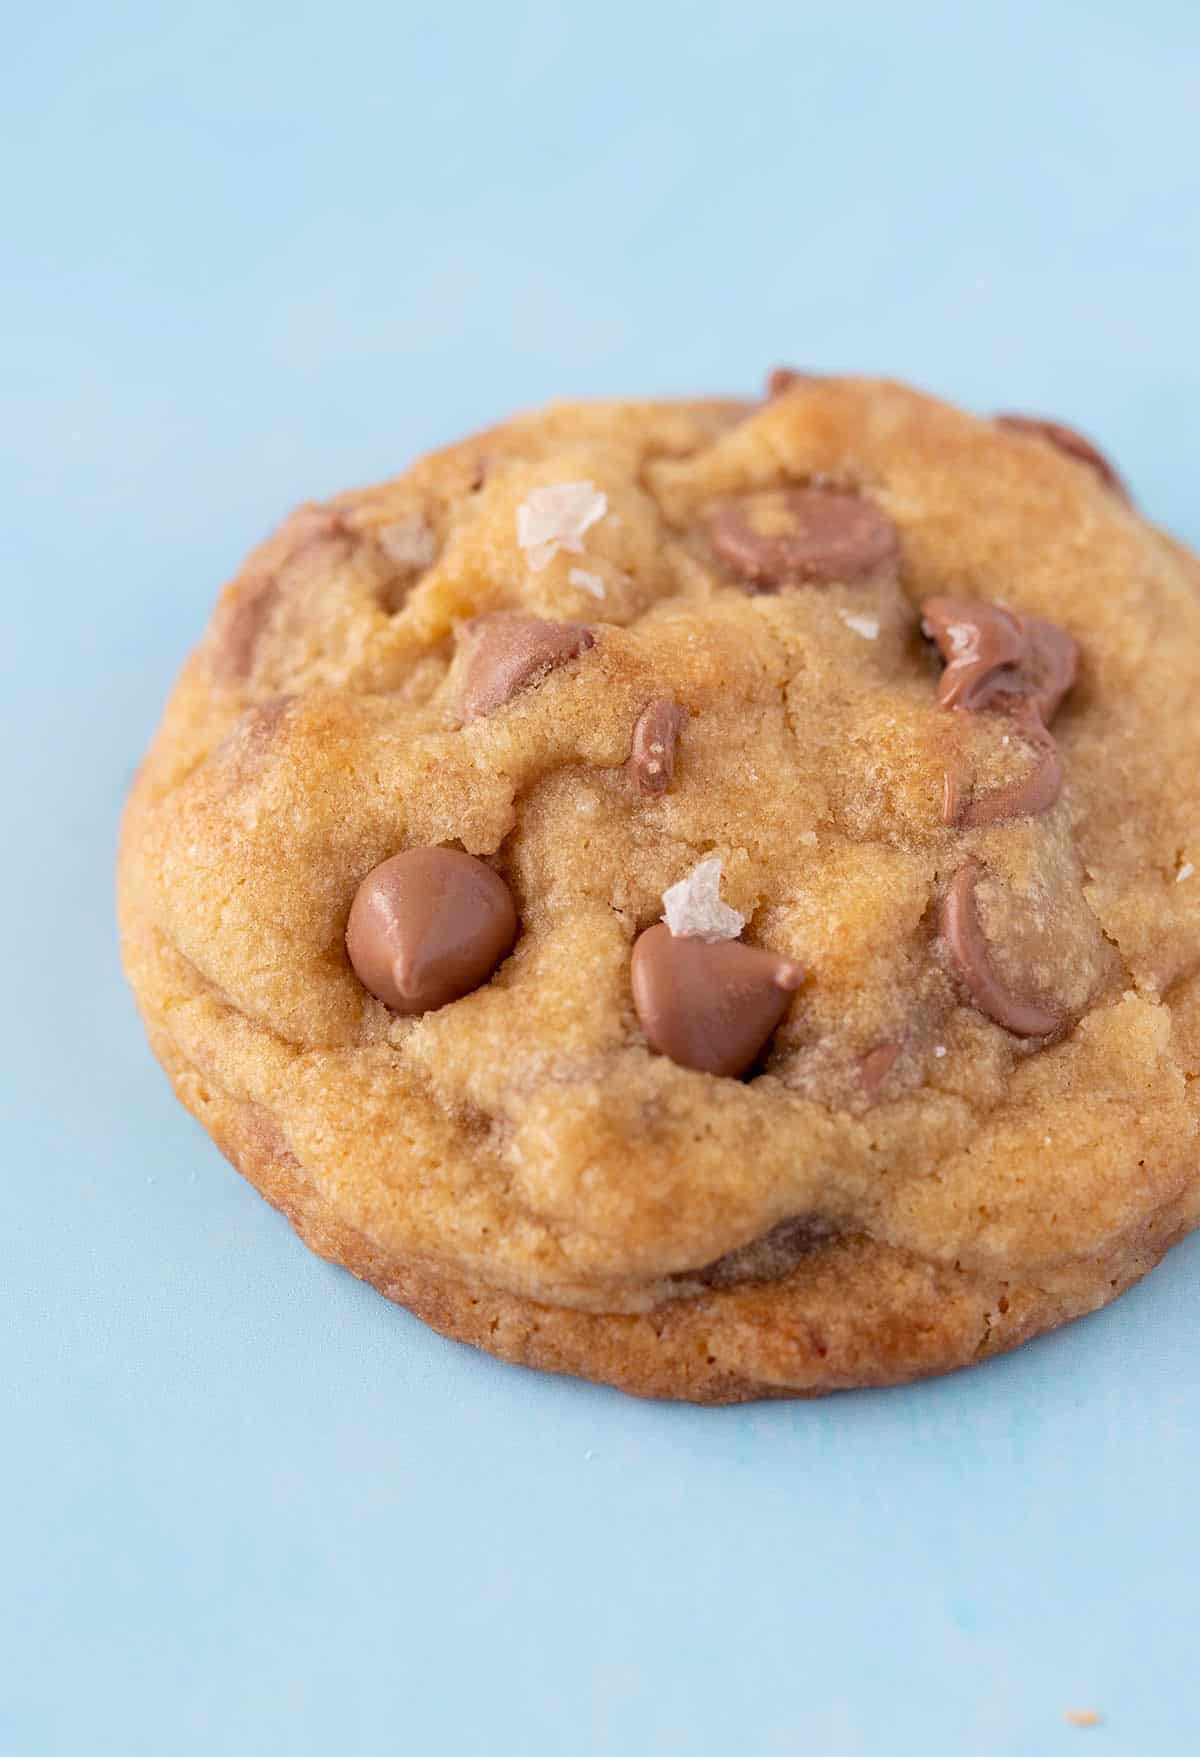
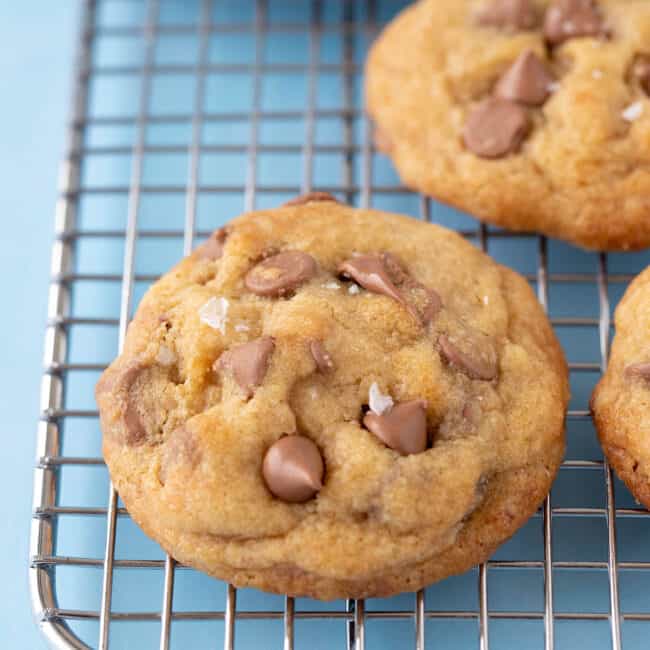
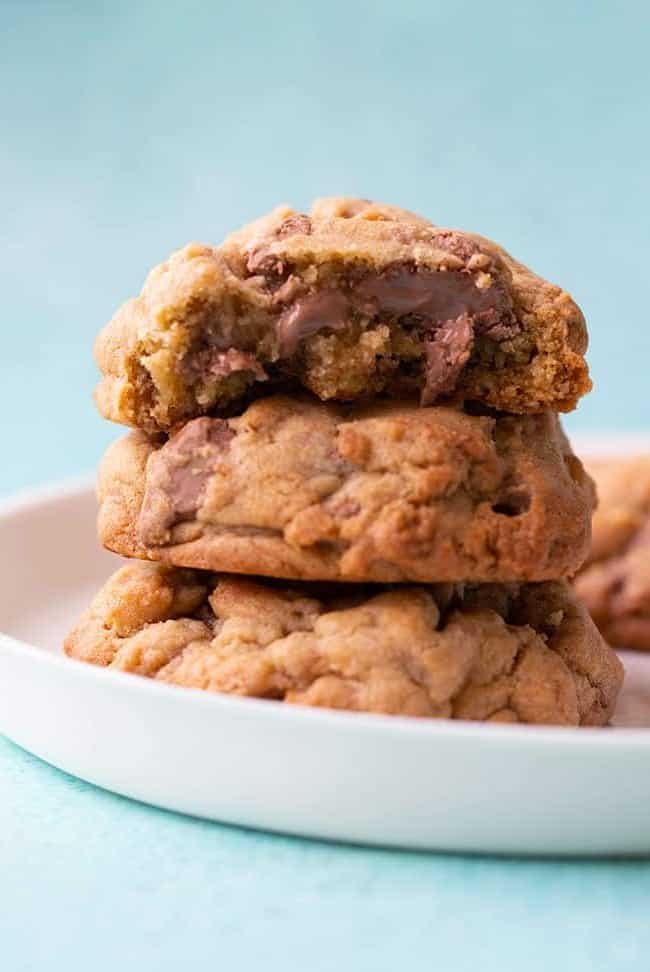
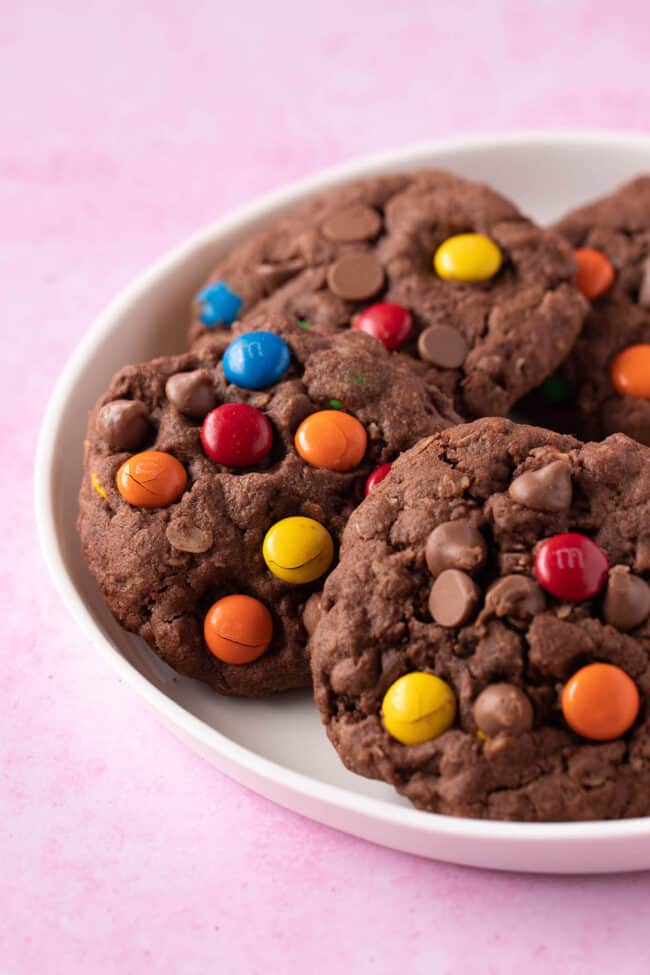
Big, beautiful, Brown Butter Chocolate Chip Cookies made from scratch. These golden cookies have chewy edges and soft centres filled with chocolate. Sprinkled with sea salt, they’re easily one of the best chocolate chip cookies I’ve ever had.
If you love the deep flavours of caramel and are willing to wait for a seriously good cookie, this recipe is for you.
Why you will love this cookie
- It’s made with brown butter = more flavour
- It boasts chewy edges and a soft, buttery centre
- We’ve added TWO types of chocolate (because life’s too short)
- You can freeze the cookie dough, so you always have it at the ready
Recipe testing
After creating the recipes for my favourite Classic Chocolate Chip Cookies and my thick Levain Bakery Cookies, I wasn’t sure I needed another chocolate chip cookie in my life. But I was so very wrong.
After eating more than my fair share of Brown Butter Chocolate Chip Cookies, I now know I’ve been missing out. Who KNEW that something as simple as heating butter on a stove could help create the world’s best chocolate chip cookie? Well we know now and trust me, I won’t be forgetting that fact anytime soon. We’ve been making these cookies nonstop in my house and I still can’t get enough. We’ve even used it to make Peanut Butter Miso Cookies too!
But creating this recipe wasn’t as easy as it first appeared. After a few disappointing results, I discovered a few key things about brown butter during the recipe testing process. And by the fifth attempt, I came across the richest, buttery-est, delicious cookie EVER.
Three things we learnt
- Browning butter results in moisture loss. I measured out 230 grams of butter, and then measured it again after browning it, and discovered it had reduced to 190 grams. Where did that 40 grams go? Most of it is water loss (expect to lose approximately 20%) which evaporates as the butter cooks. But this moisture loss needs to be accounted for so we don’t end up with a dry cookie – bleh.
- Brown butter cookie dough needs a long chill time. I tried baking these cookies straight away, then after chilling the dough for 1 hour, 2 hours, 4 hours and 24 hours. I discovered that without adequate chilling time, the cookies spread and the brown butter leaked. But a 24 hour chill time allowed the cookies to marinate and develop that rich, caramel-like brown butter flavour we love so much. It also stopped the cookies from spreading too much when baked.
- Brown Butter Chocolate Chip Cookies need a little extra fat. Due to the moisture loss, and the fact that we’re use butter in melted form, these cookies needed just the right amount of flour. Too much, resulted in a dry, thick cookie; too little, an oily pancake. But along with just the right amount of flour, they also needed a little extra moisture. Just a tablespoon of full fat milk does the trick.
save this recipe
What is brown butter?
Brown butter, also known in French cooking as beurre noisette, refers to the technique of heating butter until the milk solids separate and turn brown. The butter will foam and bubble, and change colour, altering the smell and taste.
What does brown butter taste like?
Brown butter has a surprisingly deep, almost caramel-like or toffee flavour. It’s a little sweet and salty. Some describe the aroma as nutty or toasty. Regardless, it’s delicious. And it can be used to seriously enhance the flavours of homemade baked goods, like these chocolate chip cookies.
How to brown butter
- Start by adding roughly chopped butter to a light coloured, medium-sized saucepan or shallow frying pan, and place on a low-medium heat. Stir gently as the butter slowly melts.
- Keep stirring with a spatula or whisk and watch closely as the butter turns golden in colour and starts to go foamy. You’ll see the milk solids separate and slowly darken at the bottom of the pan. The butter will continue to foam and you might start to smell a strong buttery, toasty aroma.
- Continue to heat butter, while still stirring, until butter turns from golden to a darker amber colour. This might take a while, but then it can turn quite suddenly. It should look caramel in colour and it might have quite a thick head of foam on top at this point.
- Gently remove butter from the stove and transfer to a medium-sized heatproof bowl to cool. Make sure you scrape ALL the little lumps out of the pan because they are flavour-packed flecks of gold.
Keep stirring
Browned butter is just one step away from burnt butter so keep stirring so those little flecks of gold don’t burn. It’s useful to use a light coloured pan so you can easily watch the butter change colour.
Frequently asked questions
Yes, I highly recommend it for best results. I tested many different chill times during my recipe testing process and the 24 hour chill time is an absolute must. When I baked the cookies after a few hours, I had issues with the cookies spreading, the butter leaking and an overall lack of flavour. Trust me, IT’S WORTH THE WAIT.
The small amount of corn flour, also known as cornstarch, helps keep these cookies lovely and soft. I highly recommend using it. If you don’t have access to it, substitute an extra level tablespoon of flour.
Since we are using browned butter, these cookies need a long chill time. However, once you roll the cookie dough into balls, they should spread naturally in the oven. If your cookies didn’t spread, it’s likely you added too much flour. Make sure you measure your flour in grams using a scale for accuracy. Using cups can be wildly inaccurate. Here are a few more reasons why cookies don’t spread.
Absolutely! Just let the cookie dough thaw for 30 minutes to one hour before baking.
More cookie recipes
Did you make this recipe? Don’t forget to rate the recipe and leave a comment below. Hungry for more? Join me on Instagram, Facebook, Pinterest and Twitter for more amazing recipe ideas.
Let’s Bake
Brown Butter Chocolate Chip Cookies
Soft and chewy Brown Butter Chocolate Chip Cookies made from scratch.
Ingredients
- 230 grams (2 sticks or 1 cup) butter, roughly chopped
- 280 grams (2 cups) plain flour or all purpose flour
- 1 tablespoon cornflour or corn starch
- 1/2 teaspoon baking soda
- 100 grams (1/2 cup) caster sugar or granulated sugar
- 90 grams (1/2 cup) brown sugar
- 160 grams (1 cup) chocolate chips
- 75 grams (1/2 cup) milk chocolate, roughly chopped
- 1 large egg
- 1 teaspoon vanilla extract
- 1 tablespoon full fat or whole milk
- Sea salt
Instructions
- Place butter in a medium-sized saucepan*, and pop on low-medium heat. Gently stir the butter as it melts. Watch closely and keep stirring as the butter melts, then slowly starts to brown and go a little bit foamy.
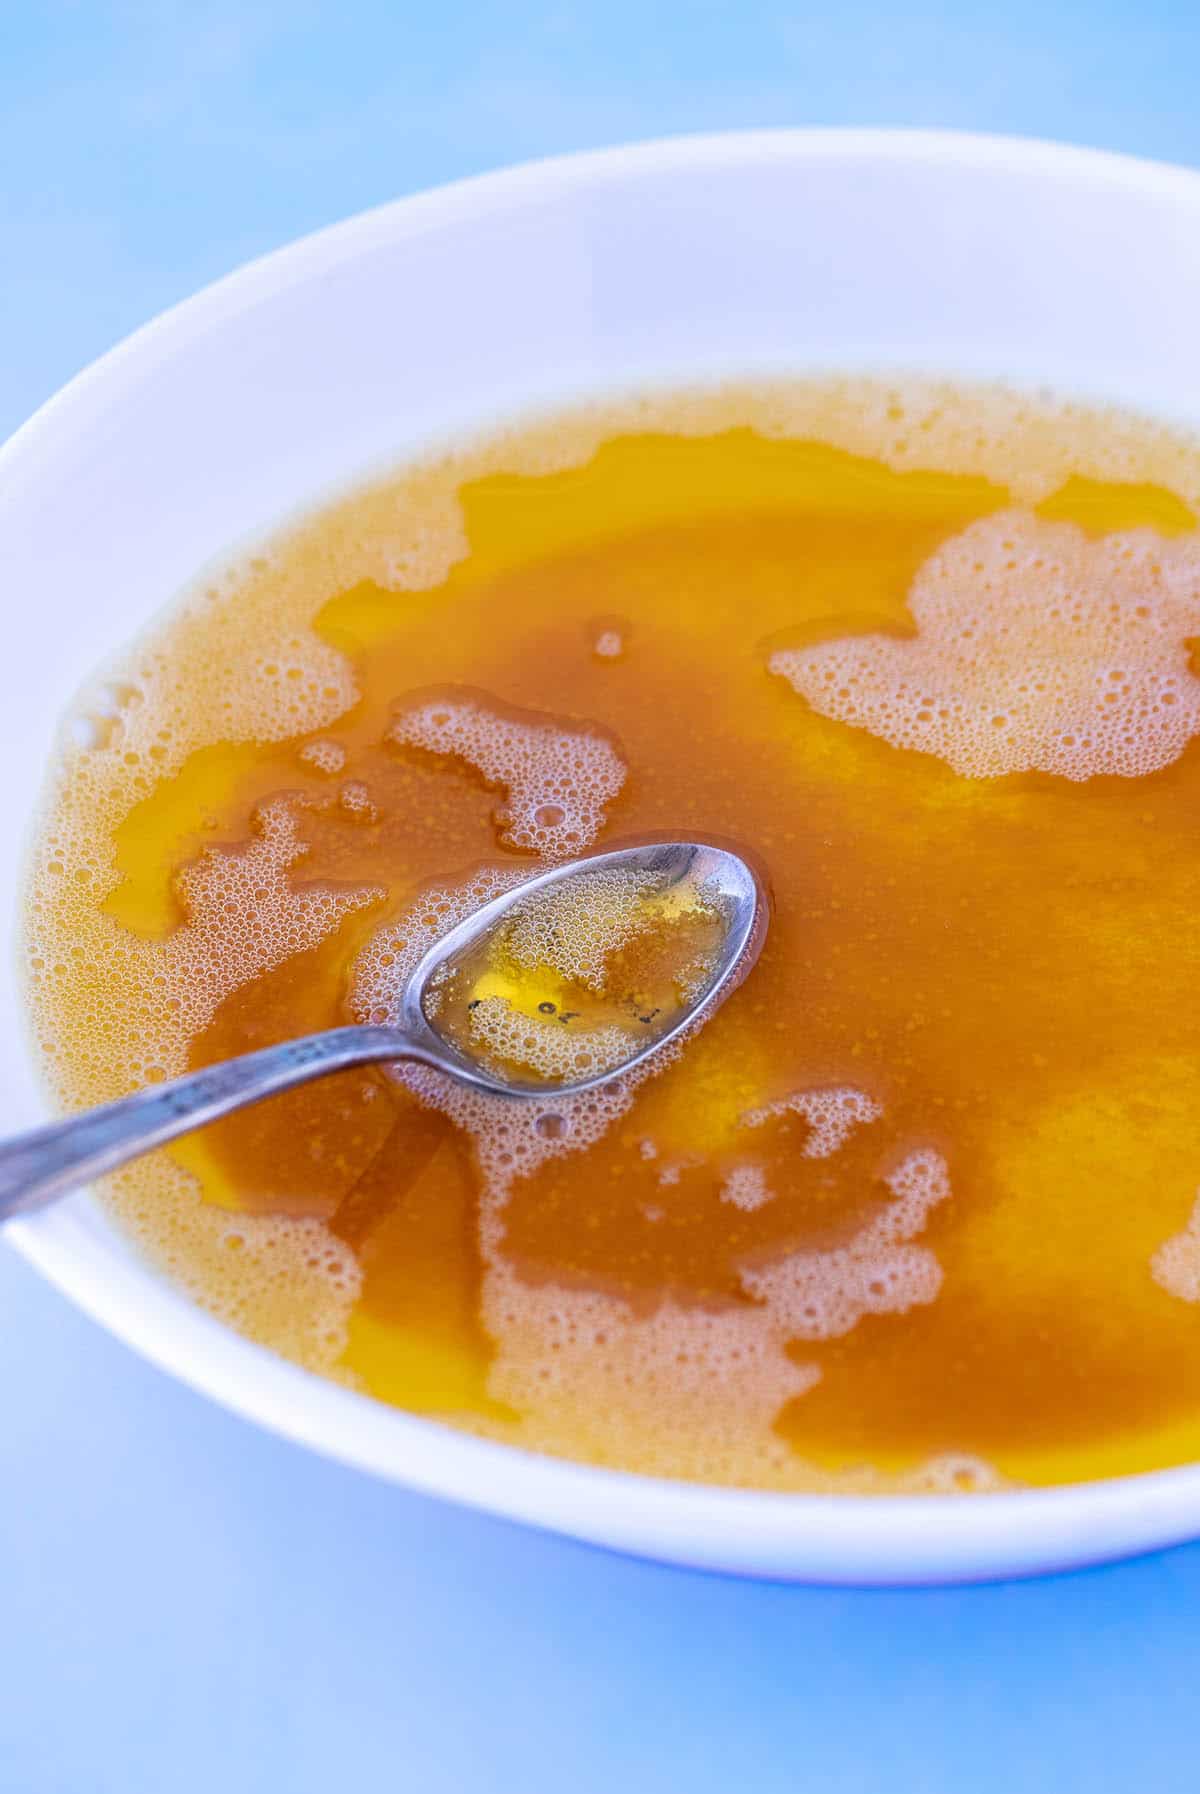
- The butter will turn golden, and then eventually a deeper amber colour. Little flecks of milk solids will appear and it will have a toasty, caramel-like aroma. It might also have quite a thick head of foam by this point. See photo below for visual. The whole process can take up to 10 minutes. You should now have around 185-190 grams browned butter.
- Pour browned butter into a medium-sized bowl and set aside to cool for about 30 minutes or until the butter is no longer hot to the touch. It’s ok if it’s still a little warm.
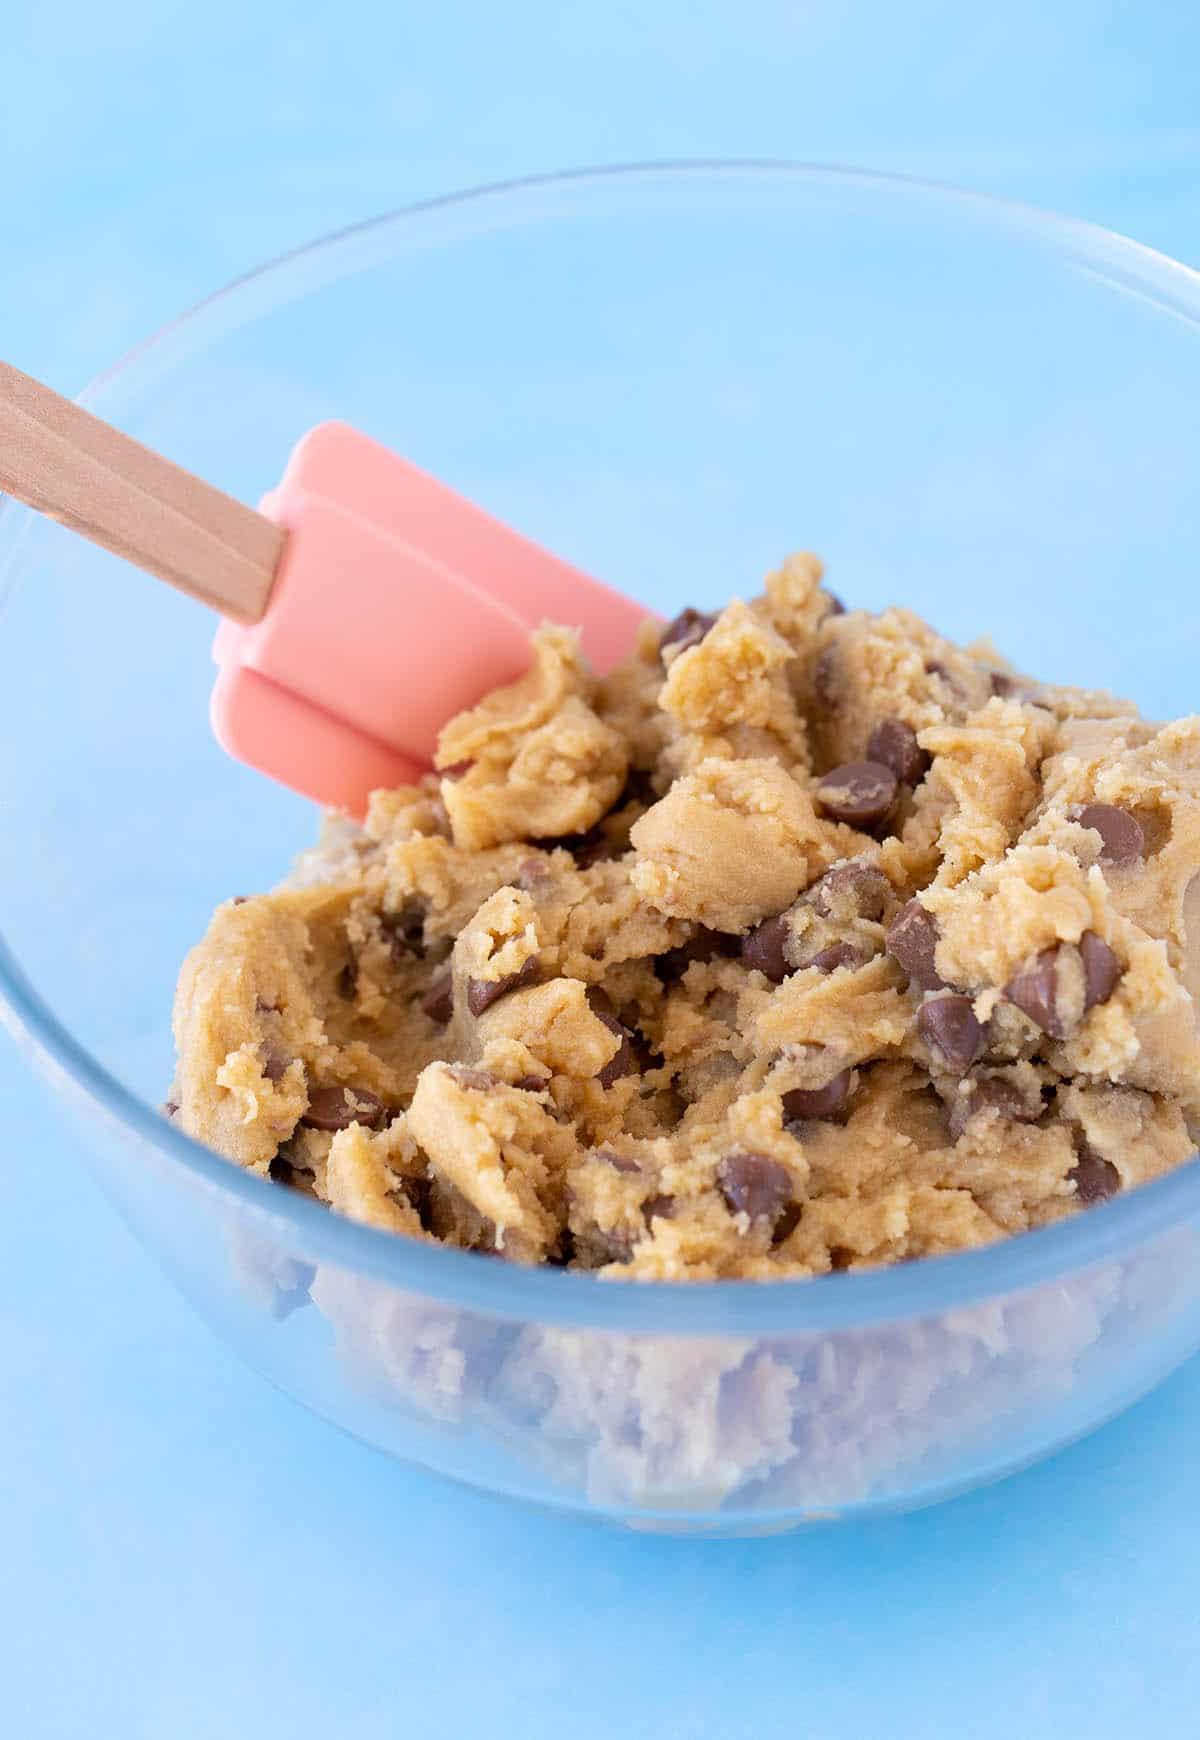
- In a separate mixing bowl, add flour, cornflour, baking soda, sugars and chocolate, stir briefly. In another small bowl, add egg, vanilla and milk. Stir with a fork just to break up the egg yolk.
- To the browned butter, add the dry ingredients, along with the wet ingredients, and gently stir together until a wet and shiny cookie dough forms.
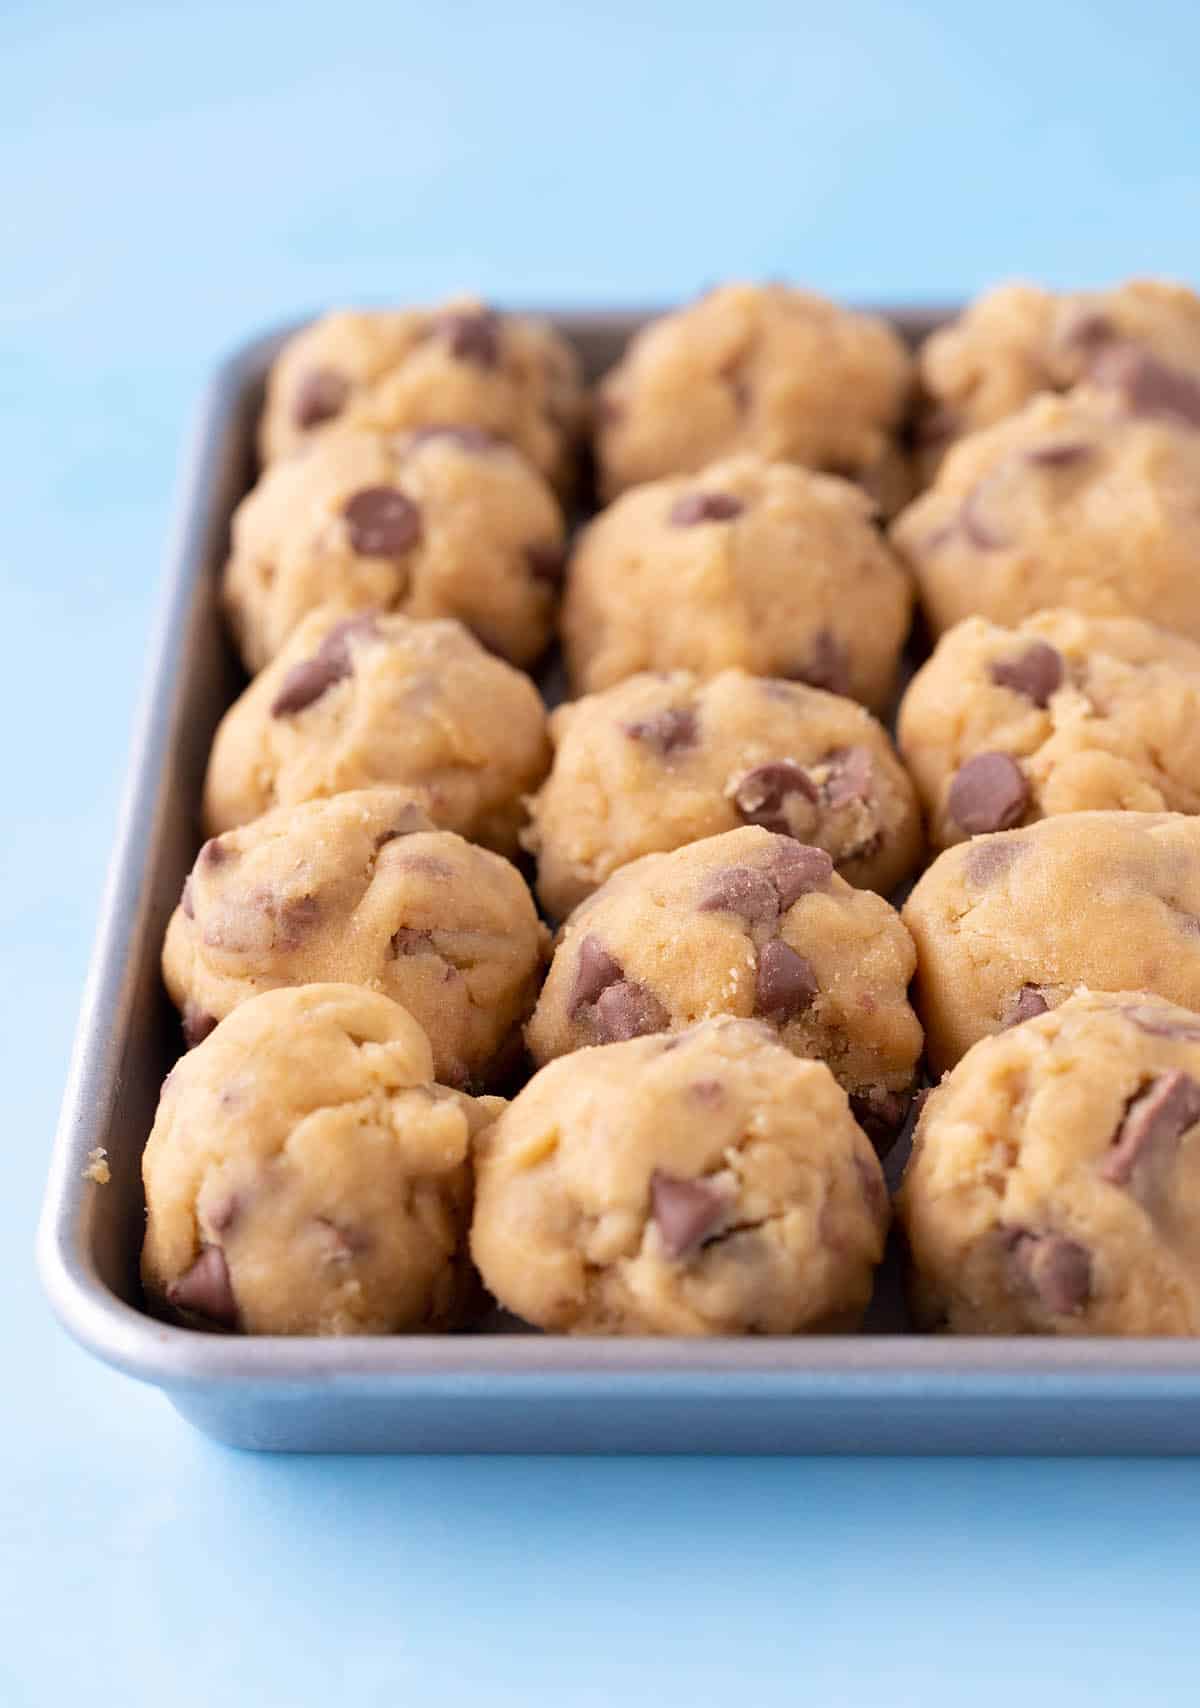
- Cover cookie dough with plastic wrap and place it in the fridge for AT LEAST 24 hours. If you don’t chill the dough, the cookies will spread too much in the oven.
- When you are ready to bake the cookies, take the cookie dough out of the fridge about 30 minutes or 1 hour ahead of time until it’s soft enough to scoop/roll.
- Preheat oven to 180 C (350 F) standard / 160 C (320 F) fan-forced. Line two baking trays with baking or parchment paper.
- Scoop cookie dough, roughly 1.5 tablespoons each, and place on baking trays, leaving room for cookies to spread out in the oven.
- Bake cookies for approximately 12 minutes or until golden. Sprinkle cookies with sea salt. Leave to cool completely.
Notes
*Saucepan: A light coloured saucepan is best so you can see clearly when the butter is browned.
Browning the butter: Don’t rush this step. If you take butter off too early, it won’t have that deep, caramel-like flavour we are looking for. On the other hand, if you leave it too long or have the heat too high, you can accidentally burn the butter. Remember to keep stirring and watch your butter closely. During this process, you will lose some water content so you should end up with approximately 185-190 grams of browned butter.

Cornflour: Just a tablespoon of cornflour will help keep the cookies lovely and soft. I highly recommend using it. If you don’t have access to this ingredient, you leave it out or replace it with a level tablespoon of plain or all purpose flour.
Chocolate chips: I used milk chocolate chips in this recipe, but you can use dark or semi-sweet chocolate chips.
Milk chocolate: I recommend using a block of good quality chocolate that you’ve roughly chopped by hand. You can use milk, dark or semi-sweet chocolate if you prefer.
Chilling time: For best results I recommend chilling the dough for at LEAST 24 hours. If you don’t, your cookies will spread too much when baked. This also lets the flavour develop for a rich, buttery result.
Nutrition Information
Serving Size: 1 cookie Calories: 260 Sugar: 17.4 g Sodium: 175 mg Fat: 14.4 g Carbohydrates: 30.7 g Protein: 3.1 g Cholesterol: 38.9 mg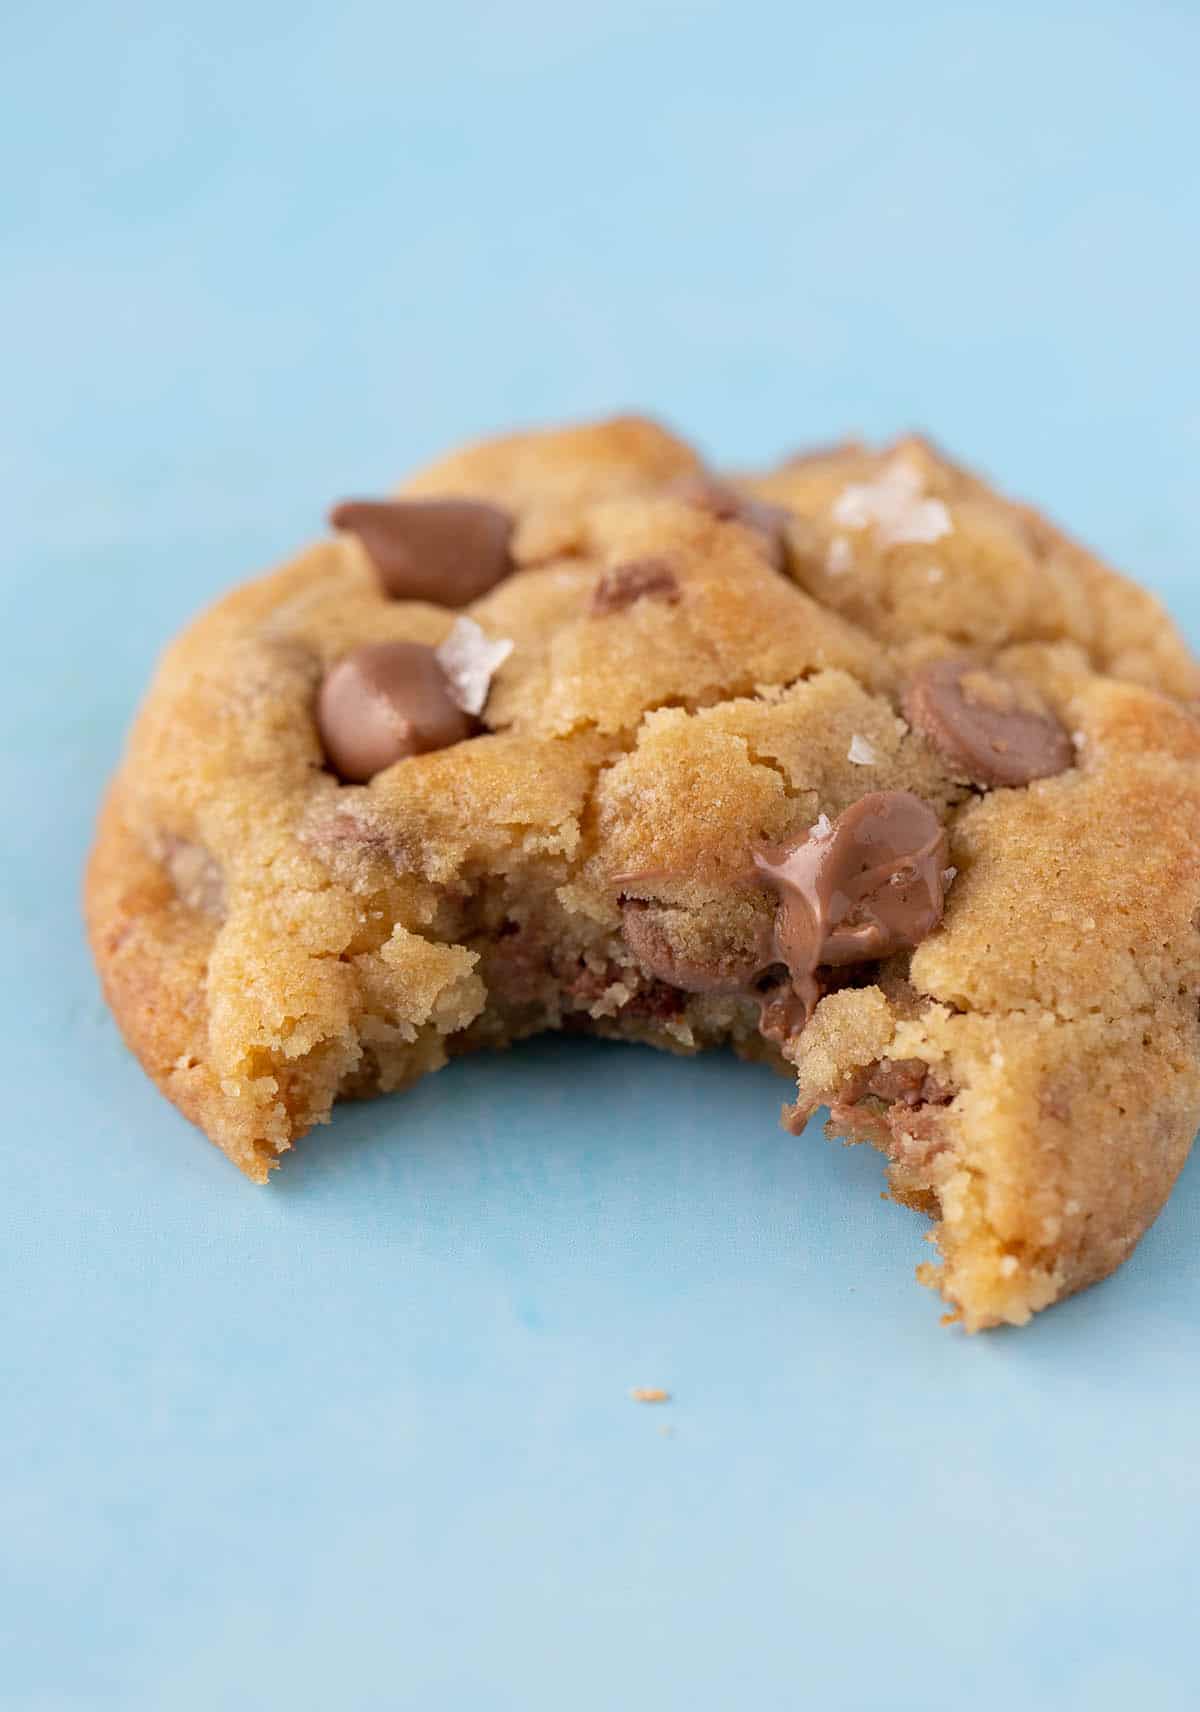


Hi, I’m Jess, the creator of Sweetest Menu and the author of Something Sweet. A self-taught baker and published recipe writer who can’t stop making easy and delicious baking recipes.

Lenny says
Hi, Jessica!
1. Can I use these steps: browned butter – sugar – eggs milk – dry ingredients – choco chips?
2. Can I directly oven the dough straight from the freezer?
Thank you 🙂
Jessica Holmes says
Yes I would say that would work. And yes you can if you like. The cookies won’t spread as much so will be thicker.
Lois Alexander says
Can you over chill the cookie dough? I wanted to make ahead of time, which means leaving the dough in the fridge for two days, before baking. Was wondering because of the baking soda being activated.Thanks.
Jessica Holmes says
No that will be fine Lois! Enjoy!