Big, bold and beautiful. Today is all about that red velvet.
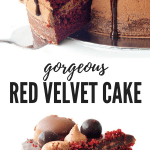
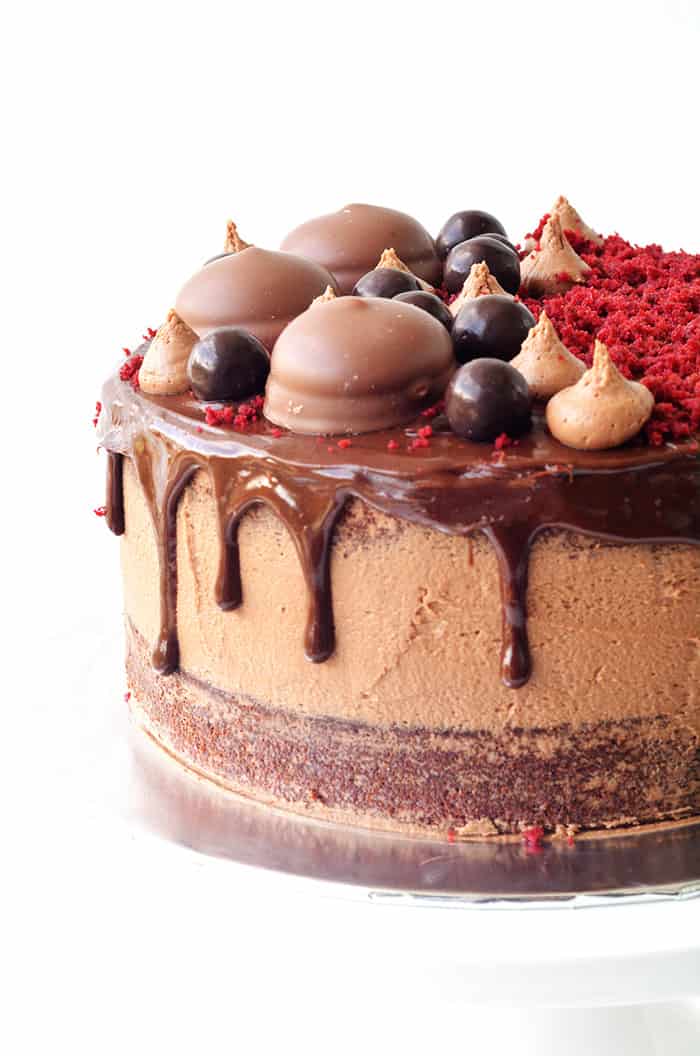
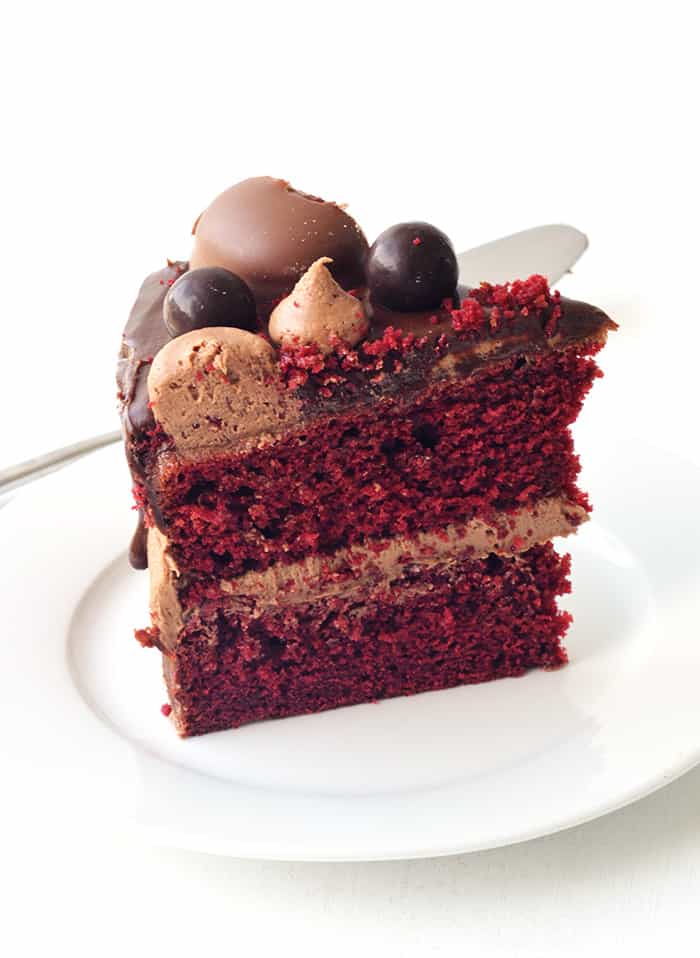
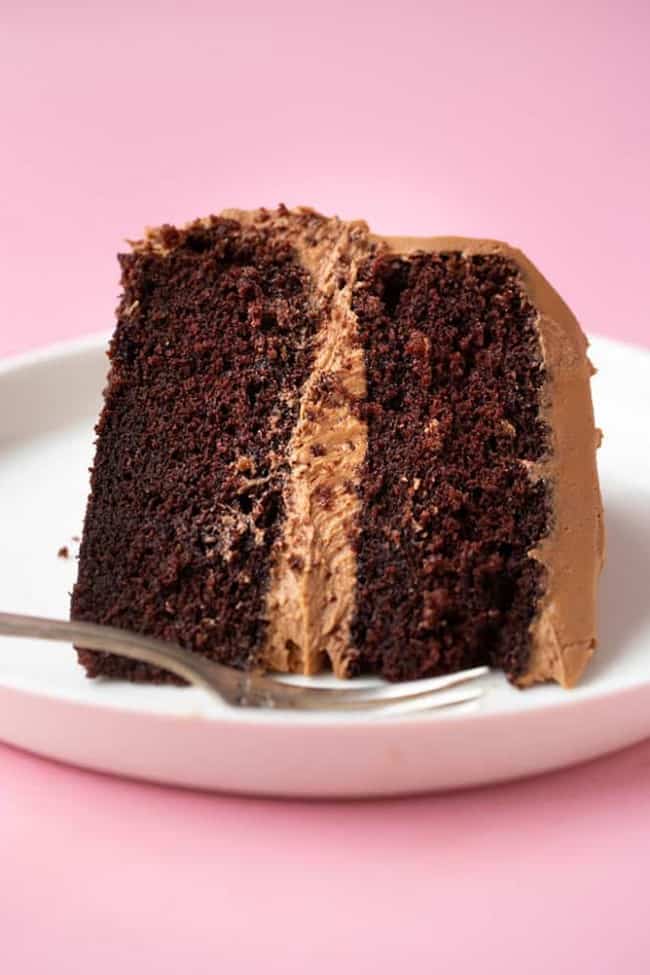
This Red Velvet Layer Cake is the cake of my dreams. Soft and fluffy cake coated in sweet chocolate frosting, drizzled with dark chocolate ganache and decorated with soft cake crumbs, malt balls and chocolate marshmallow cookies.
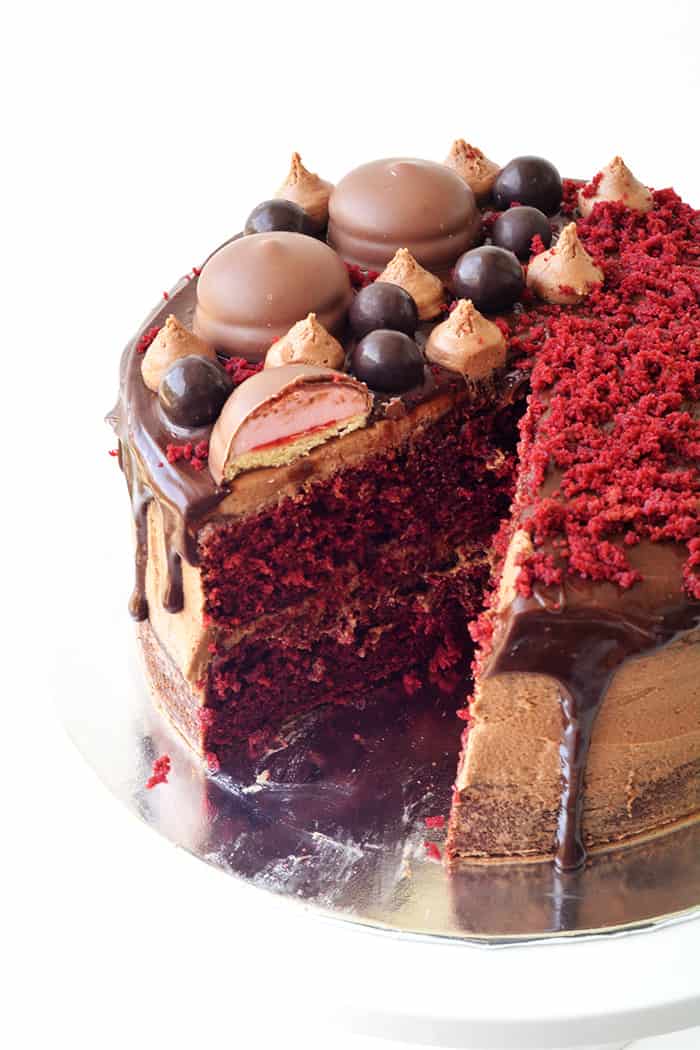
It’s a mish-mash of ALL the good things in life. And not only does it taste amazing (trust me on this one), it is beautiful in presentation too! Your friends and family will be so impressed with your cake skills!
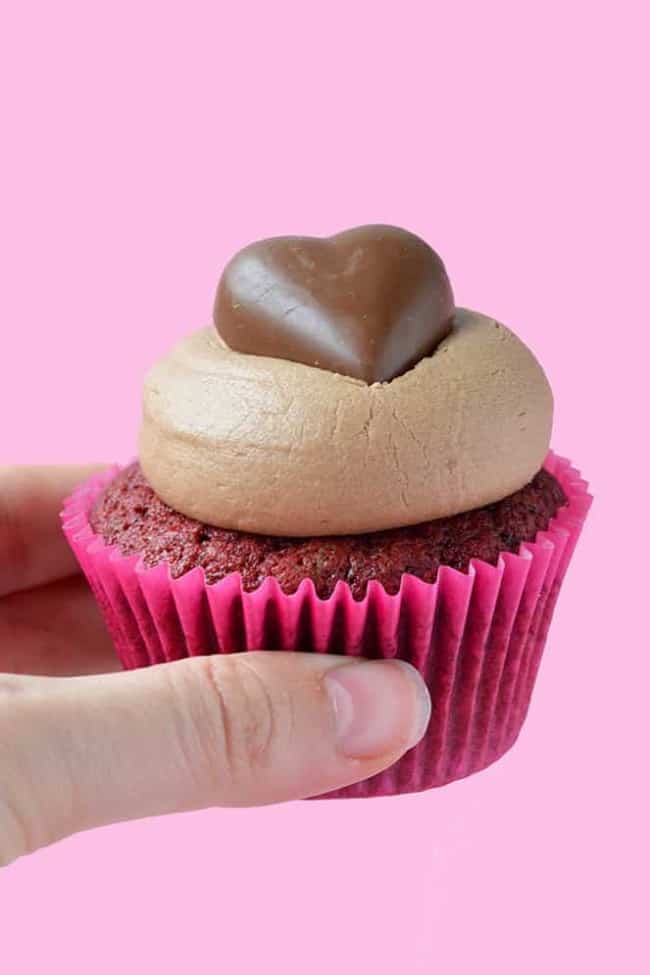
When I shared my recipe for Red Velvet Cupcakes with you a while back, I talked about how much I love red velvet cake. I was introduced to this vibrant red cake in America and I thought it was the coolest cake ever.
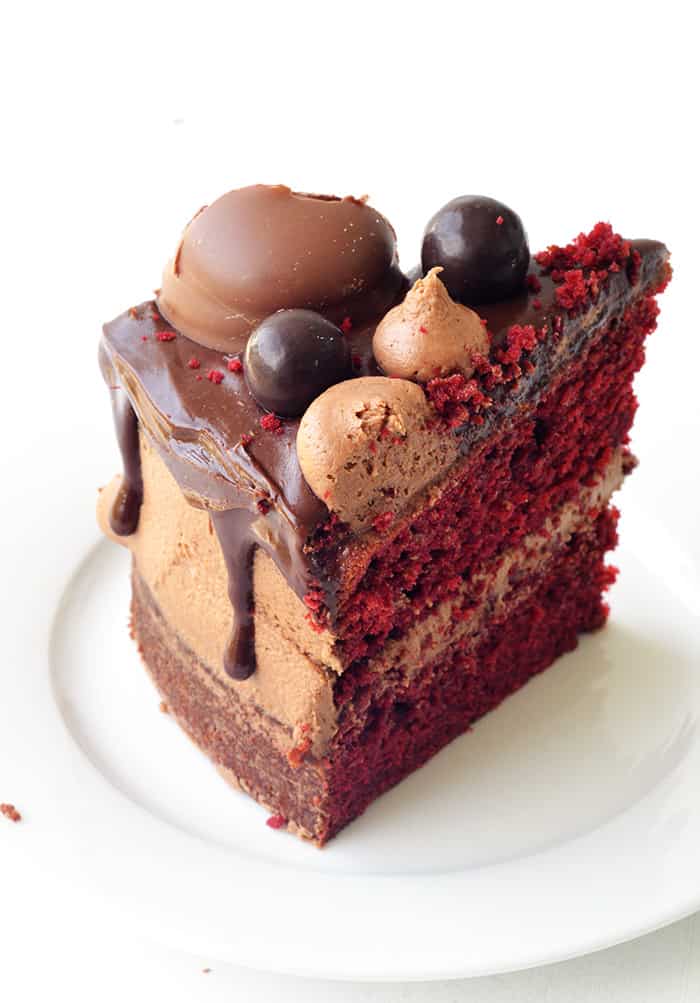
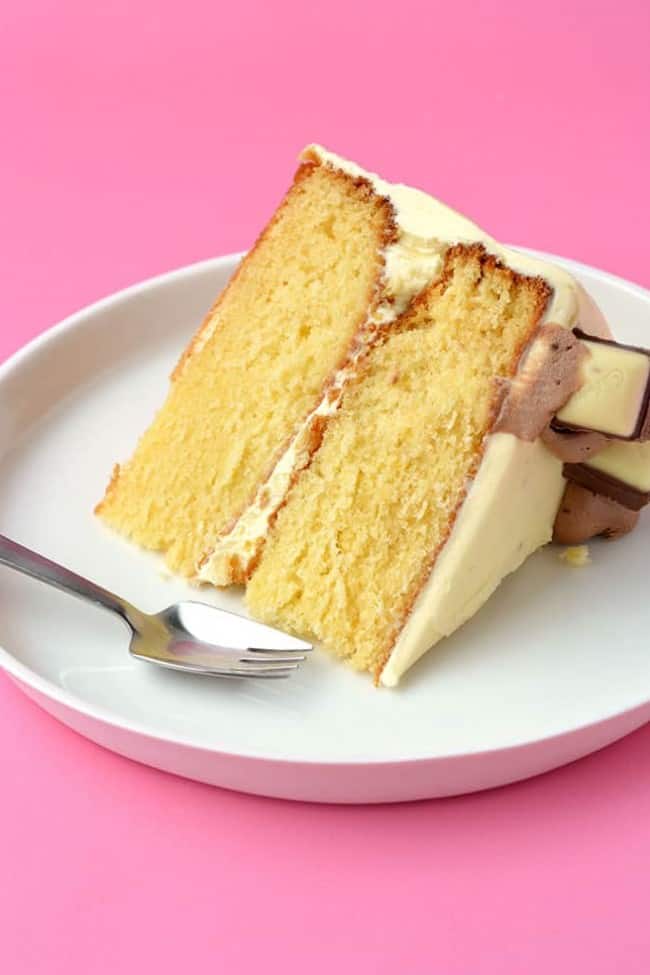
It is subtle in flavour but very soft in texture and you can taste a hint of cocoa. But it’s neither here nor there. Neither chocolate nor vanilla. But it just works. Red velvet is a beautiful thing.
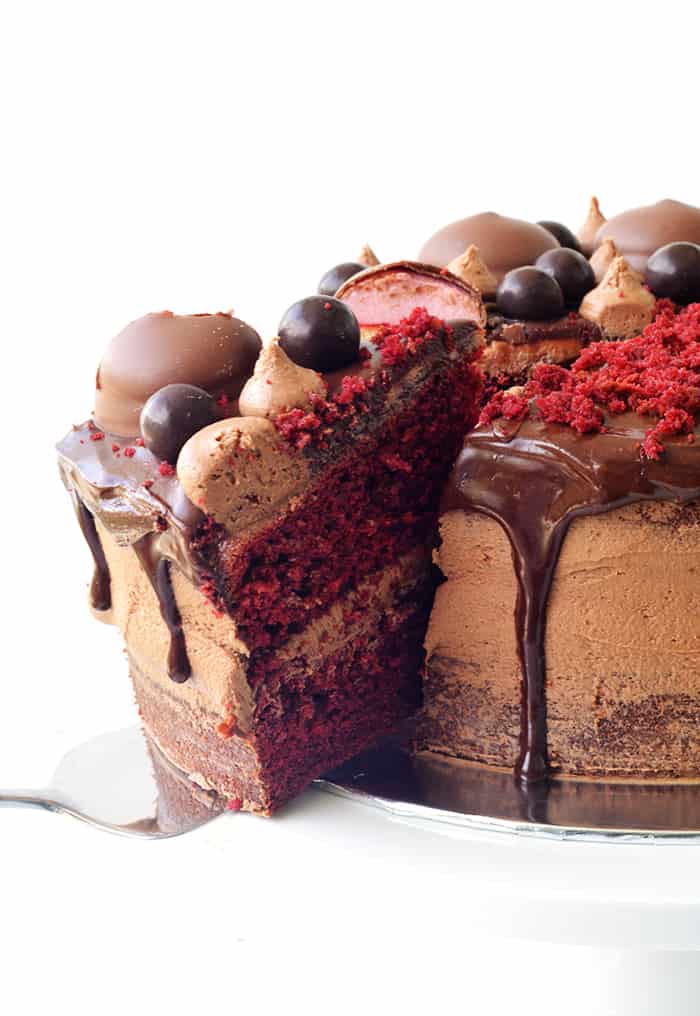
Traditionally red velvet cake is often served with cream cheese frosting or even vanilla buttercream but because we love to mix things up around here, I covered my cake in chocolate frosting. It goes beautifully with red velvet too.
The frosting is creamy and luscious and made with real chocolate. The ganache takes the cake to the next level but if you are short on time, feel free to leave it behind. Then it’s time to decorate – my very favourite part!
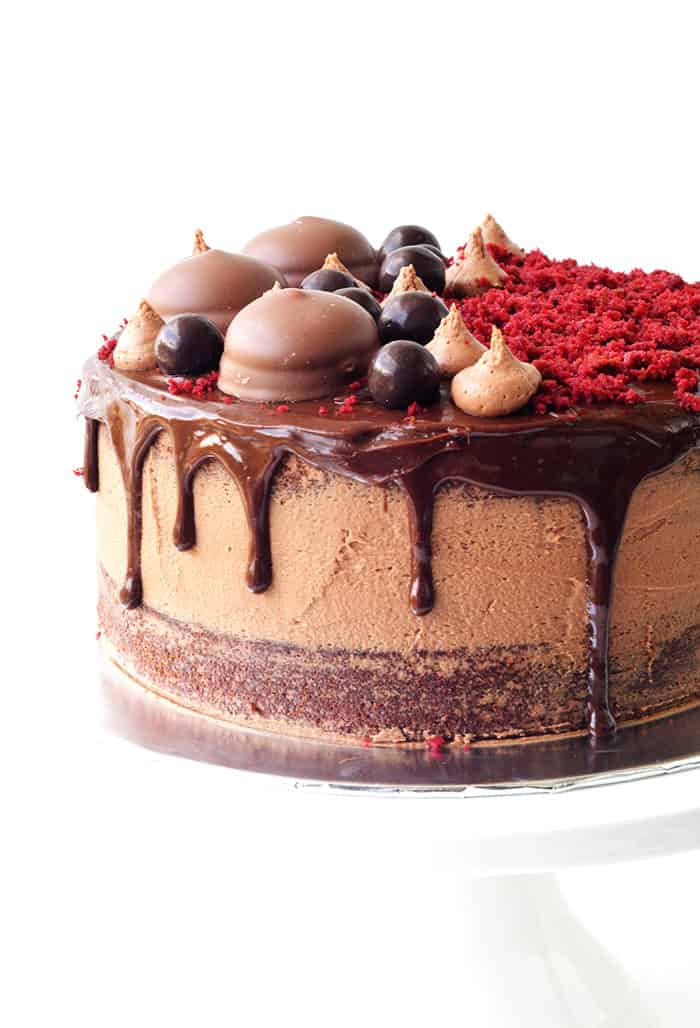
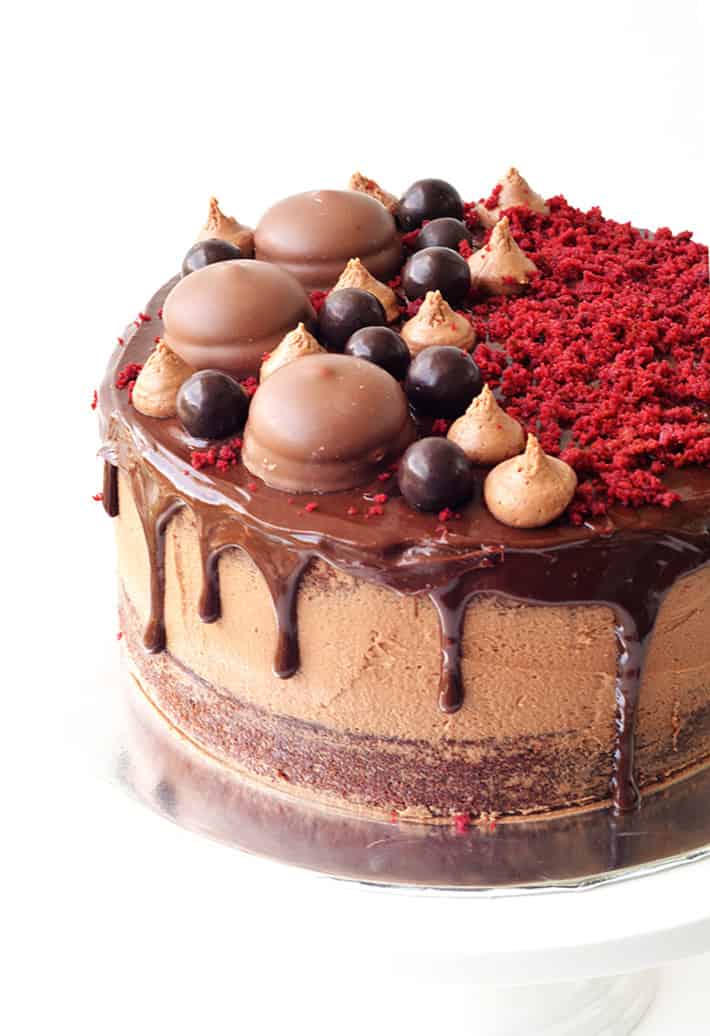
You can really go wild with decorations but if you like what I have done, you’ll be happy to know it’s really quite simple. When you level off the tops of your cakes, you can keep the leftover cake to make ‘cake crumbs’. These look really pretty.
Next, use your leftover buttercream to pipe small dollops over your cake, then pop on a few malt balls and a few chocolate marshmallow cookies. If you don’t have these biscuits where you live, just pop on a few marshmallows!
However you decorate it, I just know you will love this Red Velvet Layer Cake. It’s totally dreamy and will win over any red velvet lover.
How was your weekend? Apart from caking, we went to the Night Noodle Markets in Hyde Park. Such a delicious and well-spent evening. And we also had our first excursion to Black Star Pastry – I can’t even. So Much Bakery Goodness.
We tried their famous watermelon cake which was amazing. I was a bit skeptical – fresh watermelon inside a cake? But it totally works! Genius!
save this recipe
Let's Bake
Red Velvet Layer Cake with Chocolate Frosting
Red Velvet Layer Cake coated in chocolate frosting, topped with dark chocolate ganache and decorated with malt balls and chocolate marshmallow cookies.
Ingredients
Red velvet cake
- 350 grams (2 and 1/2 cups) plain flour or all purpose flour
- 1 teaspoon baking soda
- 20 grams (1/4 cup) cocoa powder, sifted
- 300 grams (1 and 1/2 cups) caster sugar or granulated sugar
- 230 grams (1 cup or 2 sticks) butter
- 4 large eggs, room temperature
- 2 teaspoon vanilla extract
- 240 ml (1 cup) full fat greek yogurt
- 2 teaspoon white vinegar
- 4 teaspoons red food colouring
- 60 ml (1/4 cup) full fat or whole milk
Chocolate frosting
- 230 grams (1 cup or 2 sticks) butter, softened
- 150 grams (1 cup) dark chocolate
- 625 grams (5 cups) icing sugar or powdered sugar, sifted
- 60 ml (1/4 cup) full fat or whole milk
Chocolate ganache
- 150 grams (1 cup) dark or semi-sweet chocolate, pieces
- 180 ml (3/4 cup) thickened or heavy cream
- Chocolate malt balls, to decorate
- Chocolate marshmallow biscuits, to decorate
Instructions
- Red velvet cake
Preheat oven to 180 C (350 F) standard / 160 C (320 F) fan-forced. Grease and line two 8-inch round cake tins with baking or parchment paper. - In a large mixing bowl, sift the flour, baking soda and cocoa powder, then add the sugar – give it a good whisk. Pop the butter into the microwave for a short time, 20 seconds or so at a time, stirring until it is just melted. Give it a stir with a fork to eliminate any lumps.
- In a separate mixing bowl, add the eggs, vanilla and butter and whisk together until smooth. Add the greek yogurt and give it a stir – don’t worry if it goes a little lumpy. In a separate small bowl, add the food colouring and vinegar and mix together.
- Add the wet mixture into the dry mixture, along with the food colouring and start to gently fold. Add the 1/4 cup of milk and stir until just combined. Spoon the mixture into the prepared cake tins and pop into the oven. Bake for around 30 minutes or until a skewer inserted comes out clean. Set cakes out onto a wire rack and leave to cool completely.
- Chocolate frosting
To make the frosting, place your softened butter in a large mixing bowl and beat with an electric mixer on medium speed for a couple of minutes until pale and creamy. Meanwhile melt the chocolate in a microwave, stirring in between 20 second bursts, until just melted and set aside to cool a little. - Once the butter is very pale and creamy, add one cup of icing sugar and one tablespoon of milk and beat on low until the sugar is incorporated and then beat on medium speed until combined. Next, add the rest of the sugar, one cup at a time, and the milk, one tablespoon at a time, until thick and creamy.
- Next, add your melted chocolate to the buttercream mixture, ensuring the chocolate is still smooth and melted but is not warm. Beat until the chocolate is completely mixed through. Next, level the tops of your cake using a cake leveler or a serrated knife. Set the leftover cake to the side.
- Place one of your cakes onto a turntable if you have one, then gently frost the top. Add your second cake on top and frost the sides and top of your cake. To get the ‘naked cake’ look like I have, use a cake scraper to remove excess buttercream from the side of your cake. Pop into the fridge while you make your ganache. Set aside leftover buttercream.
- Chocolate ganache
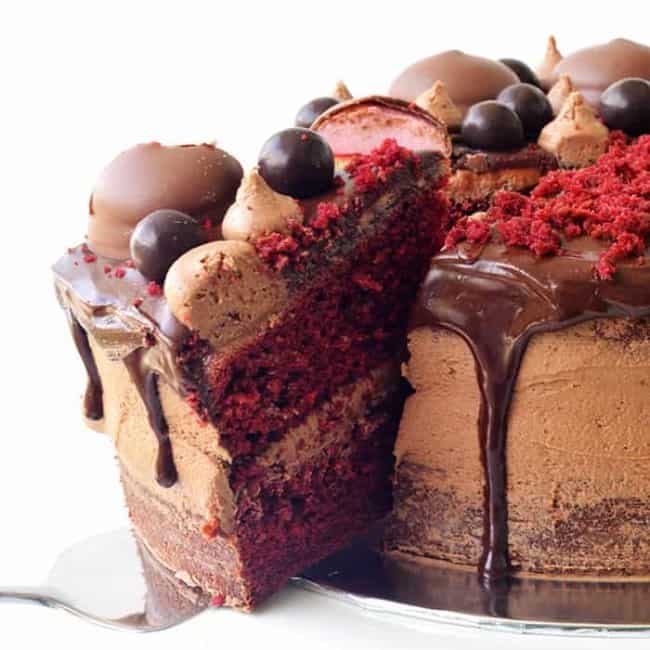
Finely chop the dark chocolate and place in a heatproof bowl. In a small saucepan, add the cream and place on a medium heat until the cream is simmering but just before it starts to boil. Immediately pour the warm cream over the chocolate, cover the bowl with a plate and leave it to sit for 3-5 minutes. Then, whisk the chocolate cream mixture until smooth and creamy. Pop it into the fridge to cool and thicken up slightly – around 5-10 minutes. - To decorate your cake, gently pour the chocolate ganache over the top, and use a small spatula to push drips over the sides of the cake. Leave to set slightly. Before serving, add dollops of chocolate buttercream to the top of the cake using a disposable piping bag and a large star tip. Add chocolate marshmallow cookies and chocolate malt balls. Crumble the leftover cake and sprinkle over the top.
Rose says
for the chocolate frosting, will 1% milk work or heavy whipping cream, or almond milk or oat milk
Jessica Holmes says
All of the above will work Rose! I prefer milk or cream myself.
Blessing says
For the frosting can I use cocoa powder instead of melted chocolate and if yes how many cups should I use?
Jessica Holmes says
Hi Blessing, absolutely! I recommend using 1/2 cup of cocoa powder instead of the melted chocolate.
Hannah says
Hey Jess, if using food colouring gel instead of liquid do I still use 4 teaspoons?
Thanks 🙂
Jessica Holmes says
Hi Hannah, no food gel is much stronger so you won’t need nearly as much. Just add a few drops until you get your desired colour.
CL says
hey jess! I intend to bake this cake in one cake tin then cut it in half horizontally to frost. I’d like to ask whether the baking time would be the same?
btw this cake seriously looks amazing. it’s like a perfect piece of art! can’t wait to bake itttt 🙂
Jessica Holmes says
Hi! It depends on what size cake tin you plan on using. The cooking time will vary based on the depth of your cake batter. If you were planning on still using an 8 or 9 inch cake tin, the batter will be very deep and will take a much longer time to cook right through.
CL says
i have the options of using a 6-inch or 9.5-inch pan to bake this cake. what would be the baking time for each, respectively? and also, which one would you recommend me to use?
sorry for so many questions ! i’m kind of a novice baker, but i want this cake to turn out just right as i’m making it for an important birthday 🙂
Jessica Holmes says
Hi, there would be too much cake batter for either of those cake pans – the recipe calls for two 8 x cake pans (or three 6 x cake pans). If you did try the 9.5-inch cake pan, you may risk it overflowing, or burning on the outside before it’s fully cooked in the middle. If you can’t get hold of the correct size cake pans, you could use both of those and make a slightly tiered cake.
Dawn says
Hi Jessica – I really enjoyed making your cake for my boyfriend’s birthday tomorrow. But… as I evened off the cake layers the sponge doesn’t look at all red. It just looks brown! What have I done wrong?
Jessica Holmes says
Hi Dawn, it would just be dependant on the type of food colouring that you used. The strength and quality of food colouring can definitely vary from brand to brand. Maybe try a different one next time? Or for a stronger red colour, you could opt for a food gel.
Shirley Paucar says
Hi Jessica I was looking for a recipe just like this!!! I want to make the cake for my son’s 1st birthday but I want to use fondant. Do you think it will work good for that? And if so how long the cake last if I wanted to make it ahead. Thanks love
Jessica Holmes says
Hi Shirley, yes I think this cake would work well! It’ll keep well for a couple of days – personally I think making it the day before serving is best!
Shirley says
Thank you so much . I can’t wait to bake it =)