Learn how to make beautiful Meringue Kisses using just three ingredients. These crunchy meringues are so easy to make and are perfect as a festive treat or in classic Christmas desserts like Eton Mess.
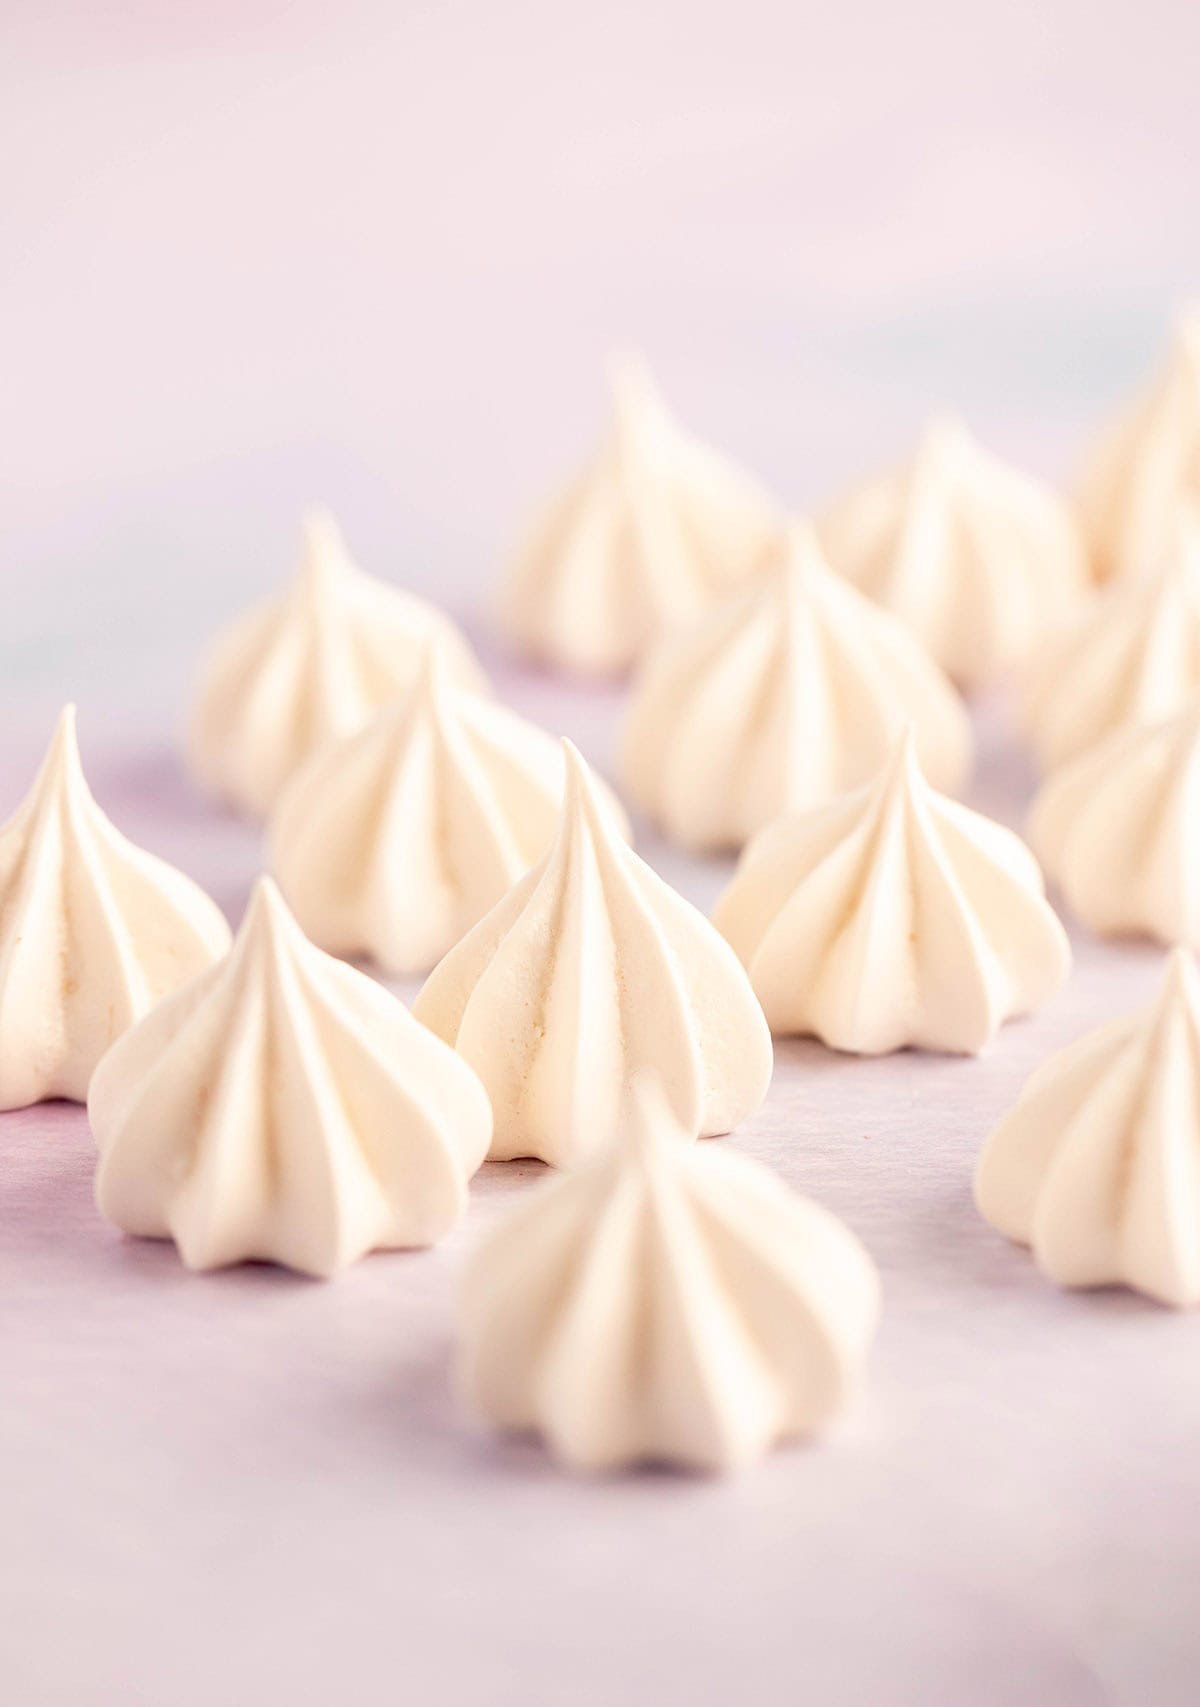
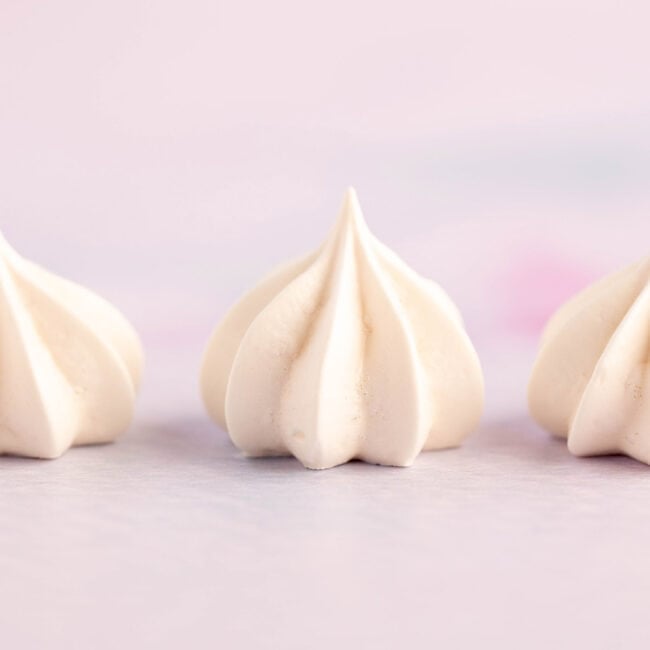
Beautiful three-ingredient Meringue Kisses ❤️ These crunchy meringues taste so much better than the store-bought kind.
They’re crunchy (but not chalky) and have a lovely vanilla flavour. You can enjoy them as sweet treats, or use them in classic desserts like Eton Mess or to decorate Trifles or Pavlovas.
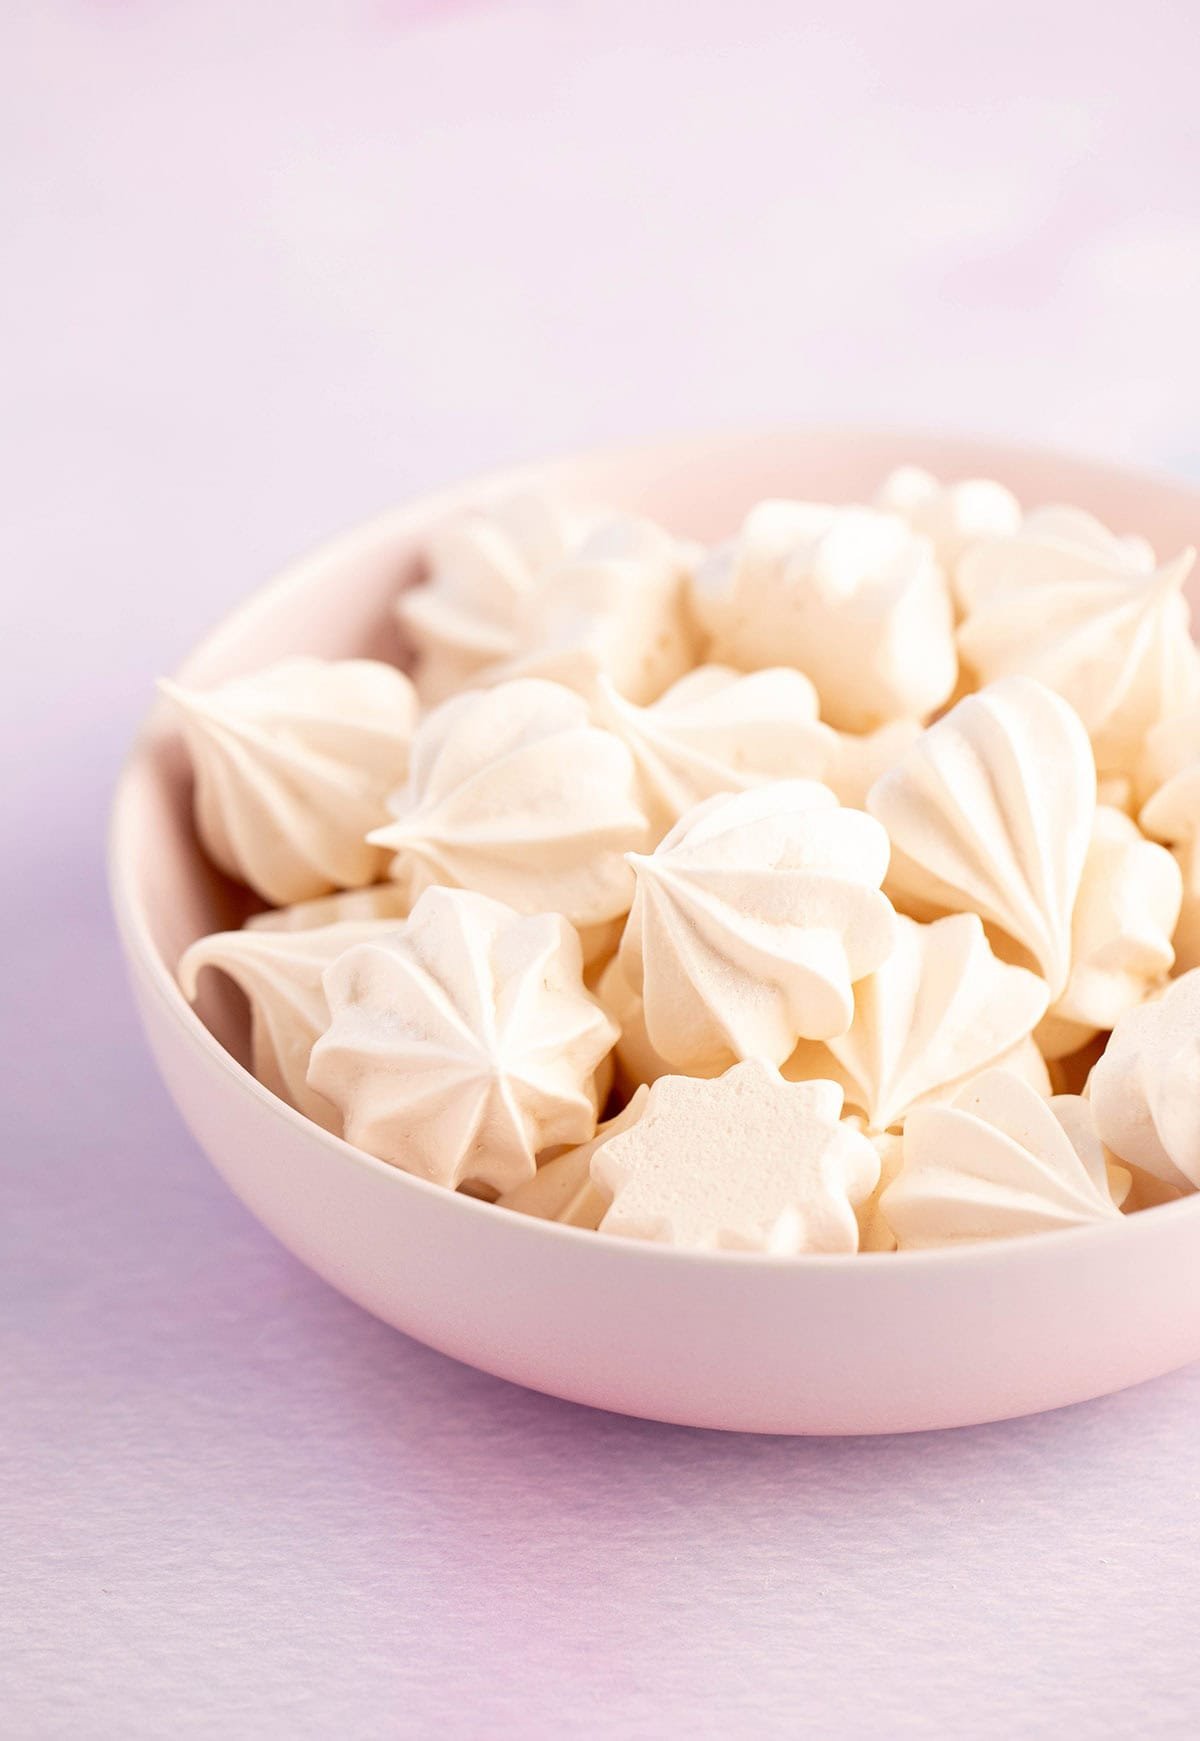
I love to make a bowl of these at Christmas time, as a crunchy homemade meringue cookie. However you use them, they are a must this holiday season.
Why you will love this recipe
- Simple ingredients: You only need three ingredients to make a whole batch of these meringue kisses.
- Gluten free: Since you only need egg whites and sugar, these meringue cookies are naturally gluten free and dairy free too!
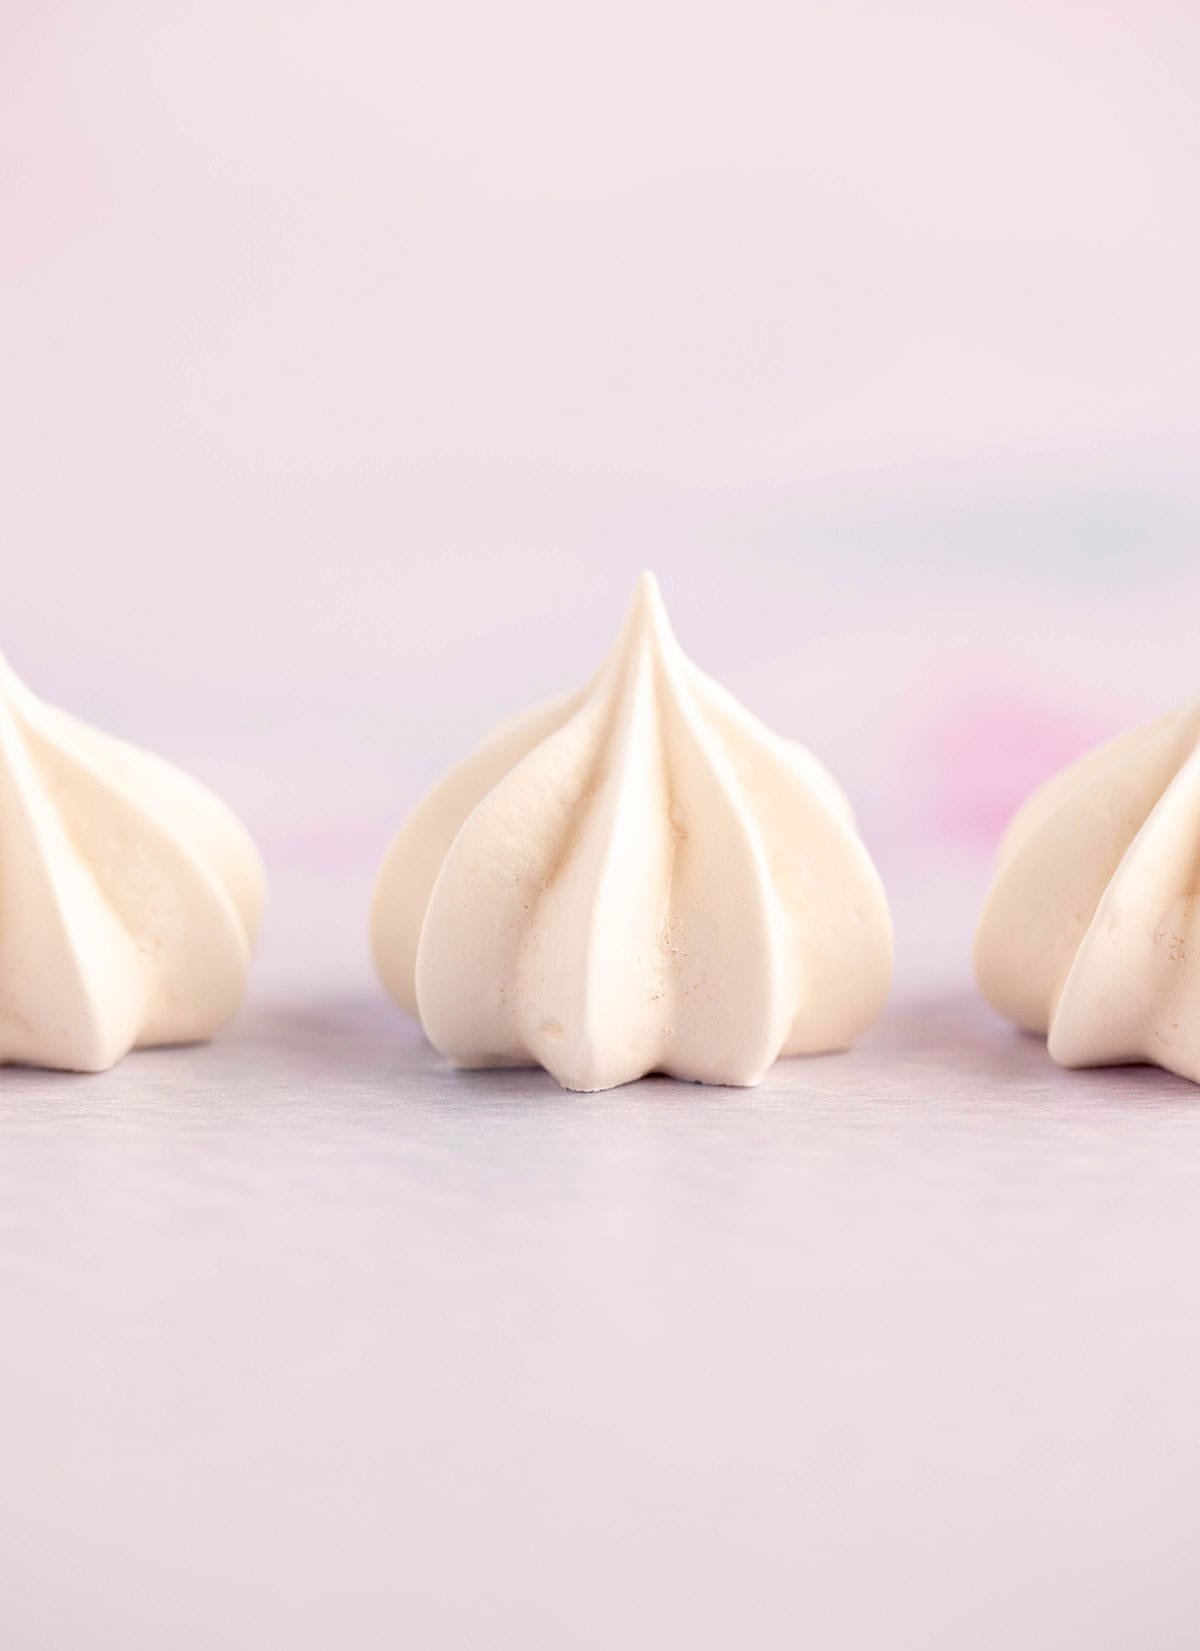
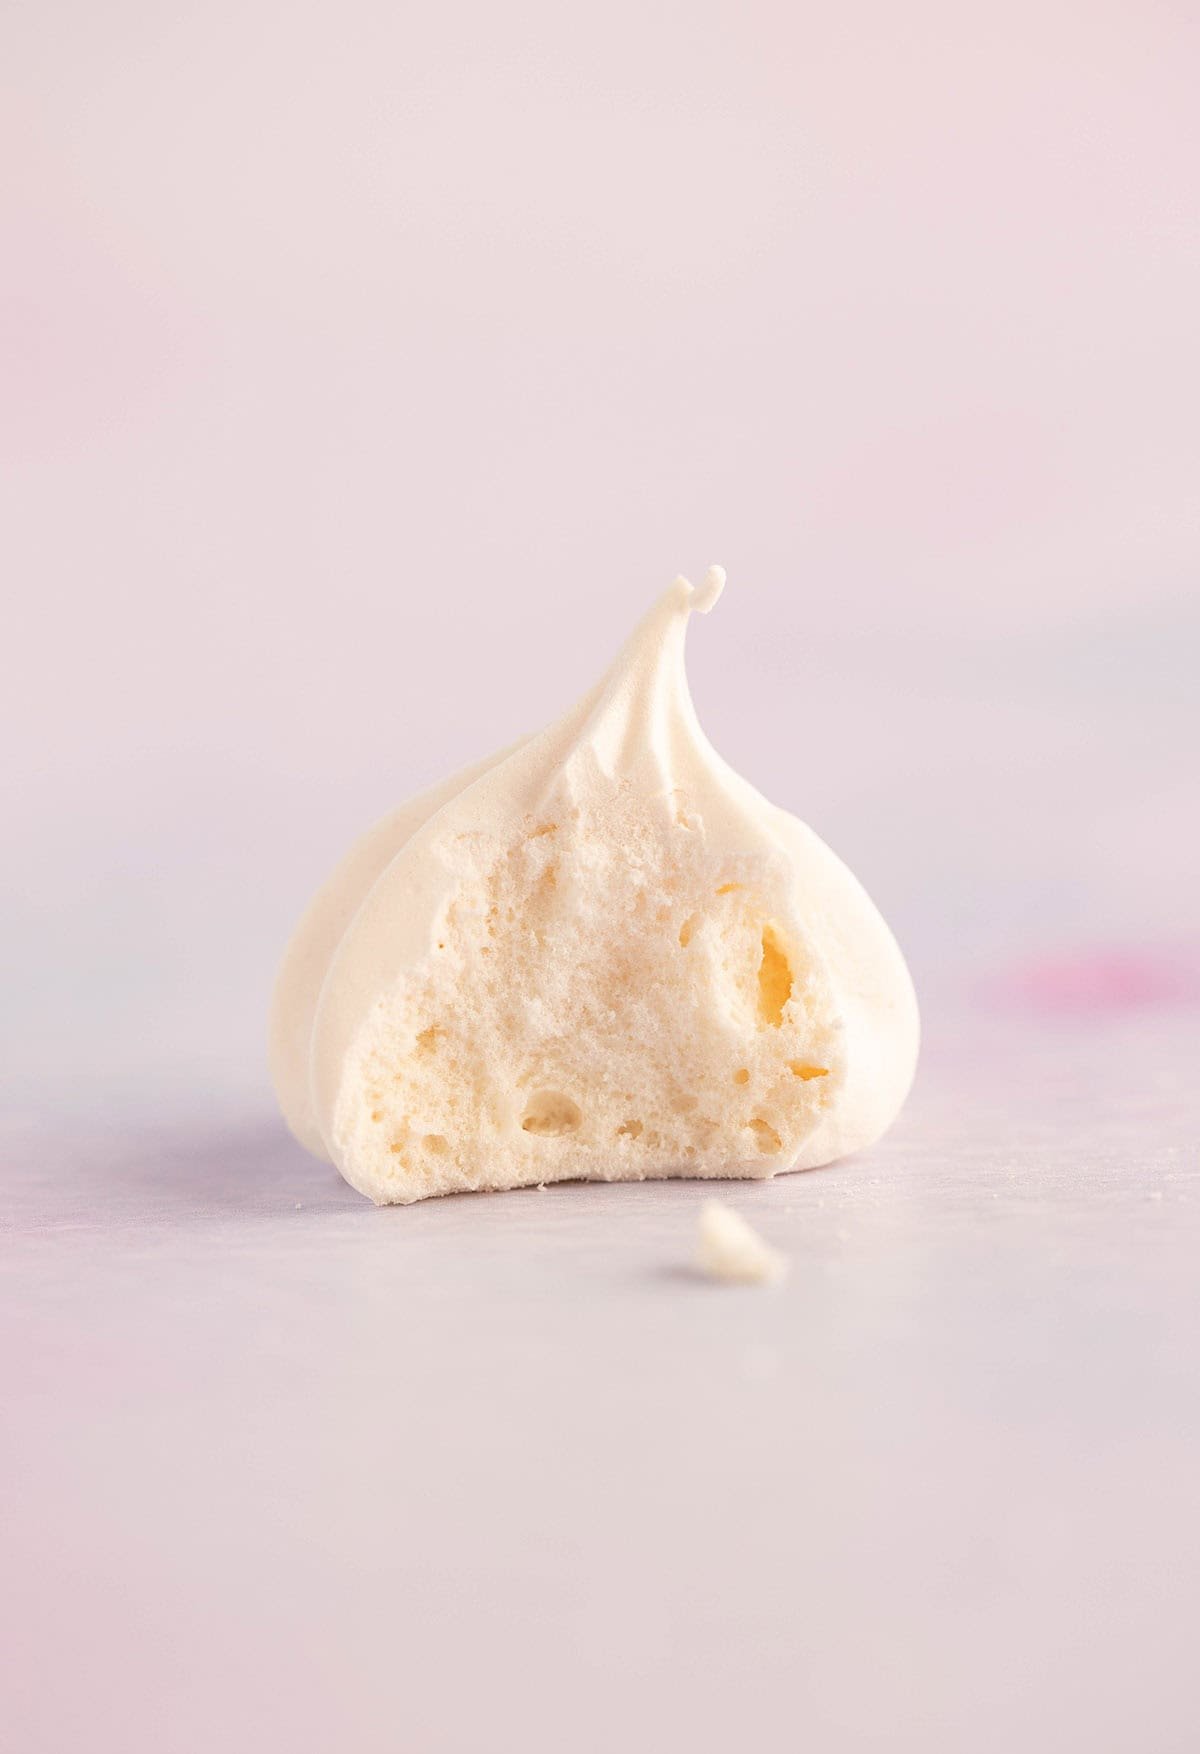
- Sweet, chewy and crunchy: Unlike store-bought meringue which are tasteless and chalky, these ones are sweet and crunchy. A little less baking time and they can be a little chewy in the middle too.
- Perfect for decorations: While these are so lovely to enjoy as they are, they also make for a beautiful decoration for Christmas desserts.
I’m pretty new to baking, but I absolutely loved making these, they do take sooo long in the oven but everyone I’ve gotten to try them has loved them too! Thanks so much for the recipe!
– Opal
Recipe testing
Can you believe I actually developed the recipe for these little Meringue Kisses while I was on set for my new cookbook (coming in mid-2026)?
We had to do a last minute swap for a recipe and I had the idea of doing a big family-style Eton Mess. And of course, we had to use homemade meringue kisses.
I launched from my favourite Mini Pavlova recipe. In my mind, I thought they would be so quick to bake. But after two batches, I realised the bake time needed to be surprisingly long to get these to bake (or essentially dry out) all the way through.
My third attempt, I baked them for a full 90 minutes and they were perfection. Crunchy all the way through, but not browned on top – just ever so golden.
And while they were perfect to put into my new Eton Mess recipe (will be in my new book!), we couldn’t stop snacking on them all day long.
Since then, I’ve made them multiple times at home. My kids go mad for them and while the bake time is long, the prep time is fairly short.
All you need is a large star tip and a piping bag and you’ll soon have a bounty of beautiful meringue kisses sitting on your kitchen bench.
Ingredients
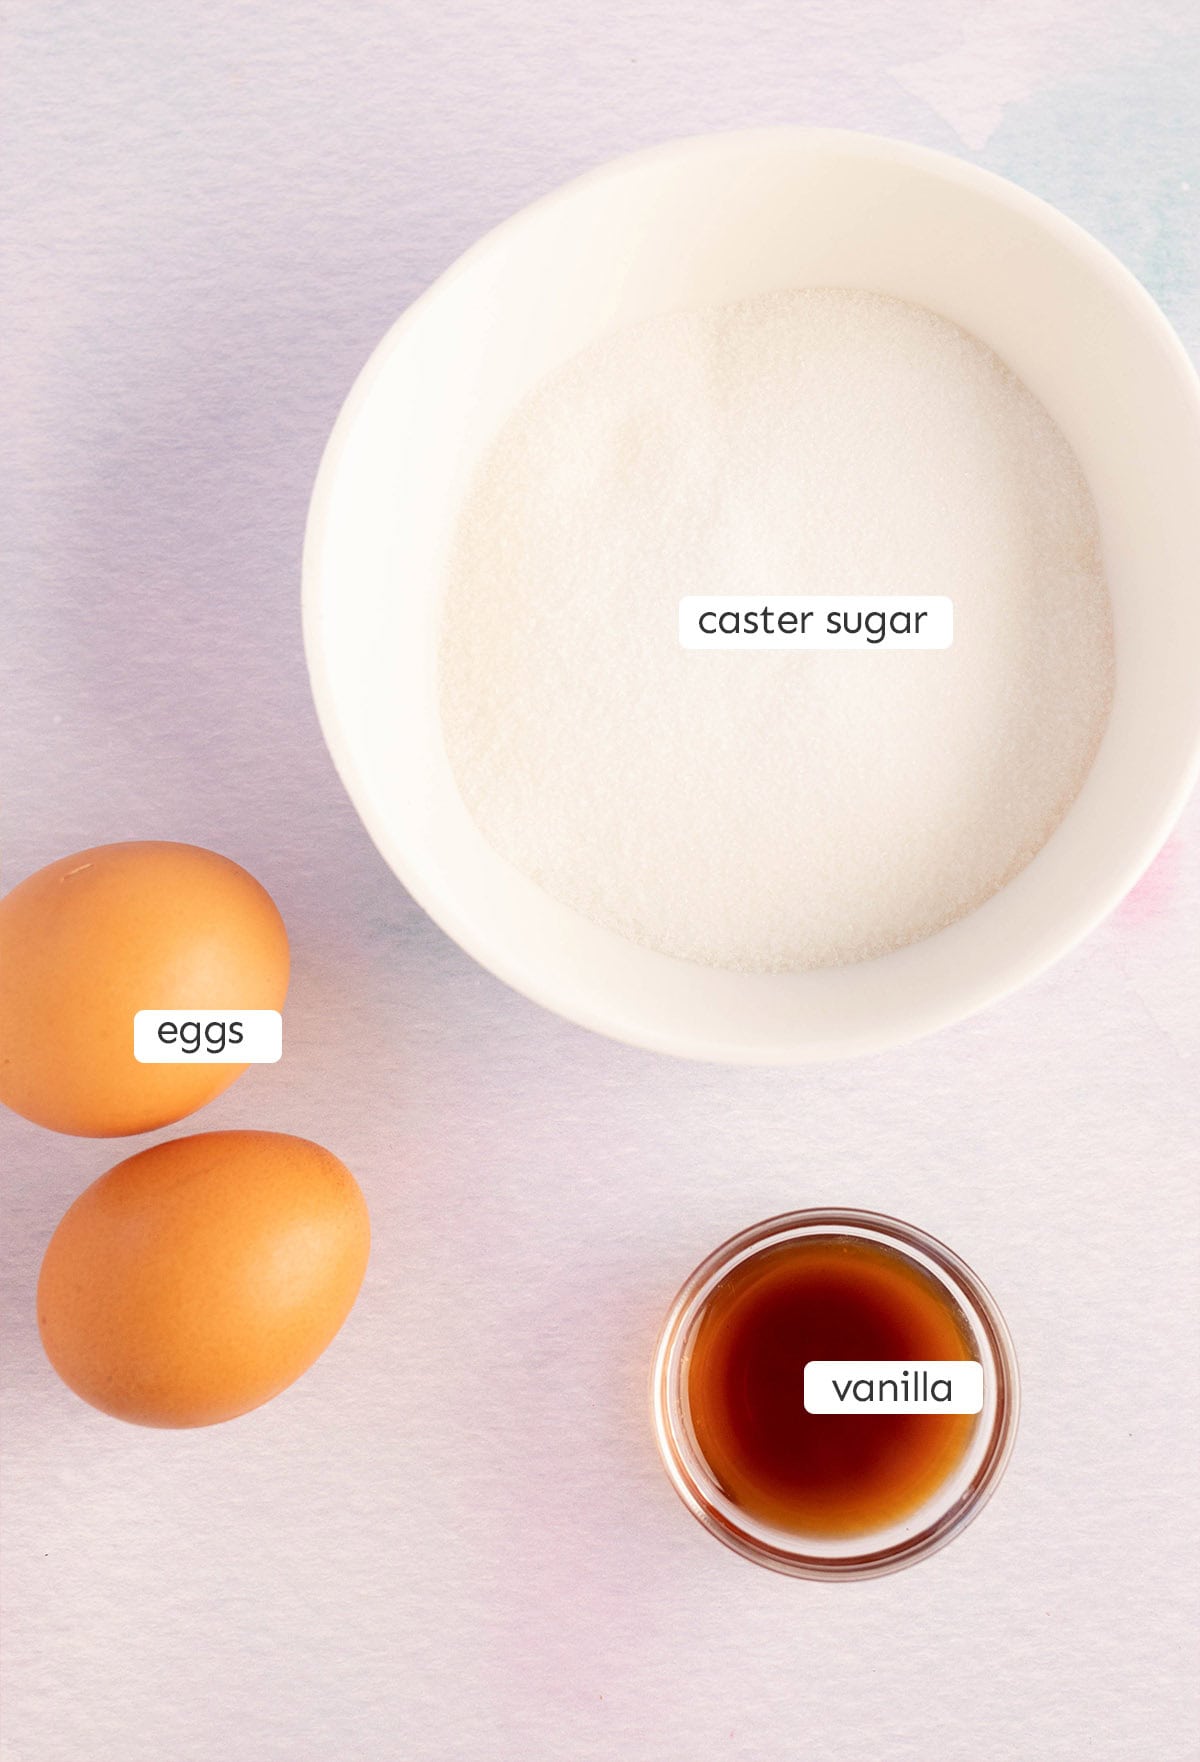
You only three ingredients to make a batch of mini Meringue Kisses. But each one matters a lot. Here’s a quick breakdown of the ingredients and the role they play, including any substitutions you can make.
- Egg whites: You only need egg whites for this recipe (no egg yolks). It’s very important that you seperate the eggs carefully and don’t get one drop of egg yolk in the egg whites or they won’t fluff up as much as they should.
- Caster sugar: Caster super is a fine white sugar that is used in meringues as it dissolves very easily. It’s the same sugar I use in my Tall Pavlova. In most of my recipes, I recommend substituting granulated sugar for caster sugar, but for this one, it’s quite important that you get hold of caster sugar or superfine sugar. You can pulse granulated sugar or white sugar VERY briefly in a food processor if you’re in a pinch. But be careful, one too many pulses, and you’ll have icing sugar/powdered sugar – which will not work.
- Vanilla extract: Chose the best vanilla extract you can find for this recipe. The flavour will really shine in these meringues. You could use vanilla bean paste or even just straight vanilla bean if you like. Alternatively, you can get creative with the flavours and try another extract like peppermint extract.
- Colour: I haven’t but you can also colour the meringues with a few drops of good quality gel food colour or oil based food colour. Don’t use watery food colouring from the supermarket though. The high water content can deflate your meringue.
How to make Meringue Kisses
Here’s a step-by-step breakdown of how to make my meringue cookie recipe.
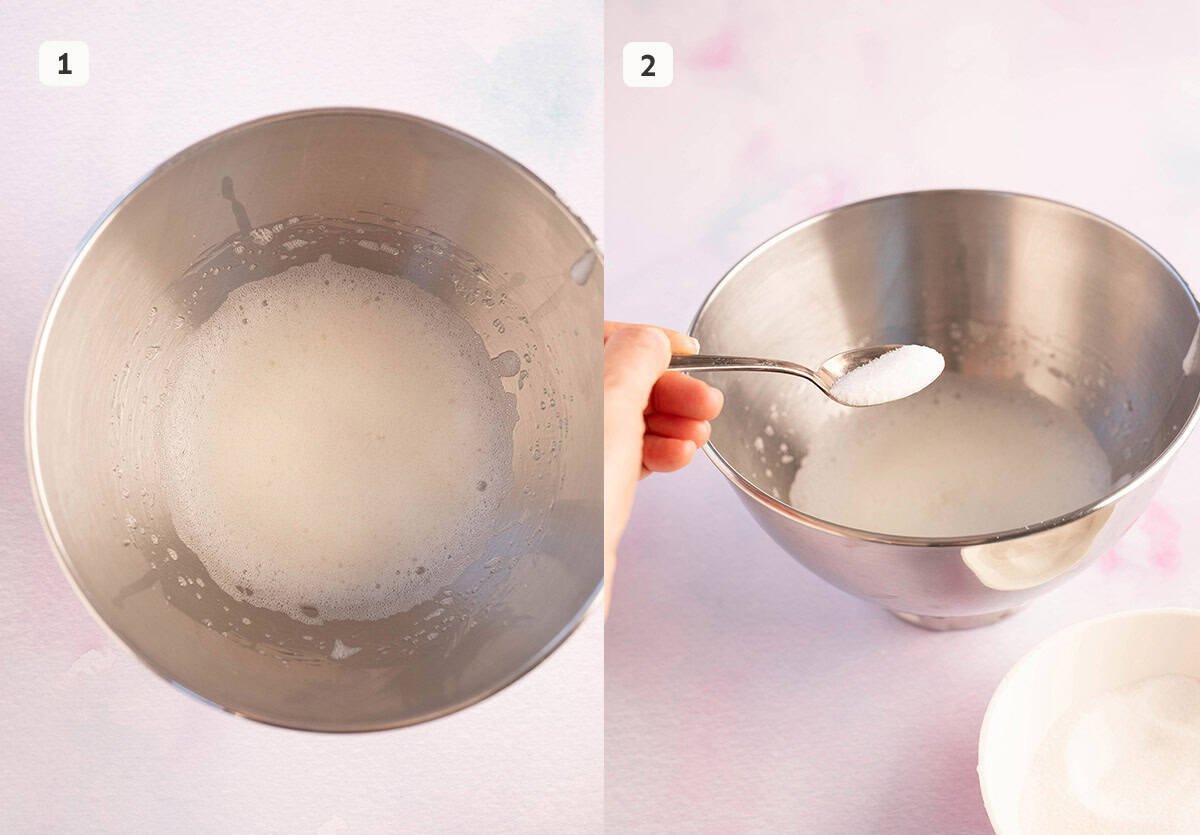
Step 1: In a large mixing bowl or the bowl of your stand mixer fitted with a whisk attachment, beat the egg whites on medium speed for 1–2 minutes until they start to go frothy.
Step 2: Increase to a medium–high speed and gradually add the sugar, 1 tablespoon at a time, until you have added all of the sugar. Keep whisking until the sugar has dissolved.

save this recipe
Step 3: The easiest way to tell if the meringue is ready is by rubbing a small amount of meringue between your finger and thumb and seeing if you can still feel any sugar granules. If you can, keep whisking.
Step 4: Finally, add the vanilla to the meringue and beat on medium–high for 20 seconds.
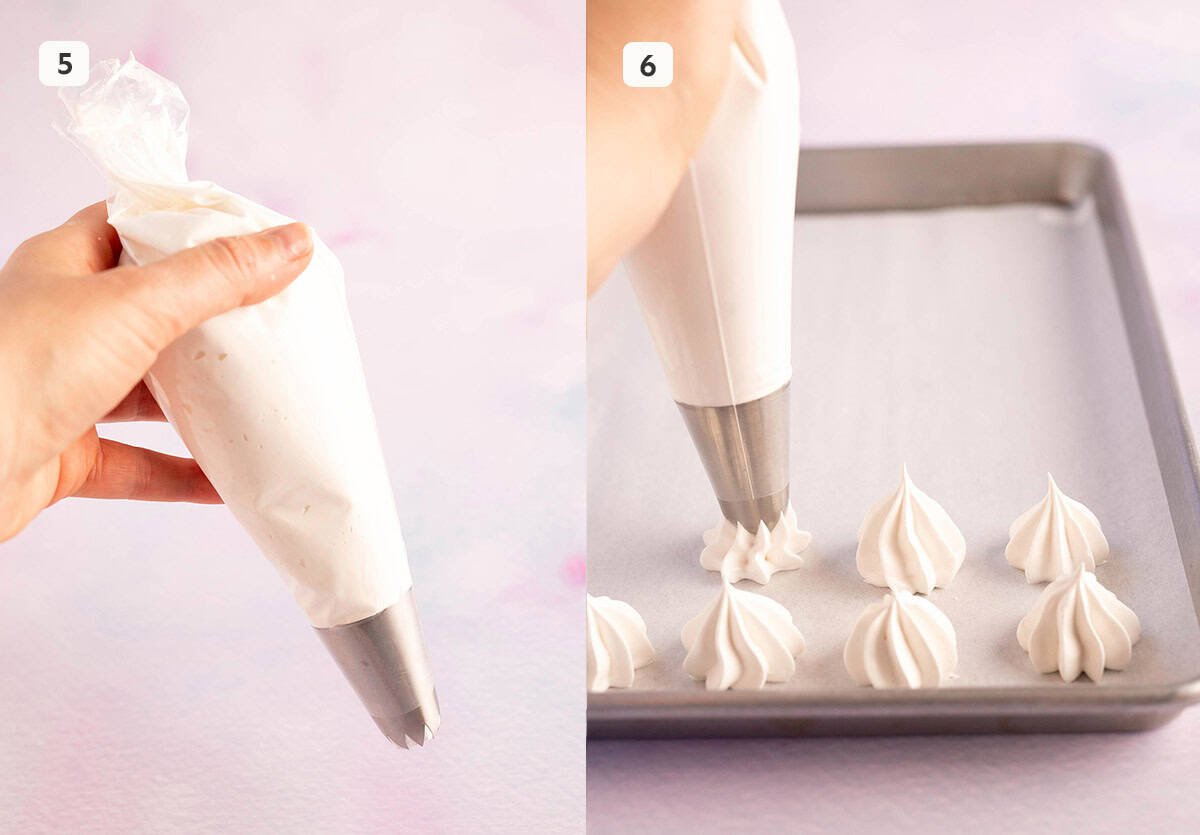
Step 5: Transfer the meringue mixture to a large piping bag fitted with a large star tip, approximately 1.5 cm (3/4 inch) in diameter.
Step 6: Gently pipe small meringue kisses (approximately 3 cm / 1 inch in diameter to make 32-34 mini meringues) onto the prepared tray.
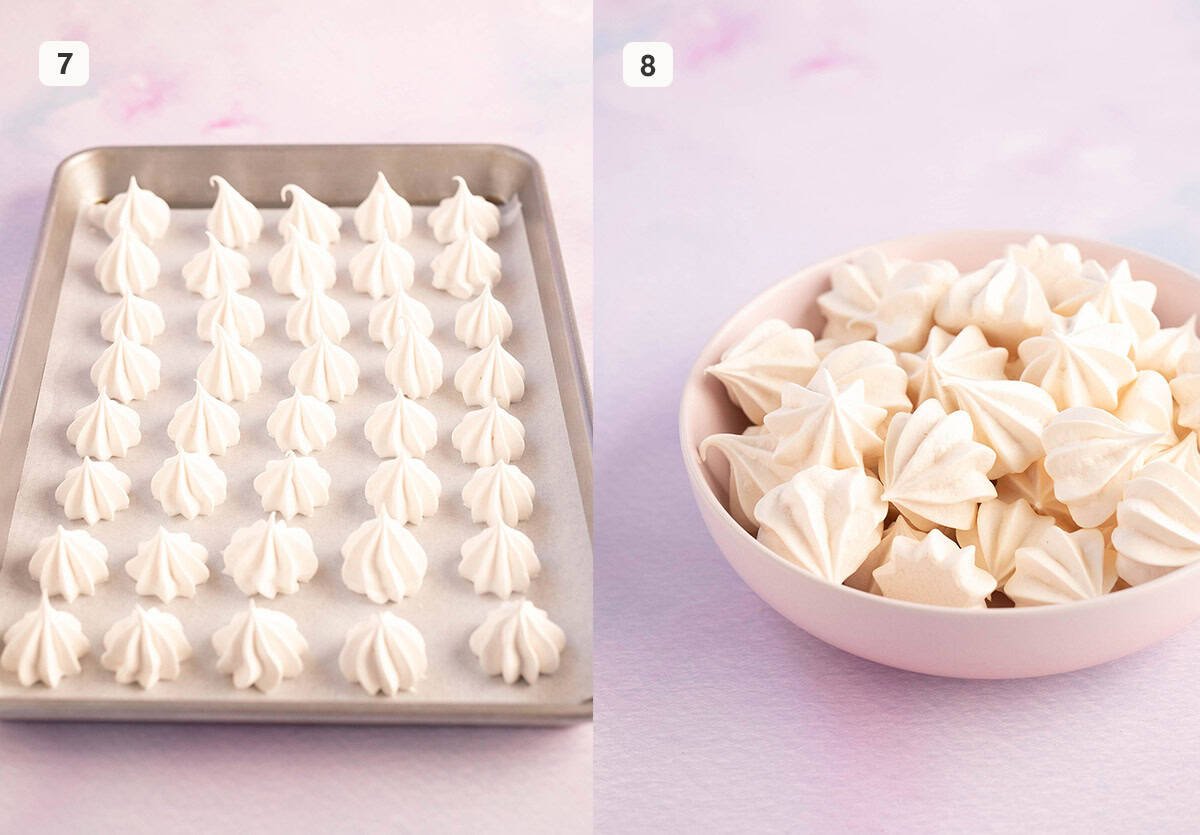
Step 7: Bake the meringues for approximately 1 hour and 30 minutes or until they’re crisp to touch.
Step 8: Turn the oven off and leave the meringues to cool and dry out in the oven for another 1 hour.
Storage and make-ahead instructions
Storage: Little meringues keep quite well in an airtight container at room temperature. Don’t keep them in the fridge. You need to make sure they have completely cooled and full dried out before placing them in a sealed container otherwise they can get a bit sticky – and stick to each other.
Make-ahead: Unfortunately you can’t freeze mini meringues but you can bake them a few days in advance.
Frequently asked questions
Absolutely! This recipe will make around 35-40 kisses depending on size. If you want more, you can easily double the recipe.
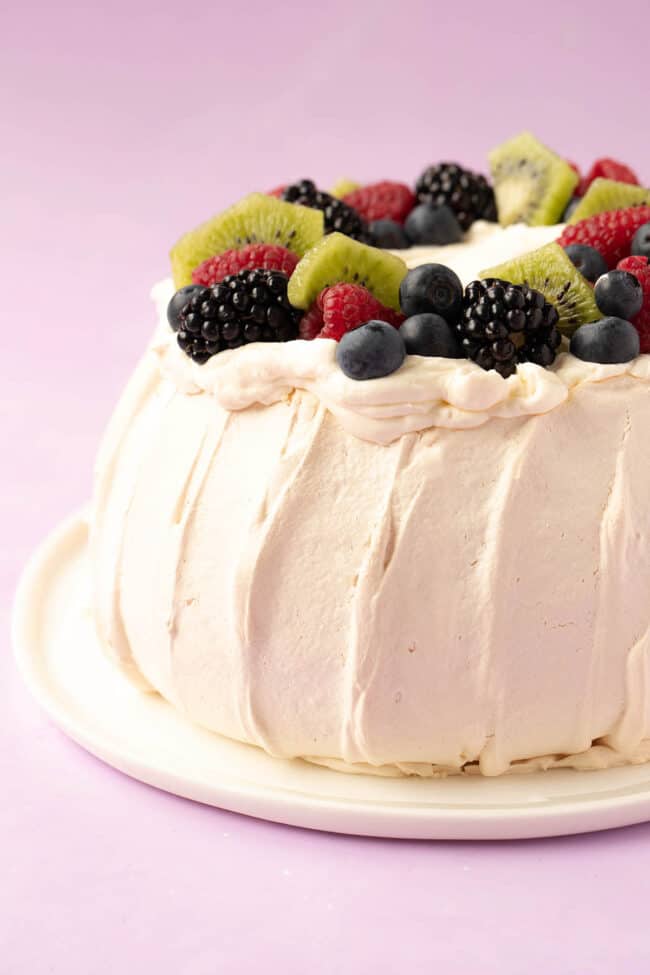
Yes! You can use this recipe and the instructions to make larger meringues. Or you can use my Mini Meringue recipe or my Tall Pavlova recipe.
Yes they do. As long as they were cooked and cooled properly, they will keep well in an airtight container at room temperature. If they are slightly underbaked or haven’t completely dried out, they will stick to each other. You can keep them in one even layer (not touching) to be safe.
We like to enjoy them plain as a crunchy cookie, break them up and use them in desserts like Eton Mess, and also use them to decorate beautiful cakes or trifles.
More meringue Recipes
Did you make this recipe? Don’t forget to rate the recipe and leave a comment below. Hungry for more? Join me on Instagram, YouTube, Facebook, Pinterest and TikTok for more amazing recipe ideas.
Let’s Bake
Meringue Kisses Recipe
The easiest mini meringue recipe.
Ingredients
- 2 egg whites
- 100 grams (1/2 cup) caster sugar or granulated sugar
- 1/2 teaspoon vanilla extract
Instructions
- Preheat the oven to 110°C (230°F) fan-forced. Line a large baking tray with baking paper or parchment paper. Ensure the mixing bowl and utensils are clean and completely dry.
- In a large mixing bowl or the bowl of a stand mixer fitted with a whisk attachment, beat the egg whites on medium speed for 1–2 minutes until they start to go frothy.
- Increase the speed to medium–high and gradually add the sugar, 1 tablespoon at a time, until you have added all of the sugar.
- Keep whisking until the sugar has dissolved and the meringue reaches stiff peaks. It should be thick, white and glossy. The easiest way to tell if the meringue is ready is by rubbing a small amount of meringue between your finger and thumb and seeing if you can still feel any sugar granules. If you can, keep whisking. As soon as it’s smooth and you cannot feel any sugar, stop whisking.
- Finally, add the vanilla to the meringue and beat on medium–high for 20 seconds.
- Transfer the meringue to a large piping bag fitted with a large star tip, approximately 1.5 cm (3/4 inch) in diameter. Gently pipe small meringue kisses (approximately 3 cm / 1 inch in diameter to make 32-34 mini meringues) onto the prepared tray.
- Bake the meringues for approximately 1 hour and 30 minutes or until they’re crisp to touch.
- Turn the oven off and leave the meringues to cool and dry out in the oven for another 1 hour.
Notes
Egg whites: You only need egg whites for this recipe (no egg yolks). It’s very important that you seperate the eggs carefully and don’t get one drop of egg yolk in the egg whites or they won’t fluff up as much as they should.
Caster sugar: Caster super is a fine white sugar that is used in meringues as it dissolves very easily. In most of my recipes, I recommend substituting granulated sugar for caster sugar, but for this one, it’s quite important that you get hold of caster sugar or superfine sugar. You can pulse granulated sugar or white sugar VERY briefly in a food processor if you’re in a pinch. But be careful, one too many pulses, and you’ll have icing sugar/powdered sugar – which will not work.
Vanilla extract: Chose the best vanilla extract you can find for this recipe. The flavour will really shine in these meringues. You could use vanilla bean paste or even just straight vanilla bean seeds if you like. Alternatively, you can get creative with the flavours and try another extract like peppermint extract.
Colouring: You can also colour the meringues with a few drops of good quality gel food colour or oil based food colour. Don’t use watery food colouring from the supermarket though. The high water content can deflate your meringue.
Storage: Mini meringues keep quite well in an airtight container at room temperature. Don’t keep them in the fridge. You need to make sure they have completely cooled and full dried out before placing them in a sealed container otherwise they can get a bit sticky – and stick to each other.
Make-ahead: Unfortunately you can’t freeze mini meringues but you can bake them a few days in advance.
Nutrition Information

Our favourite
Christmas Cookies


Opal says
I’m pretty new to baking, but I absolutely loved making these, they do take sooo long in the oven but everyone I’ve gotten to try them has loved them too! Thanks so much for the recipe!
Jessica Holmes says
That is so wonderful to hear Opal! Thank you for the lovely feedback!
Karolien says
Hi Jess, I would like to make these into individual 6cm round meringues with a piped border so they can hold cream. I assume I would have to bake them longer, do you know how much longer? I want them to be fully dried because I have to make them 1-2 days ahead.
Jessica Holmes says
Hi Karolien, you definitely can use this recipe to make meringue nests. The bake time will depend on how large and tall your nests are. You can bump up the temperature a little, but I usually just test them by touching them with my finger. If they are still tacky, I would keep going. Once they feel dry to the touch, switch the oven off and let them cool inside. I hope that helps!
Dawn Garan says
Do you know if these can be made sugar free? I’m diabetic, but meringue is my favorite!!
Jessica Holmes says
Aw I’m sorry Dawn, I haven’t tried to make a sugar-free meringue before but the sugar is crucial in this recipe.
Josh says
We loved these!
Jessica Holmes says
I’m so happy to hear that!