My easy Chocolate Orange Self-Saucing Pudding is a magical dessert that comes together in minutes. As it bakes it turns into a deliciously soft chocolate orange cake smothered in a rich chocolate sauce. It’s only dessert you’ll need for Christmas!
Chocolate lovers unite! I have THE dessert for you. A beautiful Chocolate Orange Self-Saucing Pudding that tastes just as good as it looks!
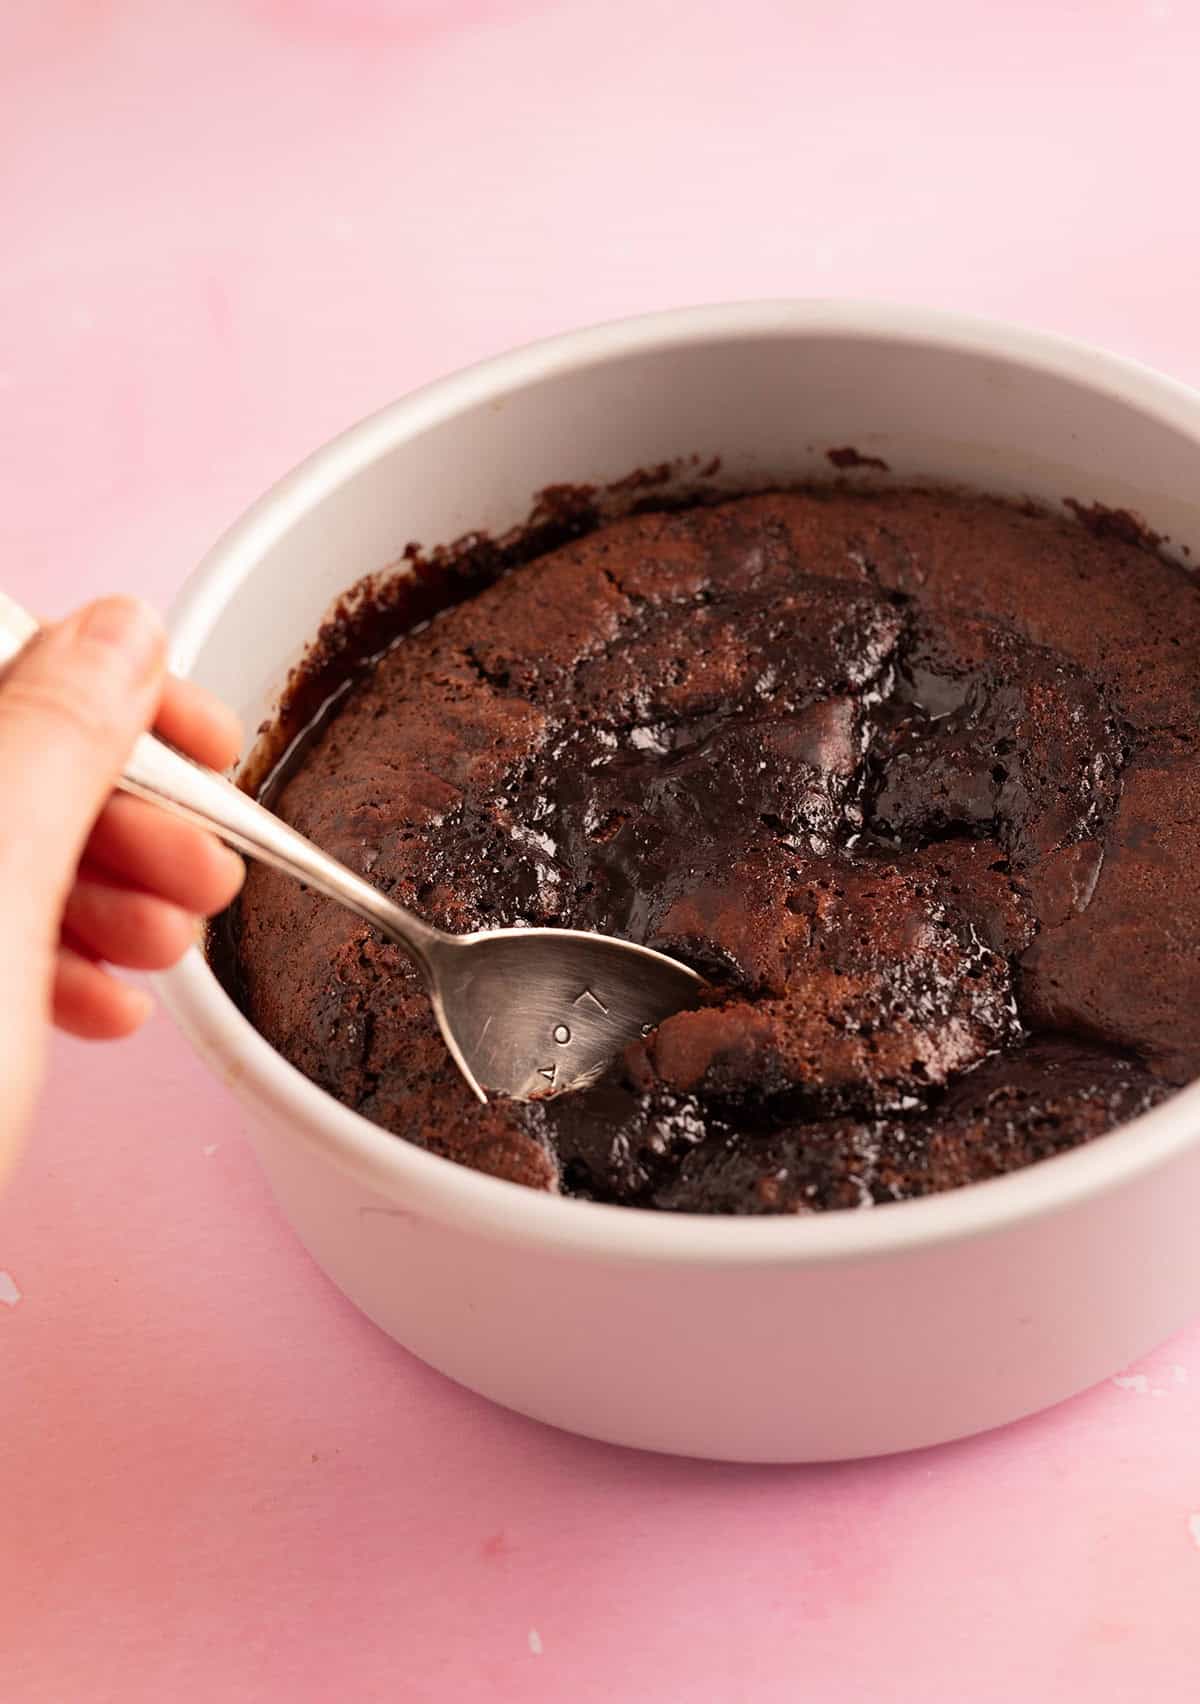
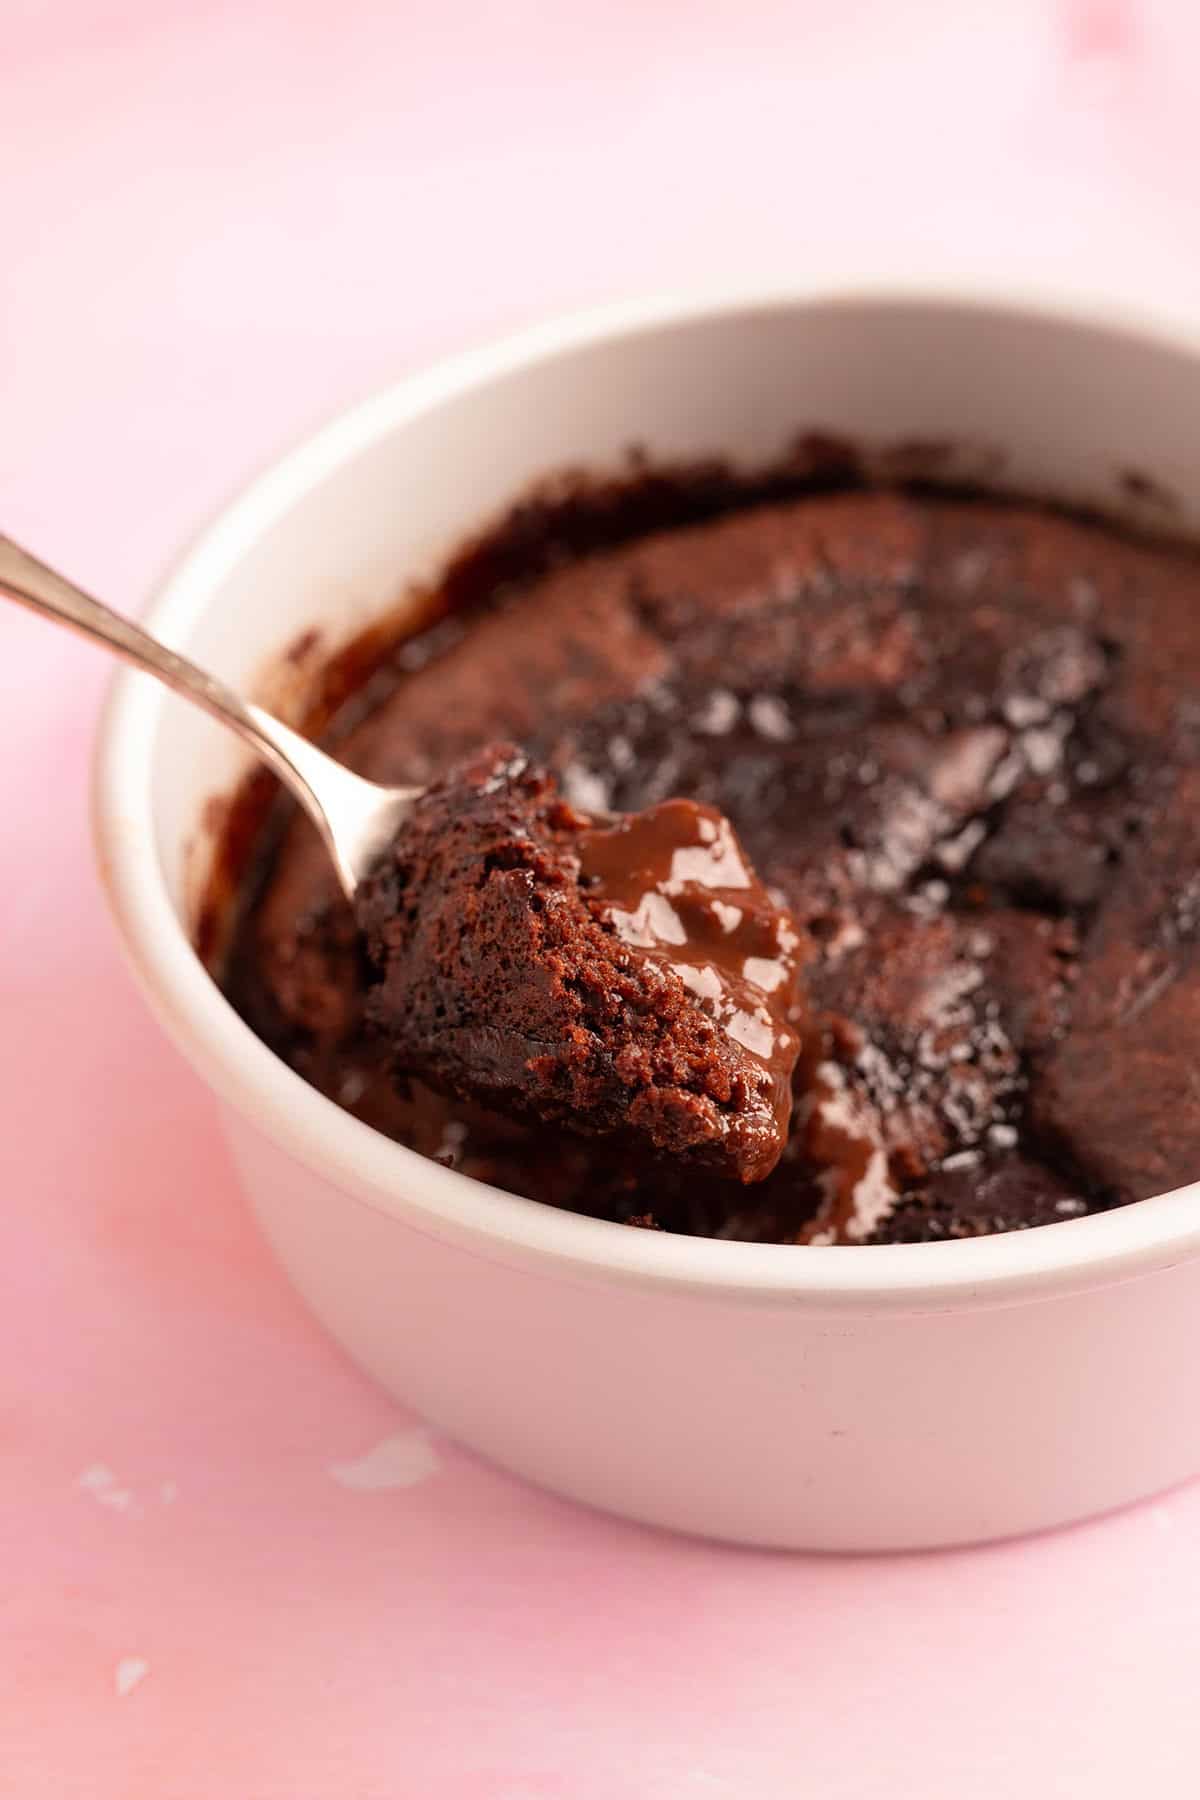
You can expect soft, moist chocolate cake sitting on a bed of thick chocolate sauce. And to make this pudding extra special, I’ve added fresh orange zest and orange juice.
If you’ve never made a self-saucing pudding before, you’ll be in awe of how this dessert magically becomes two things as it bakes: cake and sauce.
The best part is that this dessert comes together so quickly. So if you want a dessert you can make in minutes, but looks like it stepped out of a fancy restaurant, this easy Chocolate Self-Saucing Pudding is FOR YOU.
Why you will love this recipe
- Quick and easy: It might look tricky, but this Chocolate Self-Saucing Pudding recipe is surprisingly easy – you don’t even need an electric mixer.
- Moist sponge: My pudding recipe is soft, moist and light – not stodgy or dense!
- Extra saucy: I made sure this self-saucing pudding has extra sticky sauce.
- Feeds a crowd: Give your guests a spoon, serve this pudding warm and dig right in!
This was perfect! Cannot wait to make it regularly during winter. Recipe was easy to follow and end result was delish!
– Kat

Recipe testing
I’ve absolutely loved making new Christmas Cookies recipes the past few weeks, from buttery Linzer Cookies to Chocolate Peppermint NYC Cookies. But I couldn’t let the holiday season go by without adding a new dessert to our Christmas menu.
Enter: a delicious Chocolate Self-Saucing Pudding. And to make it a little extra special, I also added some orange zest and orange juice.
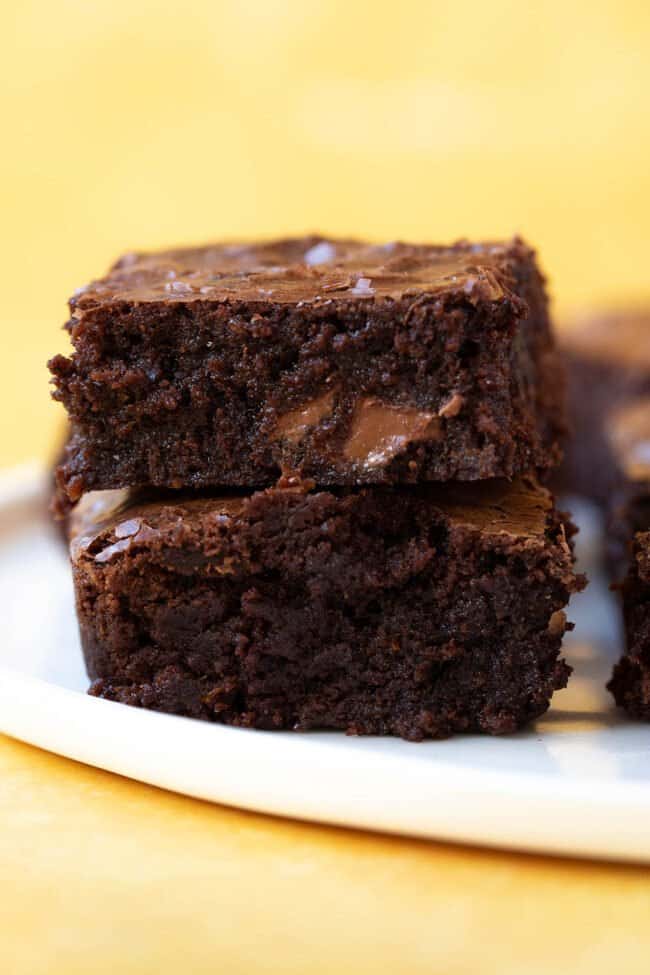
The choc orange combo is one of my favourite flavour profiles. Remember our big Chocolate Orange Cookies? And I’m still dreaming of my Chocolate Orange Brownies.
My first few attempts at a self-saucing pudding were complete fails. The sauce was minimal and the cake was bland. So I kept adjusting: reducing the flour, playing with the sugar and water ratios, and the bake times.
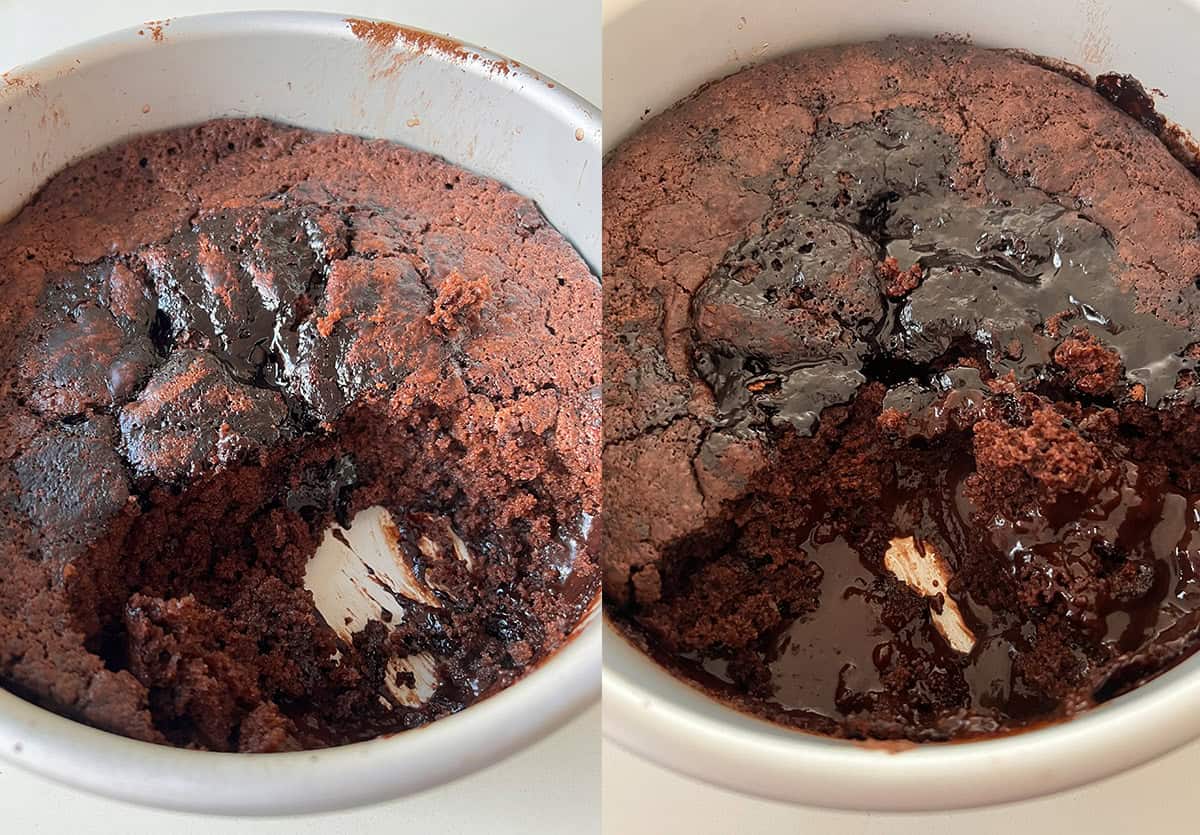
Eventually, I stumbled on the perfect combination. The cake is flavourful and moist but light and tender. The sauce is plentiful – but not so much that the cake feels mushy or underbaked.
A handful of chocolate chips, the brightness of the orange zest and the richness of the butter and milk, make this a truly rich and wonderful dessert.
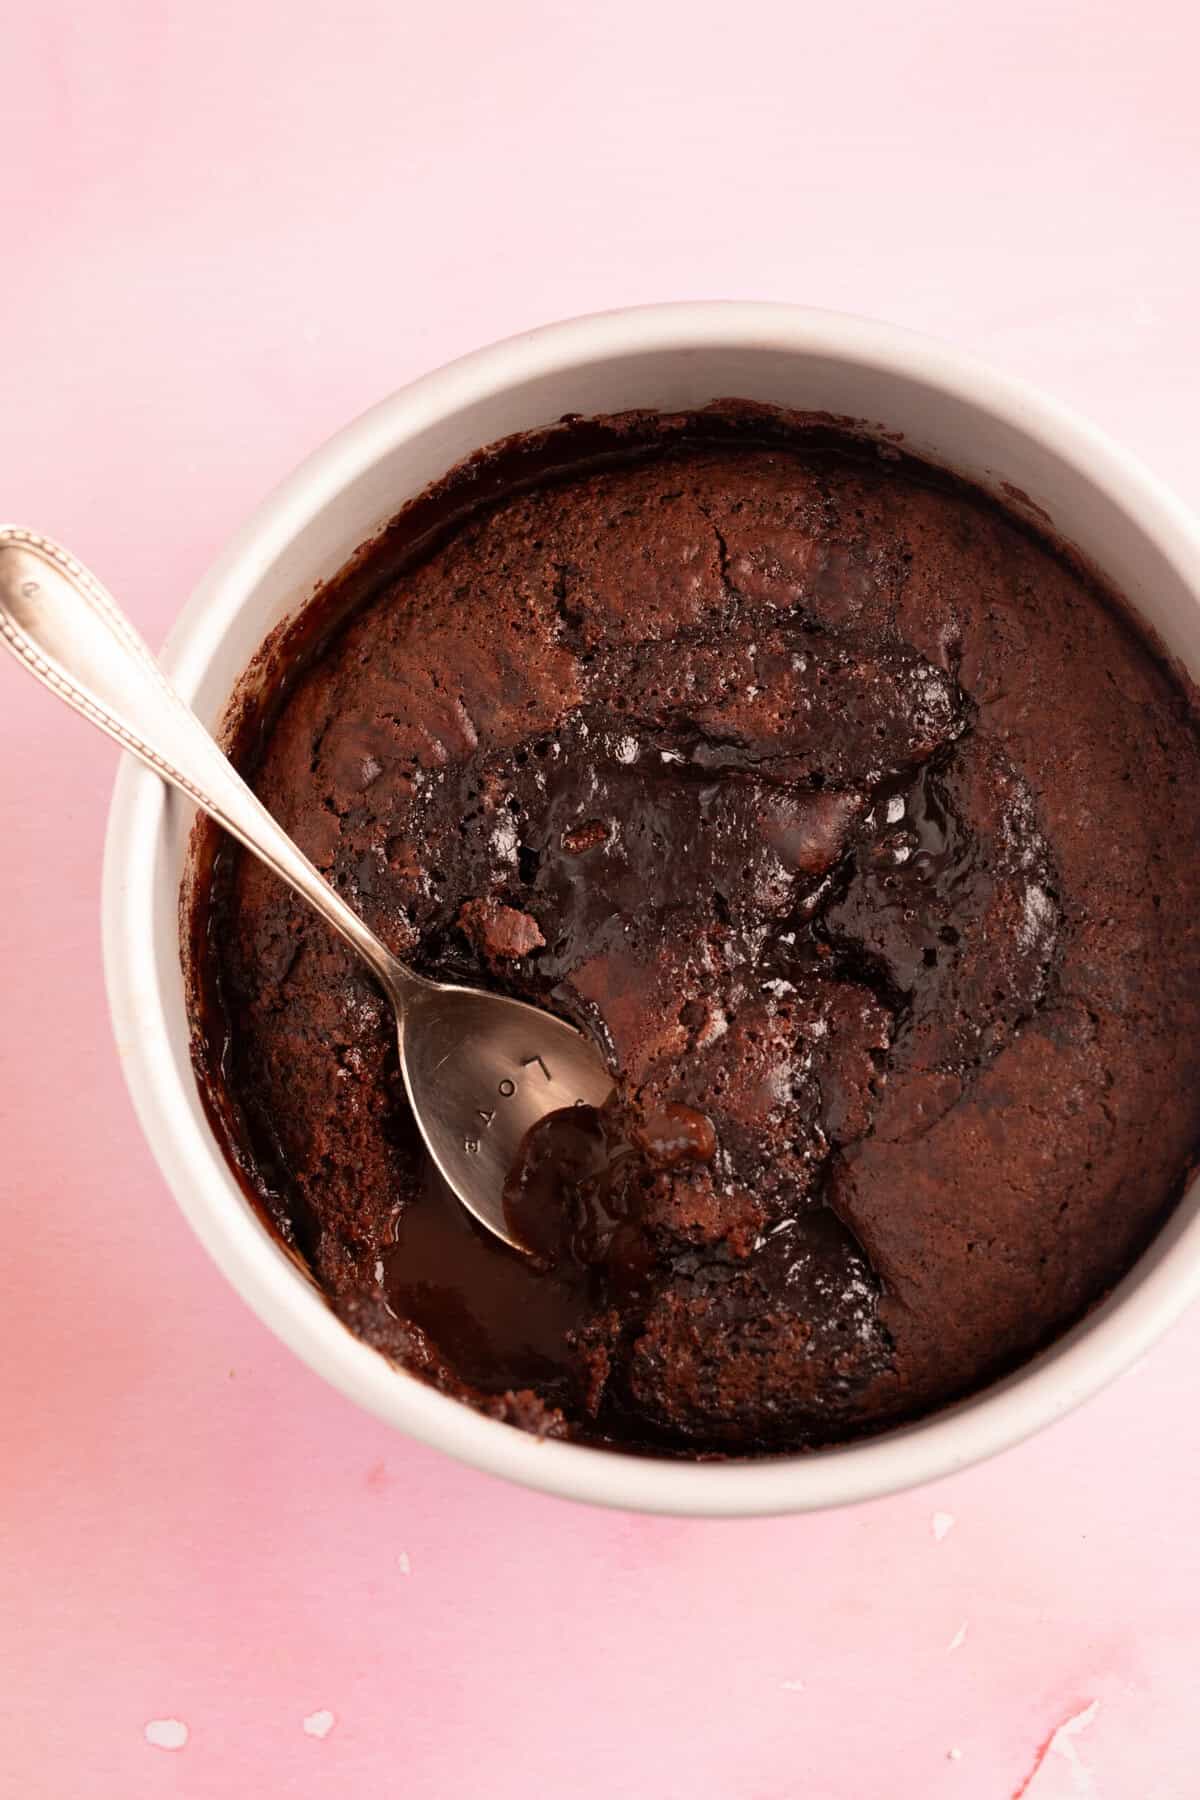
Serve this Chocolate Orange Self-Saucing Pudding warm from the oven, with it’s own sauce and a scoop of vanilla ice-cream, double cream or a generous serving of Homemade Custard.
Ingredients
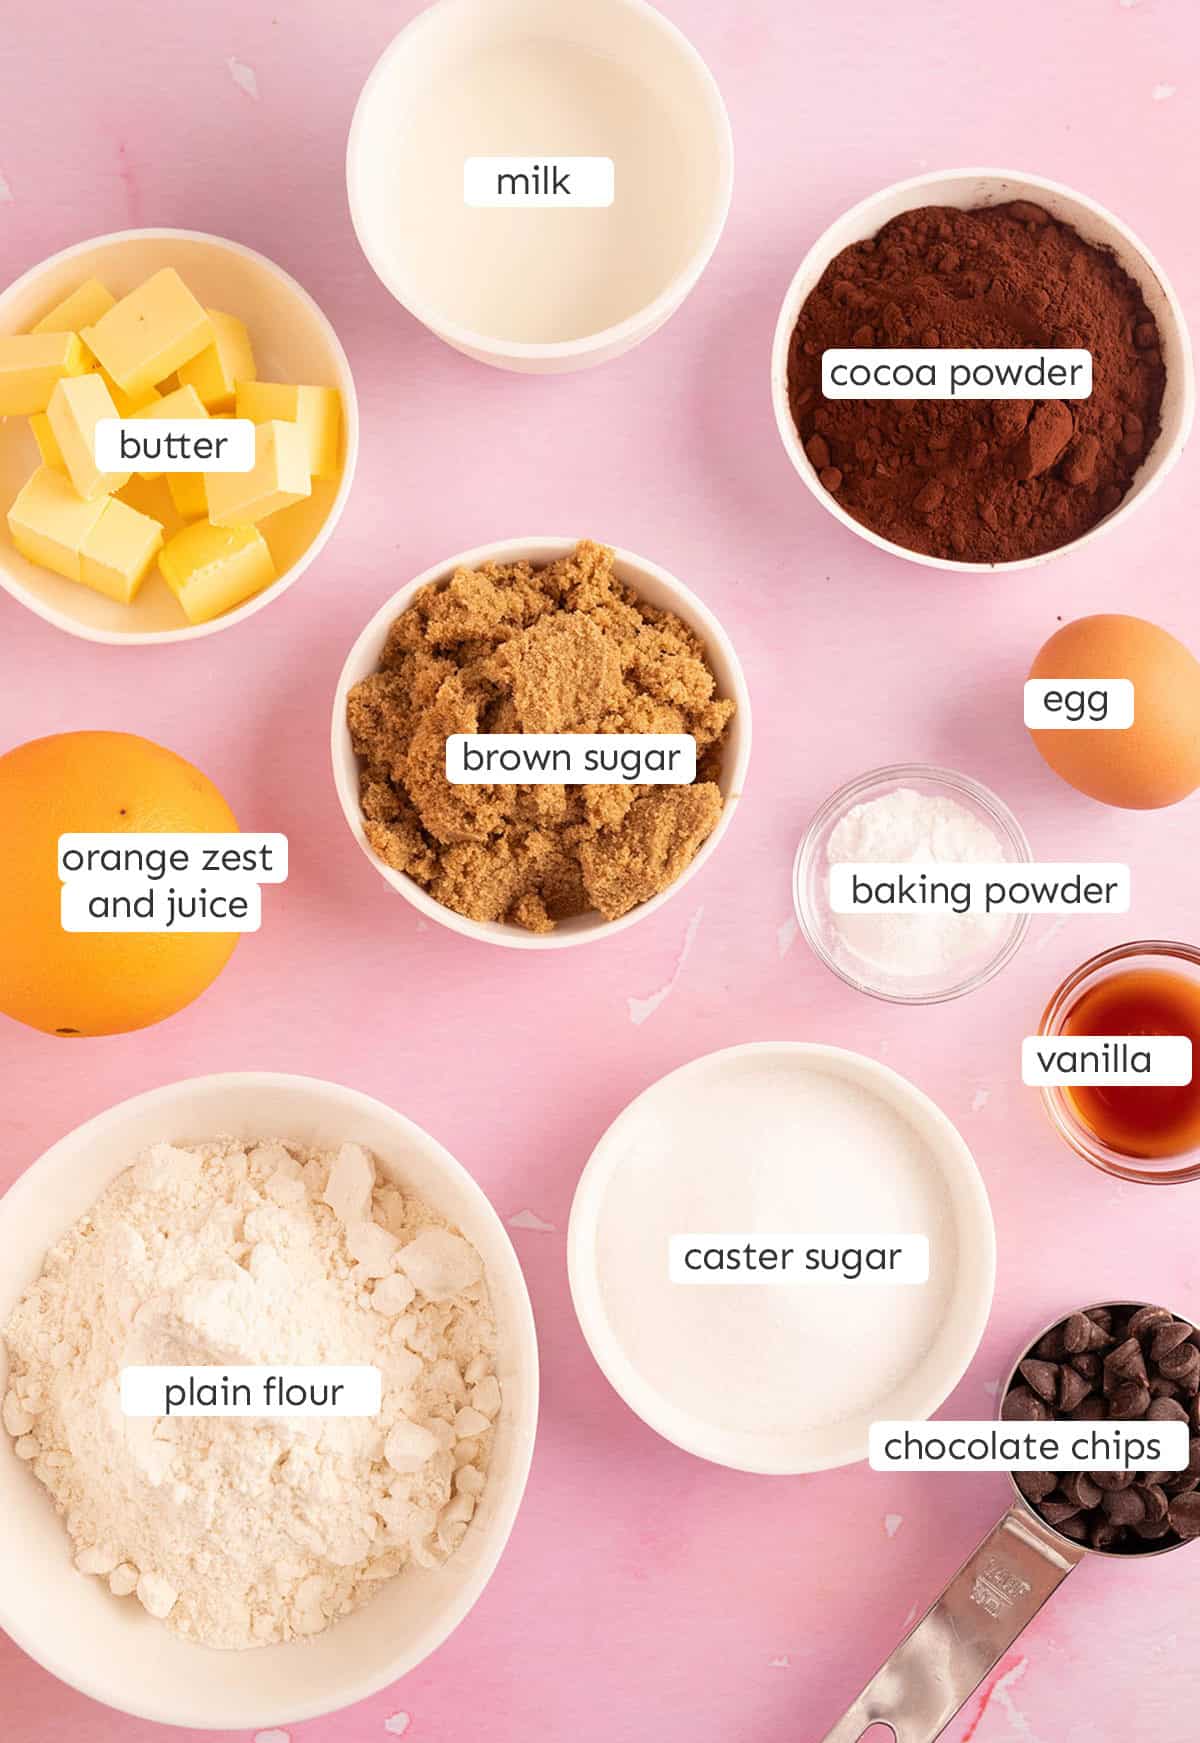
Thankfully, my Chocolate Self-Saucing Pudding recipe uses only pantry staples. Here’s a quick guide to the key ingredients you’ll need, including any substitutions you can make.
Caster sugar AND brown sugar: My recipe calls for two types of sugar in both the cake and the sauce. However, you can use all brown sugar or all caster sugar if that’s all you have on hand.
Orange zest and juice: I love to use fresh orange zest and orange juice my pudding. However, you can simply leave out the orange if you want an all-chocolate version. Just be sure to replace the orange juice with extra boiling water (see notes in the recipe card below).
Cocoa powder: You can use unsweetened natural cocoa powder or Dutch processed cocoa powder for this recipe. I tried it with both, but ultimately preferred the richness and darkness of Dutch processed cocoa powder.
Chocolate chips: The addition of chocolate chips helps to make the cake even more moist – however, if you don’t have any, just leave them out.
How to make Chocolate Self-saucing Pudding
Here are some step-by-step photos showing exactly how to make my Chocolate Orange Self-Saucing Pudding from scratch. See the recipe card below for the full list of ingredients and instructions.
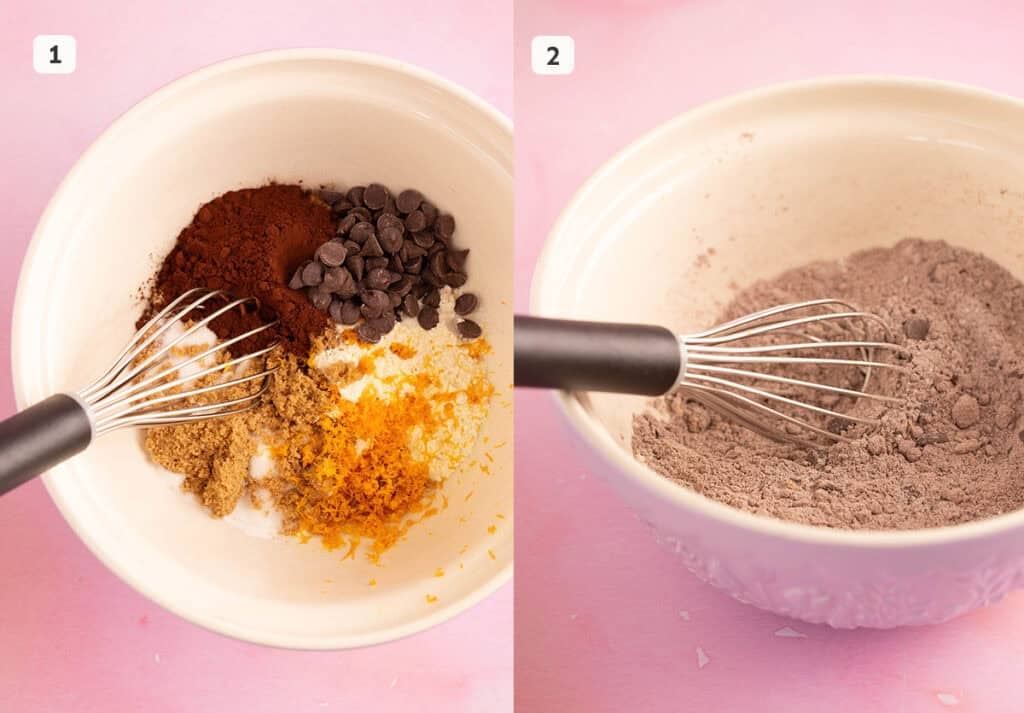
Step 1: In a large mixing bowl, add brown sugar, caster sugar, plain flour, cocoa powder, baking powder, chocolate chips and salt. Add orange zest.
Step 2: Whisk by hand just to combine and get rid of any large lumps.
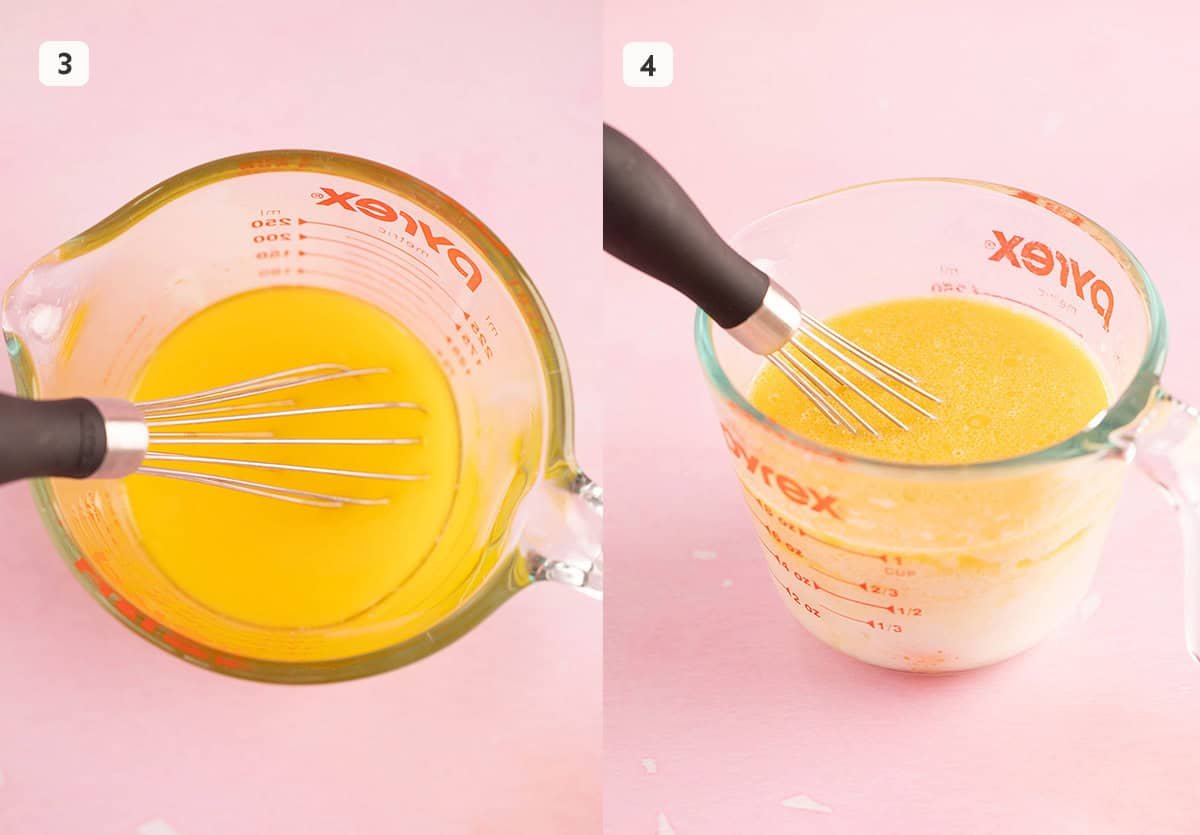
Step 3: Add the butter to a large heatproof bowl or jug. Heat in the microwave, stirring every 15 seconds, until the butter is melted and smooth.
Step 4: To the melted butter, add milk, vanilla and egg. Whisk gently by hand just to break up the egg yolks.
save this recipe
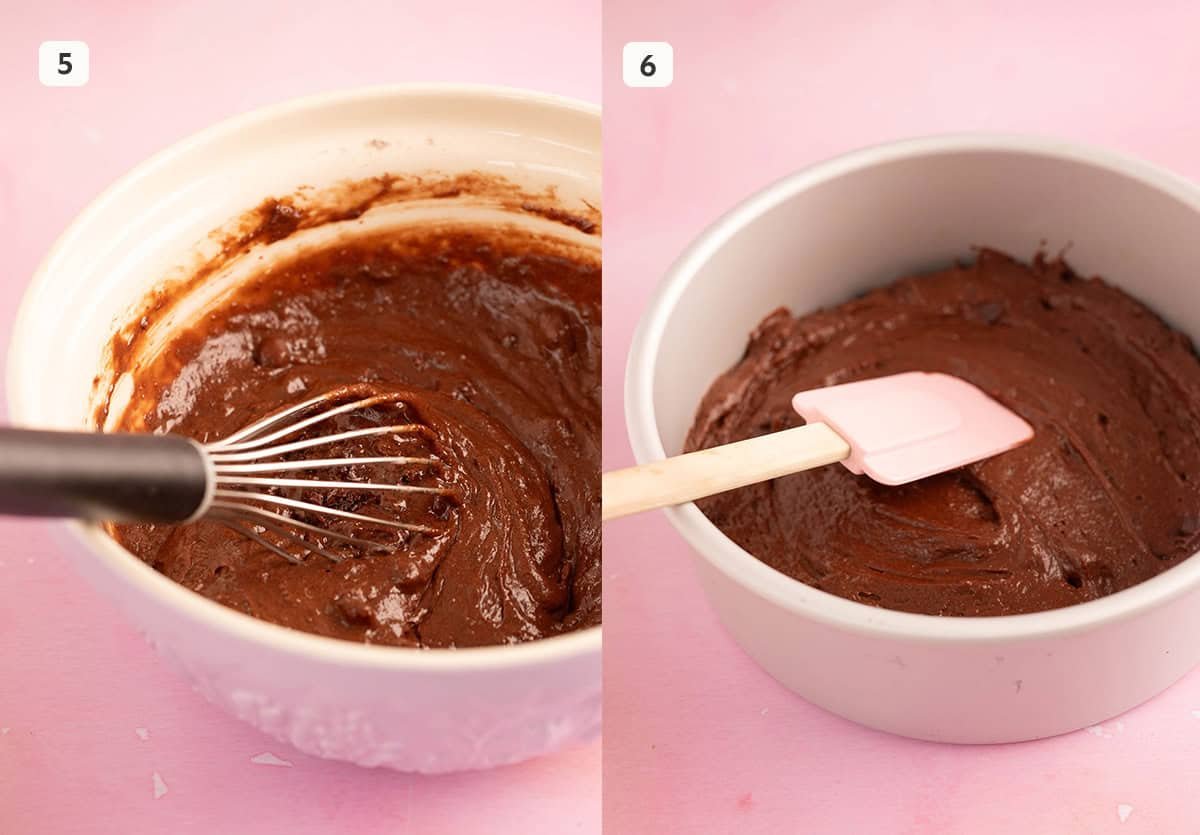
Step 5: Add wet ingredients to dry ingredients and gently stir until you have a thick chocolate cake batter.
Step 6: Transfer the cake batter to cake pan or serving dish. Gently smooth out the top.
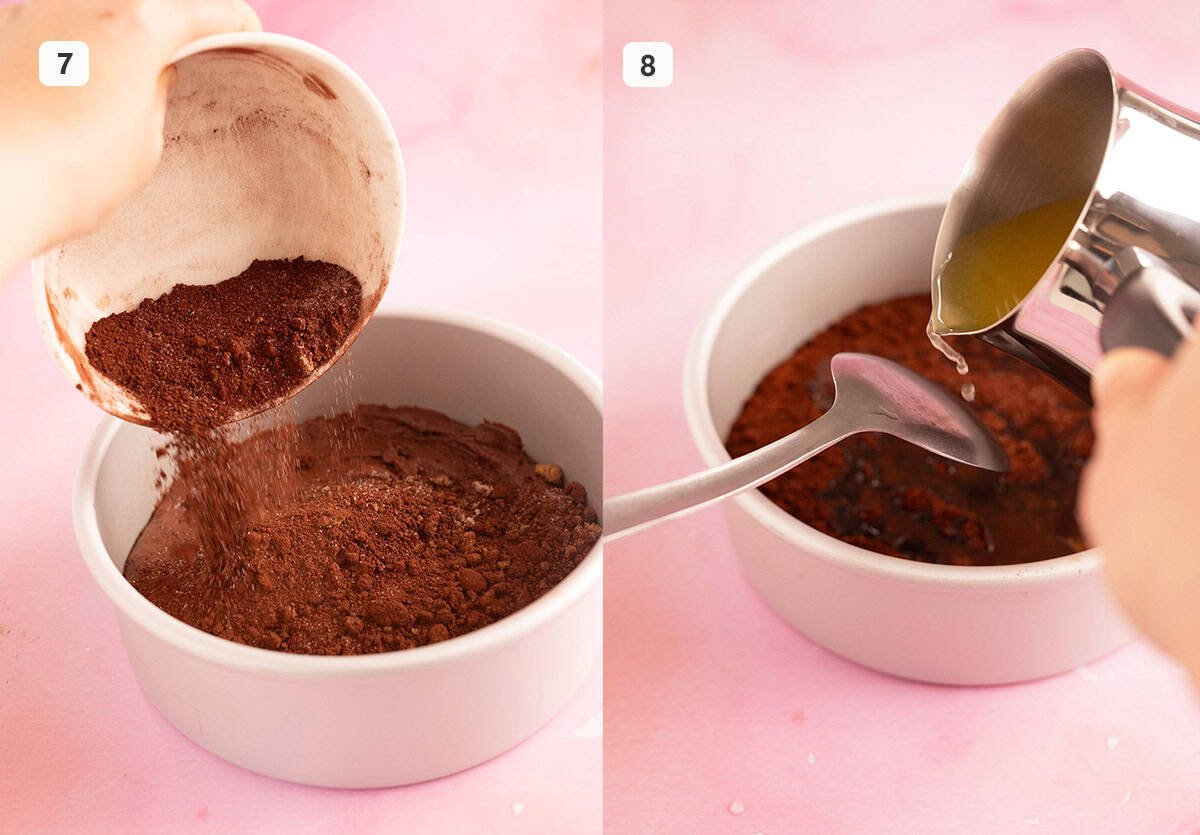
Step 7: In a small bowl, whisk together the cocoa powder, brown sugar, caster sugar and salt for the chocolate sauce. Pour it over the top of the pudding batter.
Step 8: Combine the orange juice and boiling water. Pour the water over the back of a large spoon so it gently falls on top of the cake.
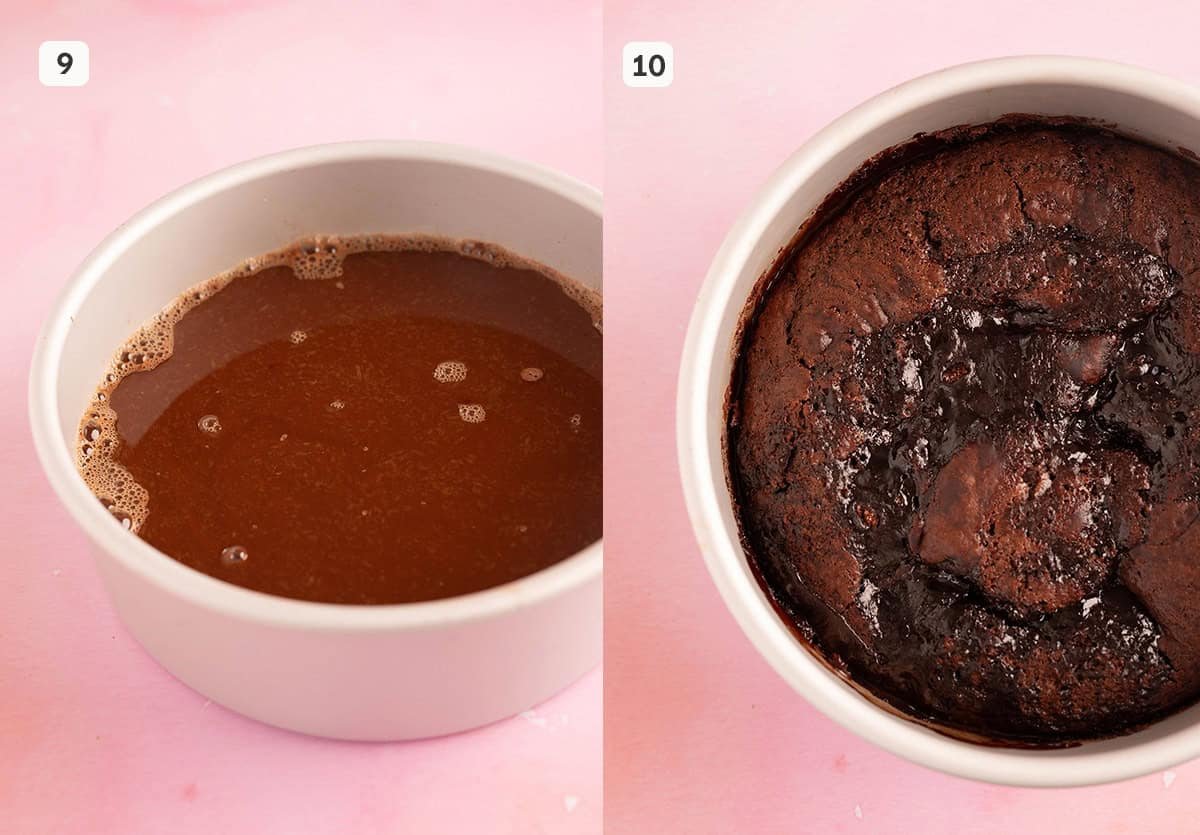
Step 9: Carefully transfer pudding to the oven. Bake for 30-35 minutes or until it just stops wobbling in the middle.
Step 10: Leave pudding to cool for 5 minutes before serving warm with vanilla ice cream, cream or custard.
Storage and make ahead instructions
Storage: Self-Saucing Chocolate Pudding needs to be serve straight after it is baked. If left for longer, the sauce will firm up and you’ll miss out on the delightful combination of warm cake, and gooey sauce. Store any leftover pudding in an airtight container in the fridge.
Reheating: To enjoy leftover pudding, simply heat it again using the microwave. The cake will soften and the sauce will loosen again – yum!
Freezing: Unfortunately Chocolate Self-Saucing Pudding can’t be made-ahead or frozen without compromising the integrity of the cake and sauce.
JESS’S TIPS FOR SUCCESS
Try not to over-bake your pudding. A gentle bake will ensure your cake bakes through but the sauce remains exactly that: saucy.
Frequently asked questions
Absolutely. To make an all chocolate version, leave out the orange zest and replace the 1/4 cup of orange juice with 1/4 cup of boiling water. I will say though that the orange really does takes this dessert to the next level.
This recipe will easily feed 6-8 people. I love to top it with ice cream and then just give everyone a spoon to dive right in!
This recipe has a high water ratio so it should definitely be saucy. If it’s not, there’s a good chance to was over-baked. Double check your oven temperature (I recommend getting hold of an oven thermometer) and try reducing the bake time by five minutes. Self-saucing pudding is also designed to be served as soon as it is baked. The longer it sits, the more the sauce will dry up.

More Chocolate Desserts
Did you make this recipe? Don’t forget to rate the recipe and leave a comment below. Hungry for more? Join me on Instagram, YouTube, Facebook, Pinterest and TikTok for more amazing recipe ideas.
Let’s Bake
Chocolate Orange Self-Saucing Pudding
A saucy, tasty chocolate orange pudding made in minutes.
Ingredients
Chocolate pudding cake
- 45 grams (1/4 cup) brown sugar
- 50 grams (1/4 cup) caster sugar or granulated sugar
- 140 grams (1 cup) plain flour or all purpose flour
- 25 grams (1/3 cup) cocoa powder
- 2 teaspoons baking powder
- 40 grams (1/4 cup) chocolate chips
- 1/4 teaspoon salt
- Zest of one orange, finely grated
- 75 grams (1/3 cup) unsalted butter, roughly chopped
- 120 ml (1/2 cup) full fat or whole milk
- 1 teaspoon vanilla extract
- 1 large egg
Chocolate sauce
- 25 grams (1/3 cup) cocoa powder
- 90 grams (1/2 cup) brown sugar
- 15 grams (1 tablespoon) caster sugar or granulated sugar
- 1/8 teaspoon salt
- 60 ml (1/4 cup) orange juice, freshly squeezed
- 1 and 1/2 cups boiling water
Instructions
- Preheat oven to 170 C (340 F) standard / 150 C (300 F) fan-forced. Set aside an 8-inch cake pan (with high sides) or pie dish.
- In a large mixing bowl, add brown sugar, caster sugar, plain flour, cocoa powder, baking powder, chocolate chips and salt. Add orange zest. Whisk together by hand.
- In a medium heatproof bowl, add butter. Heat in the microwave, 15 seconds at a time, until smooth and melted. If it’s hot the touch, leave it for a minute or two to cool slightly.
- To the melted butter, add the milk, vanilla extract and egg. Stir with a fork or whisk just to break up the egg yolk.
- Add wet ingredients to the dry ingredients. Stir by hand using a spatula or wooden spoon until you have a smooth and thick chocolate cake batter. There should be no pockets of flour.
- Transfer the chocolate cake batter into the prepared cake pan. Smooth out the top so it forms one even layer.
- In a separate mixing bowl, add the cocoa powder, brown sugar, caster sugar and salt for the chocolate sauce. Whisk together by hand.
- Sprinkle this dry mixture over the top of the cake batter. It should cover the entire top of the cake.
- Stir together the orange juice and the boiling water.
- Hold a large spoon in one hand, and gently pour the boiling water mixture over the back of the spoon and let it drip onto the cake batter. This technique stops the water from disrupting the cake batter underneath.
- Carefully transfer the pudding to the oven and bake for approximately 30-35 minutes or until it no longer wobbles in the middle.
Notes
Caster sugar AND brown sugar: My recipe calls for two types of sugar in both the cake and the sauce. However, you can use all brown sugar or all caster sugar if that’s all you have on hand.
Orange zest and juice: To make an all-chocolate version, you can skip the orange zest. Just be sure to replace the orange juice with extra boiling water (1 and 3/4 cups total).
Cocoa powder: You can use unsweetened natural cocoa powder or Dutch processed cocoa powder for this recipe. I preferred the richness and darkness of Dutch processed cocoa powder.
Chocolate chips: The addition of chocolate chips helps to make the cake even more moist – however, if you don’t have any, just leave them out.
Overbaking: Try not to over-bake your pudding. A gentle bake will ensure your cake bakes through but the sauce remains exactly that: saucy. As soon as it’s ready, take it out and serve.
Storage: Self-saucing pudding needs to be serve straight after it is baked. If left for longer, the sauce will firm up and you’ll miss out on the delightful combination of warm cake, and gooey sauce. Store any leftover pudding in an airtight container in the fridge.
Reheating: To enjoy leftover pudding, simply heat it again using the microwave. The cake will soften and the sauce will loosen again – yum!
Freezing: Unfortunately Chocolate Orange Pudding can’t be made-ahead or frozen without compromising the integrity of the cake and sauce.


Kat says
This was perfect! Cannot wait to make it regularly during winter. Recipe was easy to follow and end result was delish
Jessica Holmes says
I love hearing that Kat! You are right, such a good winter warmer!
Josh says
This was lovely! Not too sweet and I really liked the chocolate orange flavour.
Jessica Holmes says
That makes me so happy! Thank you for sharing!