Prep: 120 minutesCook: 40 minutesTotal: 2 hours 40 minutes
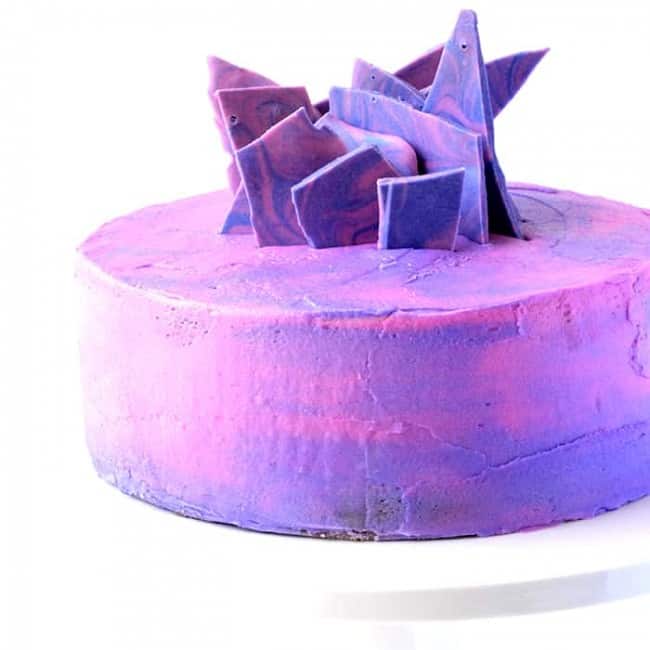
Soft vanilla bean cake, creamy vanilla buttercream and purple swirls, this Purple Marble Vanilla Layer Cake will make you weak at the knees.
Ingredients
Vanilla cake
- 230 grams (1 cup or 2 sticks) unsalted butter, room temperature
- 300 grams (1 and 1/2 cups) caster sugar
- 2 teaspoons vanilla bean paste*
- 2 large eggs
- 1 egg yolk
- 385 grams (2 and 3/4 cup) plain flour
- 2 teaspoons baking powder
- 1/2 teaspoon baking soda
- 240 ml (1 cup) milk
- 120 ml (1/2 cup) full fat sour cream
Vanilla buttercream
- 230 grams (1 cup or 2 sticks) unsalted butter, room temperature
- 2 teaspoon vanilla extract or vanilla bean paste
- 875 grams (7 cups) icing or powdered sugar
- 120ml (1/2 cup) milk
- Two different shades of purple food gel paste
- 200 grams (1 and 1/3 cup) good quality white melting chocolate
Instructions
- Grease and line two 8 inch cake tins with baking or parchment paper.Preheat oven to 180 C (350 F) standard / 160 C (320 F) fan-forced.
- In a large mixing bowl, beat the butter and sugar for a few minutes until pale and creamy. Add the vanilla and mix to combine. Add your eggs and egg yolk, one at a time, beating in between each addition.
- In a separate bowl, sift the plain four, baking powder and baking soda. Add half the flour mixture, along with the half the milk to the butter mixture and beat on a low speed. Then add the remaining flour and milk. Finally, add the sour cream and beat briefly until combined – try not to over mix. Divide the cake batter between the two cake tins and smooth the top. Place in the oven and bake for approximately 40 minutes or until a skewer inserted in the centre comes out clean.
- After 10-15 minutes, carefully remove your cakes from their tins, and place on a wire rack to cool completely.
- To make your frosting, cream the butter until smooth and creamy, then add the vanilla. Begin to sift in the icing sugar, one cup at a time. Add a tablespoon of milk as needed. Continue until you have used all the icing sugar and the frosting is smooth and creamy. Divide your buttercream into two bowls.
- Use a serrated knife or a cake trimmer to even the top of both cakes. Use one half of your vanilla buttercream to frost the top of the first cake. Place the second cake on top and then frosting the entire top and sides. It only needs to be a thin cake to help seal in the crumbs. Use a cake scraper to remove any excess frosting. Then pop your cake in the fridge for 20-30 minutes for the crumb coat to set.
- Separate the remaining buttercream into two bowls. Add a few drops of food colouring to each one until it reaches your desired colour. Transfer your frosting into two separate piping bags fitting with large round tips. Pipe one colour of frosting around the bottom half of your cake, then pipe the second colour around the top half. Use a small spatula to smooth the frosting, allowing the two colours to combine. Pipe the remaining frosting on top. Then use a cake scraper to get clean edges.
- To make the chocolate shards, melt your white chocolate in the microwave, stirring in-between 15 second bursts. Line a cookie tray with baking or parchment paper. Split your white chocolate into two bowls. Add a very small amount of food gel to each one and stir until you reach your desired colour.
- Pour your white chocolate onto your prepared tray and swirl together using a butter knife. Pop in the fridge to set for 30 minutes. Then break into shards and set them on top of your cake.
Notes
If you don’t have vanilla bean paste, you can use 2 teaspoons of vanilla extract but you won’t get the vanilla bean seeds in your cake.
Category: CakeCuisine: American

