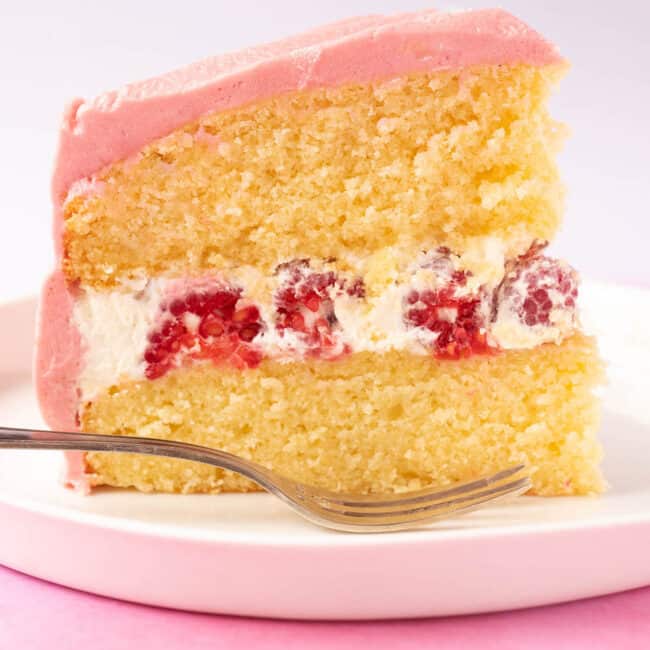
A beautiful Lemon Raspberry Cake filled with whipped cream and raspberries.
Ingredients
Lemon cake
- 230 grams (1 cup / 2 sticks) unsalted butter, softened
- 200 grams (1 cup) caster sugar or granulated sugar
- Zest of 2 large lemons, finely grated
- 3 large eggs, room temperature
- 315 grams (2 and 1/4 cups) plain flour or all purpose flour
- 2 and 1/2 teaspoons baking powder
- 1/4 teaspoon salt
- 240 ml (1 cup) full fat or whole milk
- 1 teaspoon vanilla extract
- 60 ml (1/4 cup) full fat sour cream
Cream filling
- 240 ml (1 cup) full fat thickened or heavy cream
- 1 teaspoon vanilla extract
- 250 grams (2 cups) fresh raspberries
Raspberry buttercream
- 230 grams (1 cup / 2 sticks) unsalted butter, softened
- 250 grams (2 cups) icing sugar or powdered sugar, sifted
- 1 tablespoon full fat or whole milk, room temperature
- 135 grams (1/2 cup) good quality raspberry jam or preserve
- Pink gel food colouring, optional
Instructions
- Lemon cake
Preheat oven to 180 C (350 F) standard / 160 C (320 F) fan-forced. Grease and line two 8-inch round cake pans with baking or parchment paper. - In a large mixing bowl, add butter, sugar and lemon zest. Beat with an electric mixer on low speed until combined and then turn speed up to medium and beat for a further 1-2 minutes or until mixture is creamy and pale.
- Add eggs, one at a time, and beat briefly to combine – don’t worry if the mixture goes a little bit lumpy at this stage – then scrape down the sides of the bowl.
- In a separate bowl, whisk together flour, baking powder and salt. Add half of the dry ingredients to the cake batter and start to mix on low speed.
- Add milk and vanilla. Then add remaining dry ingredients and sour cream. Continue to mix on low speed just until cake batter is smooth and creamy (try not to over mix).
- Divide cake batter between two prepared pans and gently smooth the top using a spatula. Place cakes in the oven and bake for approximately 25-30 minutes or until a skewer inserted into the centre comes out clean.
- Carefully transfer cakes to a wire rack to cool completely.
- Cream filling
Add cream to a medium-sized mixing bowl. Beat using an electric mixer on medium speed until cream has thickened and reached soft peaks. Add vanilla and beat briefly. - Place one cake layer on a serving plate or cake stand. Generously cover the sponge in whipped cream.
- Carefully place raspberries all over whipped cream and press down gently. Place remaining cake on top.
- Raspberry buttercream
In a large mixing bowl, beat butter with an electric mixer on medium speed until creamy. Add sugar and milk and beat until smooth.
-
In a separate bowl, push raspberry jam through a sieve to get rid of the seeds. Discard seeds and add smooth jam to buttercream. It should be around 2-3 tablespoons of jam. Beat on medium speed for 30 seconds until smooth and creamy.
- If desired, add a few drops of pink food colouring for a stronger pink colour (see notes). Stir by hand
-
Generously frost the top and sides of cake.
Notes
Sour cream: If you don’t have access to sour cream, the next best thing would be full fat Greek or natural-style yogurt.
Thickened or heavy cream: You need to use a full fat cream (minimum 35% fat) that says it’s suitable for whipping.
Pink food colour: Try to avoid using a watery food colouring as it will dilute your buttercream and you’ll need to use a lot more to get the same results. A gel-based or oil-based food colour is the way to go. I used a few drops of Colour Mill’s hot pink food gel in these photos.
Storage: Once this Lemon Raspberry Cake is filled and frosted, it will need to be kept in the fridge. Keep it loosely wrapped in plastic wrap and store it in an airtight container. Bring the cake back to room temperature before serving.
Make-ahead instructions: If you need to make this cake ahead of time, I recommend making the cake layers, letting them cool completely, and then tightly wrapping them in plastic wrap and placing them in the freezer. Then just defrost and decorate on the day you are ready to serve. Alternatively, you can make it one day in advance and keep it in the fridge. I don’t recommend making it any further in advance as the cream filling will soak into the cake.